Not fabulous. A little wobbly but not bad for a first attempt. The curvature of the bottom makes it a bit tougher. You can't just throw it up against the fence on the router table. I did not dye the maple because I wanted to see how multiple applications of the red oil would work. Not bad, but I am still trying to figure out how it got this gorgeous orangey color once a few years ago in a sample block. It was almost like what you would get from Japanese lacquer.
View attachment 724290View attachment 724291
Wow that came out gorgeous! Would've been sad to lose the Brazilian rosewood if something had gone awry...
Did you make the finishing oil by soaking red alkanet root in it? Do you think you could get similar contrast with staining then oiling after the stain dried?
 I need to do that just to experience the making. 240 has been the biggest so far. That is a challenge and a LOT of steel to taper and convex.
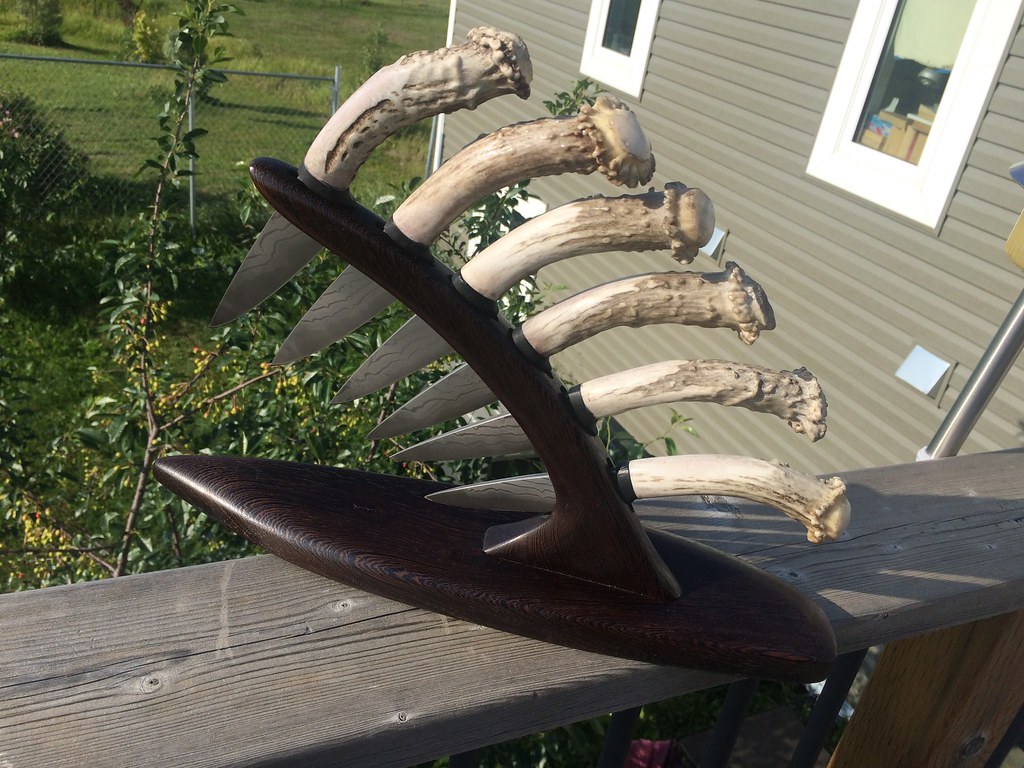
 Western or Wa, what do you all think?


 IMG_2205
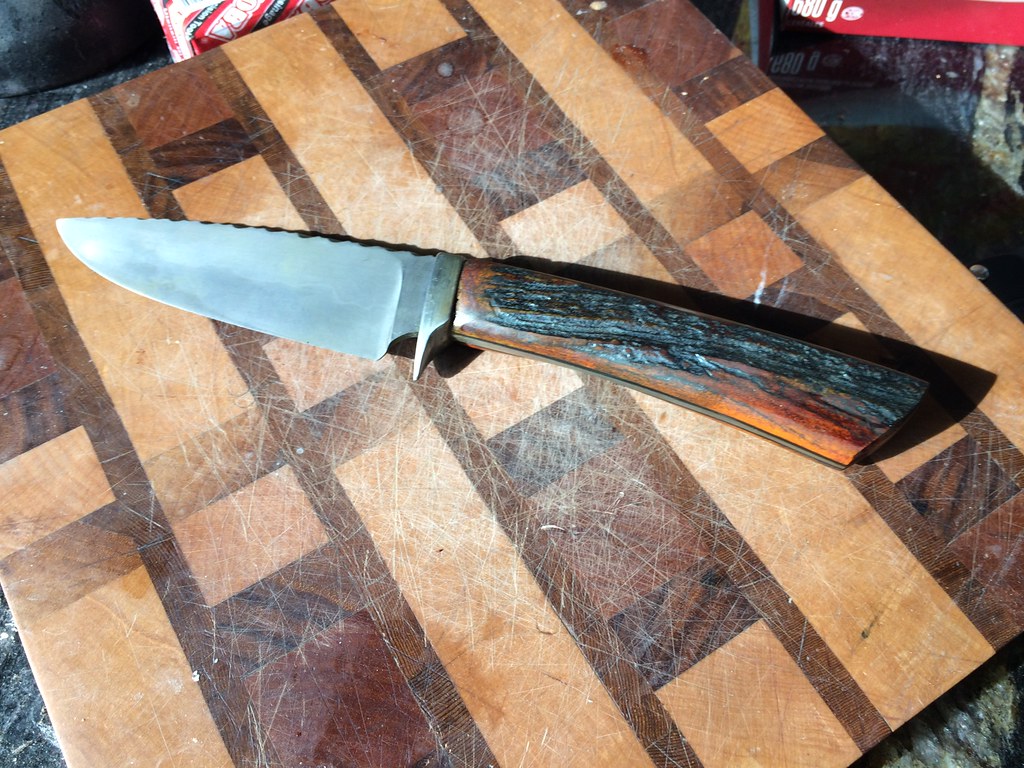 IMG_1063
 IMG_5937
 IMG_5939
 IMG_5940