- Joined
- Jan 2, 2015
- Messages
- 242
Hello Everyone!
I Finally got a minute to get around to creating a thread that will show the progress of the current MDB run. This is my first WIP so bear with me. The MDB (Modern Day Box-cutter) is a model I have been working on for about a year and a half. I wanted a modern, lightweight, sleek and functional knife that was inspired by the box-cutter utility knife and a small seax, two very popular utility knifes. I wanted this design to complete everyday cutting tasks as well as pull protection duty. I utilized the straight edge configuration and thin ergonomic handle, and based my design around these principles. When designing the knife I thought a glass breaker/skull crusher would be a great feature for the ultimate utility/defense blade. This knife is made of CPM 154 Stainless Steel with a thickness of 1/8''. I believe it makes the perfect knife for simple tasks such as opening up boxes and cutting rope, but is still durable enough to defend yourself. I believe this knife is an evolution to the most used blade in the world. This knife can be held in a reverse grip or regular grip and be a real nasty slasher. You can also use the back of the knife as a non-lethal option. And lastly you can punch with this knife in either hand and the unlucky victim will think they got hit with a fistful of Nickels. My process for the knife model is not well established yet so I am still trying things out. The blades are coming along nice and I cannot wait to see the finished batch! There is a lot of variation in materials and it is always cool to see how different the same knife model can look! Stay tuned for updates on this forum as well as on our Facebook page and Instagram. Thanks for looking.
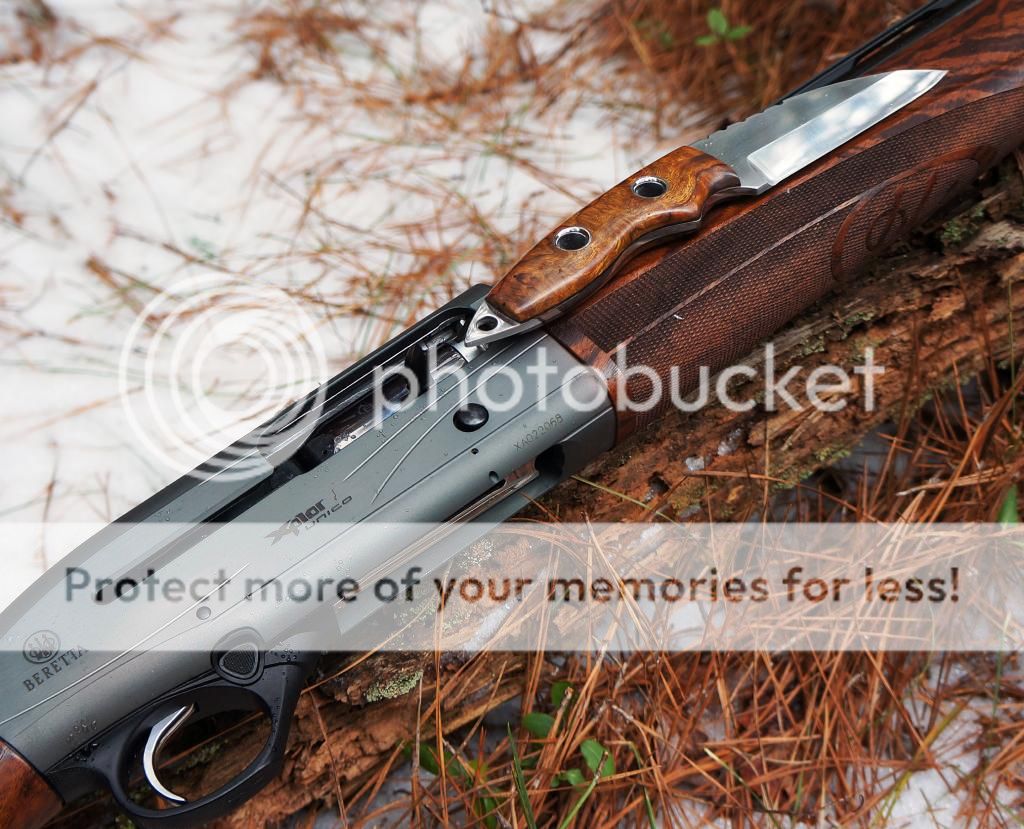
Here is the last prototype;


Step 1: Profiling
Profiling, along with design, is one of my favorite steps in the knife making process. This model begins as 1/8" CPM 154CM Stainless Steel bar that is 1.5 wide and 36 long. I get four knives per 36 bar. It is a precision ground bar because I do not like to have to deal with surface pits. I really like this steel. It polishes and finishes nicely and takes a really fine edge. The steel sharpens fairly quickly and edge retention is good.
1) First, I take a template I made and clamp it to my bar of steel. I use spring clamps that can be moved easily. I then trace around the knife, creating a deep scratch, with a junk shop knife. Then I center punch the location of my holes. TIP: Move template around on steel to find out how to get your best yield. You may find a neck knife hiding there!
2) I then clamp the steel and cut it out with a 4 ½ angle grinder with a thin cut-off disk. I sponge water onto the steel to prevent the edges from burning. I leave about 1/16 or less from my scratch line. I prefer the angle grinder to a bandsaw because I have used an angle grinder for a long time and believe I can cut blanks out faster this way. An angle grinder is a very dangerous tool if you do not use it correctly though. Never cut curves, or use excessive pressure! Use a face shield, respirator and a shop apron. I wear a heavy leather glove on my left hand for sparks, and a latex glove on my right hand so I can use the sponge. TIP: Avoid the blade walking on the surface! These are deep scratches to remove! Avoid heat buildup, especially at the tip with sponging each cut a couple of times.
3) After I cut out a rough shape of a knife, I put a 36 grit flap disk on the grinder and smooth out the shape and get closer to my scratch line. Deburr the edges well. For this process I put the blank on the edge of a table hanging off about 1/2 I use downward pressure with my left hand to keep the blank still while grinding with my right. TIP: Keep blank from sliding and wipe down table often to avoid scratches that will have to be removed later.
4) Next is getting to the line with an 80 grit belt on the KMG 2x72. I use the platen first and work the corners of the belt and get right up to my line. The platen gets all the edges of the blank square. I then put on the 10 inch wheel and a 120, then 220 grit belt to smooth out the spine. I then put on the small 1 wheel, flip the knife, and repeat the process on the bottom of the tang. My line is now gone and I have an exact replica of my template. TIP: On the grinder, smooth motions make smooth curves. Tape the work rest on your platen attachment with 3m Edge Lock and wipe often to prevent extra dreaded scratches.
Pattern scratched;

After the rough cut;

Profiled;

Blank in Hand;

Step 2: File-work and rounding of spine.
Alrighty! We are getting somewhere. Now that we have something that looks like a knife, it is time to get the files out and get a shoulder and elbow workout, oh boy! I file work before heat treat because the blade is soft and really it is about impossible to do after the blade is hardened. I also do this step before drilling the holes on the MDB because I will round the spine and this can change the position of the holes in the tang. The files I will be using are in the Nicholson Hobby File set found at Home Depot item #4230. I like these files because they work pretty fast, last about 25 knives and put a decent finish in the cuts. I use a Red E Hand articulating vise to hold my work piece.
Next I round the spine of the MDB for comfort. I started doing this to the MDB because I found that with the slim, wide handle it has that a rounded spine provided a very comfortable grip. You can make a fist and the knife just rests in your hands. You can box with a MDB in both hands in the reverse grip or normal grip.


I Finally got a minute to get around to creating a thread that will show the progress of the current MDB run. This is my first WIP so bear with me. The MDB (Modern Day Box-cutter) is a model I have been working on for about a year and a half. I wanted a modern, lightweight, sleek and functional knife that was inspired by the box-cutter utility knife and a small seax, two very popular utility knifes. I wanted this design to complete everyday cutting tasks as well as pull protection duty. I utilized the straight edge configuration and thin ergonomic handle, and based my design around these principles. When designing the knife I thought a glass breaker/skull crusher would be a great feature for the ultimate utility/defense blade. This knife is made of CPM 154 Stainless Steel with a thickness of 1/8''. I believe it makes the perfect knife for simple tasks such as opening up boxes and cutting rope, but is still durable enough to defend yourself. I believe this knife is an evolution to the most used blade in the world. This knife can be held in a reverse grip or regular grip and be a real nasty slasher. You can also use the back of the knife as a non-lethal option. And lastly you can punch with this knife in either hand and the unlucky victim will think they got hit with a fistful of Nickels. My process for the knife model is not well established yet so I am still trying things out. The blades are coming along nice and I cannot wait to see the finished batch! There is a lot of variation in materials and it is always cool to see how different the same knife model can look! Stay tuned for updates on this forum as well as on our Facebook page and Instagram. Thanks for looking.
Here is the last prototype;


Step 1: Profiling
Profiling, along with design, is one of my favorite steps in the knife making process. This model begins as 1/8" CPM 154CM Stainless Steel bar that is 1.5 wide and 36 long. I get four knives per 36 bar. It is a precision ground bar because I do not like to have to deal with surface pits. I really like this steel. It polishes and finishes nicely and takes a really fine edge. The steel sharpens fairly quickly and edge retention is good.
1) First, I take a template I made and clamp it to my bar of steel. I use spring clamps that can be moved easily. I then trace around the knife, creating a deep scratch, with a junk shop knife. Then I center punch the location of my holes. TIP: Move template around on steel to find out how to get your best yield. You may find a neck knife hiding there!
2) I then clamp the steel and cut it out with a 4 ½ angle grinder with a thin cut-off disk. I sponge water onto the steel to prevent the edges from burning. I leave about 1/16 or less from my scratch line. I prefer the angle grinder to a bandsaw because I have used an angle grinder for a long time and believe I can cut blanks out faster this way. An angle grinder is a very dangerous tool if you do not use it correctly though. Never cut curves, or use excessive pressure! Use a face shield, respirator and a shop apron. I wear a heavy leather glove on my left hand for sparks, and a latex glove on my right hand so I can use the sponge. TIP: Avoid the blade walking on the surface! These are deep scratches to remove! Avoid heat buildup, especially at the tip with sponging each cut a couple of times.
3) After I cut out a rough shape of a knife, I put a 36 grit flap disk on the grinder and smooth out the shape and get closer to my scratch line. Deburr the edges well. For this process I put the blank on the edge of a table hanging off about 1/2 I use downward pressure with my left hand to keep the blank still while grinding with my right. TIP: Keep blank from sliding and wipe down table often to avoid scratches that will have to be removed later.
4) Next is getting to the line with an 80 grit belt on the KMG 2x72. I use the platen first and work the corners of the belt and get right up to my line. The platen gets all the edges of the blank square. I then put on the 10 inch wheel and a 120, then 220 grit belt to smooth out the spine. I then put on the small 1 wheel, flip the knife, and repeat the process on the bottom of the tang. My line is now gone and I have an exact replica of my template. TIP: On the grinder, smooth motions make smooth curves. Tape the work rest on your platen attachment with 3m Edge Lock and wipe often to prevent extra dreaded scratches.
Pattern scratched;

After the rough cut;

Profiled;

Blank in Hand;
Step 2: File-work and rounding of spine.
Alrighty! We are getting somewhere. Now that we have something that looks like a knife, it is time to get the files out and get a shoulder and elbow workout, oh boy! I file work before heat treat because the blade is soft and really it is about impossible to do after the blade is hardened. I also do this step before drilling the holes on the MDB because I will round the spine and this can change the position of the holes in the tang. The files I will be using are in the Nicholson Hobby File set found at Home Depot item #4230. I like these files because they work pretty fast, last about 25 knives and put a decent finish in the cuts. I use a Red E Hand articulating vise to hold my work piece.
1) Tape up the blade except the part of the spine you want to file. A slip with a file can leave a deep scratch down the blade since you will be using a good amount of pressure.
2) Put the blade in a vice of some sort! If you want crisp and clean file work on your blade then this is a must. Also, when the blade is secured, you can use more pressure!
3) Layout your design with set of calipers. An even and symmetrical pattern is key.
4) Cut in your pattern first with a three square file at the marks you made. It is much easier hitting your marks accurately this way then trying to do the same with a round file.
5) Use pressure and even strokes while cutting with the files. Use the depth gauge on the calipers to get each cut the same in a pattern. Real heads are looking for symmetry!
6) When I get to the end of a cut, I back off on pressure to smooth it out. Right before I move to the next cut I am stroking with almost zero pressure. I get a good finish this way.
After heat treat, I will use a smooth cut file to put the final finish in the cut and clean off any discoloration.
Next I round the spine of the MDB for comfort. I started doing this to the MDB because I found that with the slim, wide handle it has that a rounded spine provided a very comfortable grip. You can make a fist and the knife just rests in your hands. You can box with a MDB in both hands in the reverse grip or normal grip.
1) I tape of the blade in front of the file work on the spine because I want that part to remain square. I think it looks cool and I do not want to round the spine over my bevel grind.
The file work in this area allows for a clean transition. This tape is a good visual aide that lets me know when to stop.
2) I put the 10 wheel on my KMG and put a 45 degree angle on each side of the spine going at about half speed and with a 100 grit belt.
3) I then put the small wheel attachment on and a J flex 220 grit belt. I hold the blade perpendicular to the belt and rock it back and forth rounding the corners over.
4) I then slide the spine back and forth (away from me then towards me) down the belt while rocking to smooth everything out.
5) I finish by putting the blank back in the vise and hand sanding with 400grit. I curl the sandpaper over the spine and work it back and forth. No shoe shining needed!


Last edited:


