- Joined
- Oct 8, 2006
- Messages
- 2,097
Yes, wood pellets is what I meant.
Thanks, ADB
Thanks, ADB


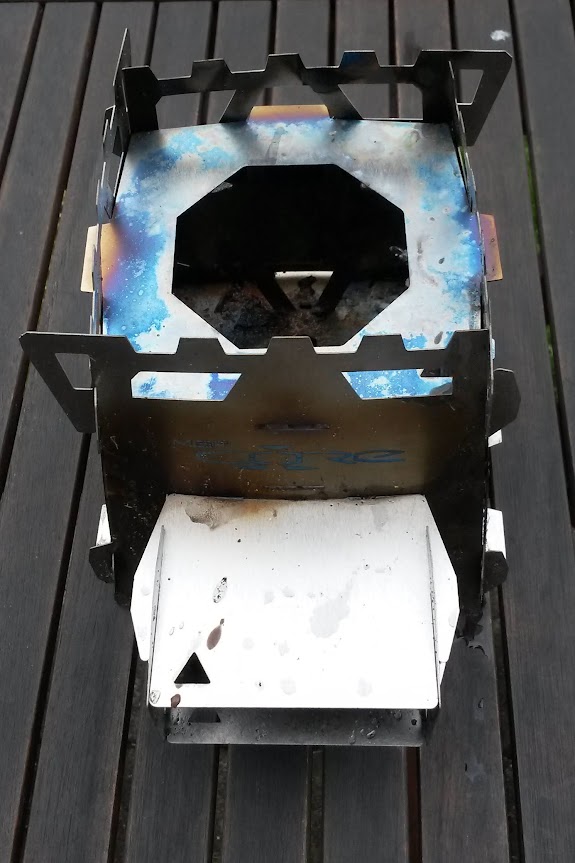

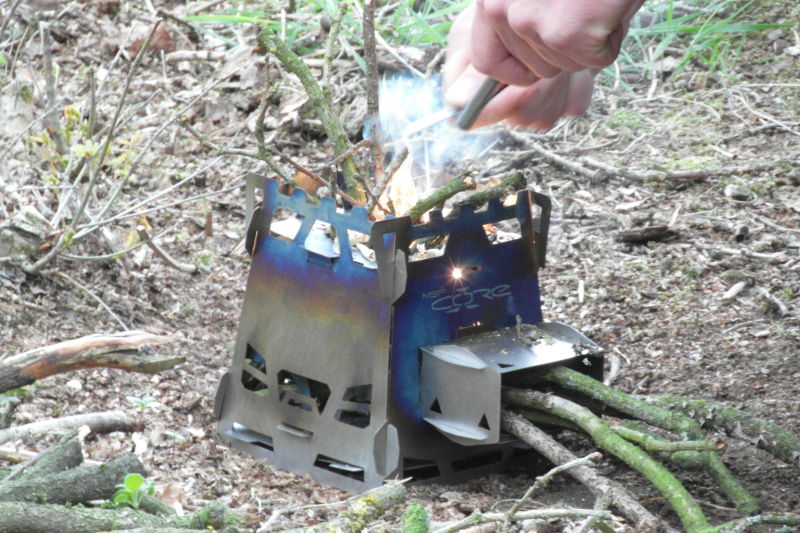
Yeah, that worried me a bit when I ordered. 14 parts used in the above setupInteresting stove. It seems to have more parts and pieces than a cut up fryer chicken. 18? I realize many are optional for different configurations though.
But it also functions like normal twig stoves with just 3 walls and a burn plate... 4 parts total if you want a simple setup.Yeah, that worried me a bit when I ordered. 14 parts used in the above setup
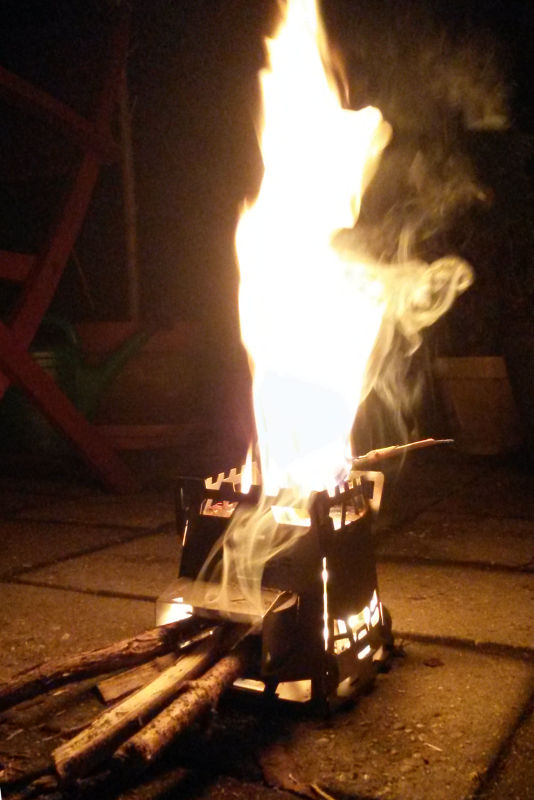
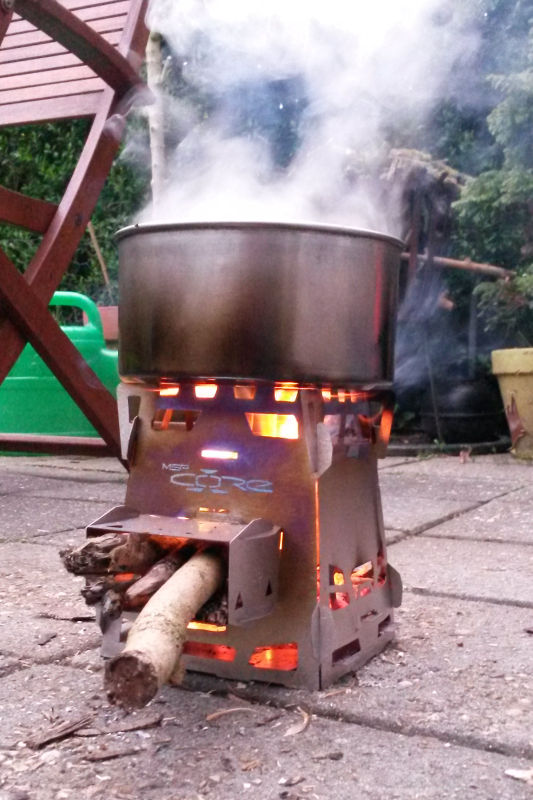
So five in the square config? Price looked reasonable when I searched it out. Particularly for titanium. The pierced bottom plate bothers me though. One of the features I like from the two I have tried is the solid floor that protects surfaces below. It does seem like this stove has an excellent chimney/carburetor effect with the internal baffles in place. Damit makes me want one to play with!


Thanks!
OK, I see the solid plate further up the page. Not tabbed to replace the pierced plate though is it? Just wondering if it would burn the same with a solid baseplate, not an additional lower plate.
Sorry, one of my flaws. I can't stop thinking like a manufacturing engineer. Always looking for a way to improve things, even if they already work!
Look forward to your reviews buddy, enjoy them alot.Good to see you like it!
I got the new models to review and should be up soon!
just seems too 'busy'. Lots of parts to keep track of. Looks like it make quite a fire, but maybe too much for my quick use. I have been using the Vargo folding wood stove. All the parts are connected, and quickly snap into place.
If I am base camping, I'll probably be using a liquid or gas fuel stove, so maybe the Core stove is not for me.
Seems to be well made, and well thought out though. Certainly the price point is attractive.
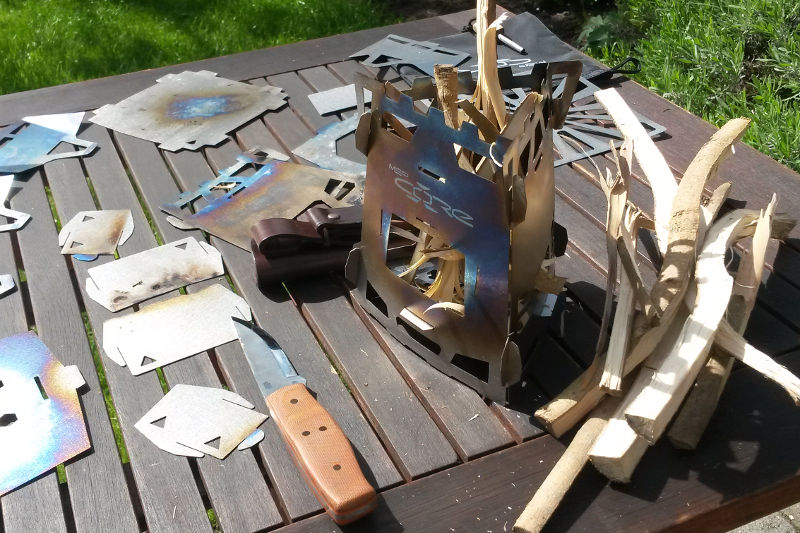
Yes, you mirror the concerns I note. The apparent complexity, as I also mentioned with the simpler TOPS stove, is mostly due to the attempt to make it a do-everything stove as opposed to a simple twig stove, IMHO. It is one of the bugaboos of inventing a better mousetrap.
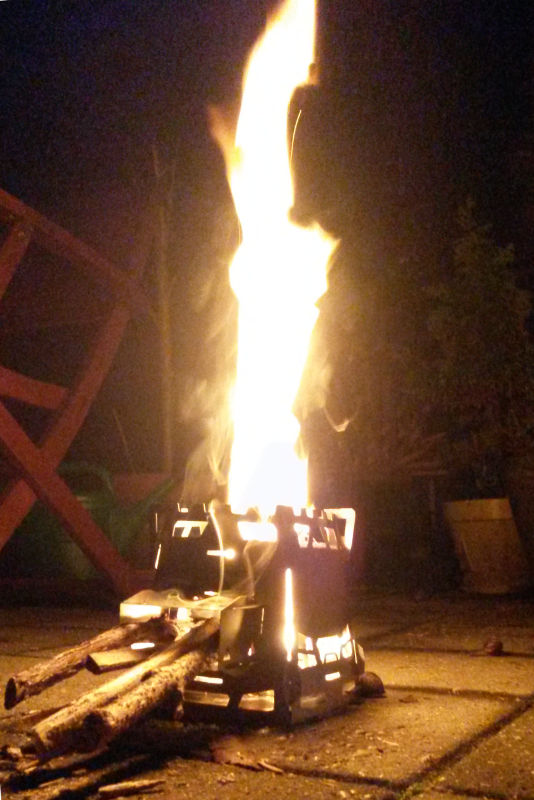
However if one finds a preferred configuration, many of the plates can be left at home. This stove does show us what can be done through engineering the airflow to create a hotter, more efficient burn. Some twig stoves seem to ignore this in favor of adaptability for other fuels.
There are times and uses when a blowtorch is handy and times when a slow even heat is preferred. This stove appears to be adaptable in that regard other than by controlling the type and quantity of fuel fed. So each owner can decide for themselves which configuration works best for their needs as circumstances dictate.
Of course I'd love to have an example of this stove to play with. And the Vargo. And the...
...I have waaaaaay to many stoves to play with!
Pfffft! This is like saying you have too many knives!


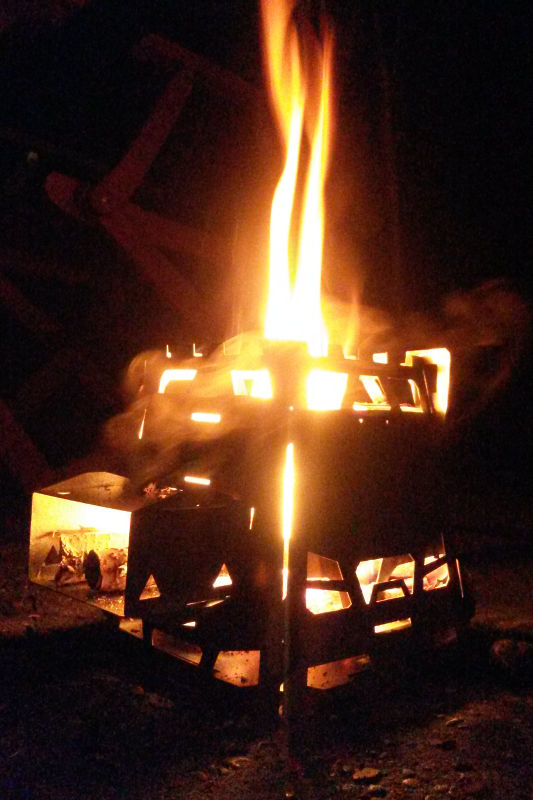
They prevent flames, smoke and gasses from coming out the front so the get directed to where you need them. There is a small 'door' plate included to close the front if you want to feed sticks from the top. That allows the use of 4 afterburners inside instead of 3.So what exactly do the four plates attached to the feed door do besides make a support for sticks being fed?
 :
: