Thanks guys. I've shown this one before.
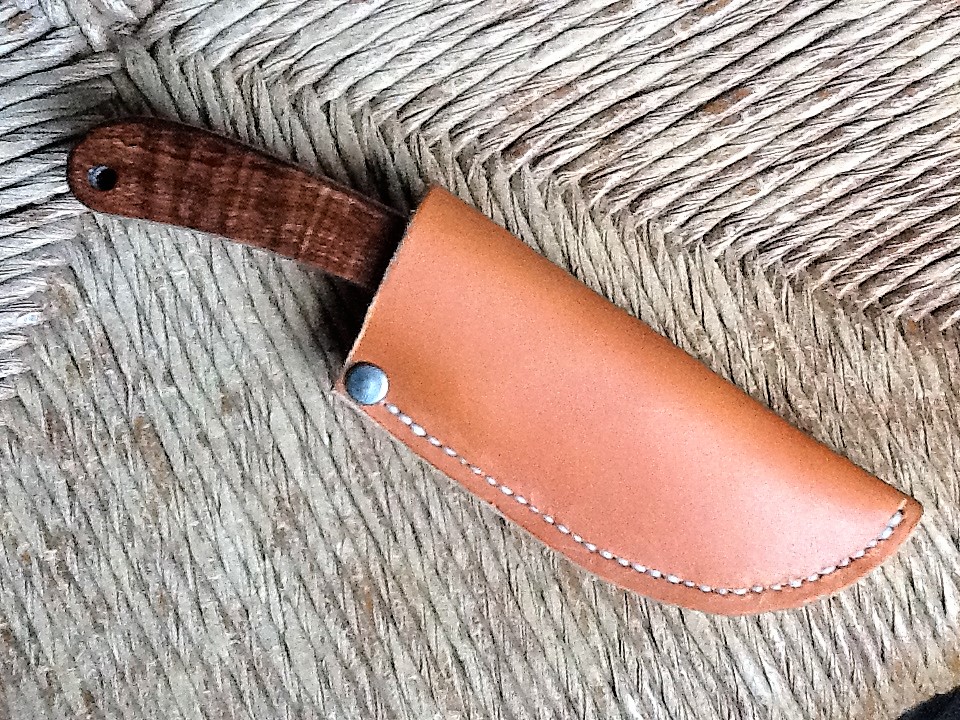
For the OP, a few thoughts. Your sheath looks fine. Don't alienate people who are trying to help you. If an answer is too short, simply ask if they can elaborate in greater detail. Guys like Dave are a wealth of information and do more leather work in one week than the rest of us will do in 10 years. So be friendly. Ok....about the sheath....The difference between hobby level work and professional work is often the details. You don't have to use a lot of tooling and inlays to make very clean and professional looking sheaths. These following thoughts are from my own perspective and I'm sure others will have their own ideas but these help me get the results I want:
Start by making sure your pattern is cut accurately. Make an effort to ensure your edge lines are smooth and graceful. If you have a bobble or kink in an edge it will duplicate itself when you use tools that reference the edge, like a stitch groover that cuts a groove parallel to the edge. If you end up with a crooked groove you will end up with crooked stitches.
Use thinner thread. This is an aesthetic thing and a maker preference. If you like thick thread and it looks right to your eye for that project, it's all good. To my own eye, and for my projects, a thinner thread has a finer, more elegant look.
Use more stitches per inch. This is another preference point. I'm talking about the difference between something like 5 per inch and 6 per inch. Less stitches per inch is less work and has a more bold look to it. Again, I think a higher stitch count gives my projects a more elegant and quality look. But I vary stitch per inch counts often based on the length of the groove it is fitting in. Again, this is a details matter thing. If your stitch spacing leaves you with a partial stitch at the end of the groove your eye will catch that. Strive to make sure your stitch spacing matches the groove, or vice versa, whenever possible. Sometimes it isn't.
Speaking of stitches.....try to pull them at a consistent depth. Pull the stitch until it is snug and well-seated. Don't pull it so deep that it is cutting into the leather and burying itself.
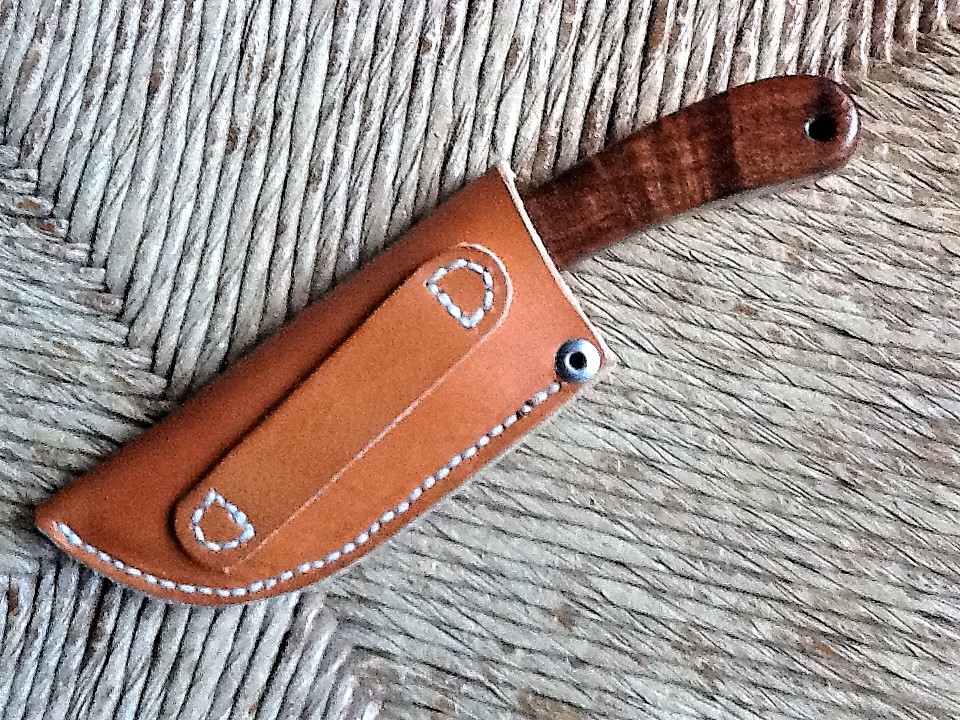
Edges are one of the biggest differences between hobby work and pro work. Take a look at Dave's edges or Paul's edges or any of the folks here who do top quality work. Their edges are beautiful. This is often the finishing touch that elevates a piece from pretty good to spot on. It's hard to tell from your pictures but your edges seem to be beveled or at least sanded and that's good! To bring it up a notch, sand your edges to 400 or 600 grit and using a product like Gum Tragacanth, burnish them smooth. This can be done with or without dying the edge but dying looks nice.
Dying or toning your sheath helps to take it away from it's raw material look and ties it in with your knife. You don't want a sheath to look like an afterthought. It should look like it belongs to your knife.
This brings me back to the beginning, design. When you make a sheath for a knife you have an opportunity to make the knife and sheath package more than the sum of it's parts by making the set a unified expression of your creativity and design vision. This will come in time as you develop your own style but it also takes effort. You must think about it. Try to envision the sheath that will go with the knife while you are designing the knife. Or if you don't think about the sheath until the knife is done, at least design the lines of the sheath to compliment the knife. Observe angles and curves on the knife and play off those lines in your sheath design. These are called analogous relationships. They help to bring the two parts together into a matched set that says to the viewer/user/buyer that every detail was thought through with artistic intent. This is how style develops and sets you apart from others.
You are doing fine and better than many. Just keep an eye on the small details because they add up quickly.