O2 Heat Treatment

Joined
Mar 17, 2013
Messages
110
I have made a blank out of O2 tool steel and I hardened today on school.
Well I think I have hardened, I heated it up to a nice cherry red color and then quenched in the oil (which was a little warmed up).
It shows a nice black even finish but when I take a file and run it over the blade it still bites in the edges.

So my question is did I do it right?
I didn't do the magnet test.

And if it isn't good, can I just heat it back up to the good temp en quench it again? Or do I have the anneal it first?

Couple pics, you cant see it very good but it is in indication.
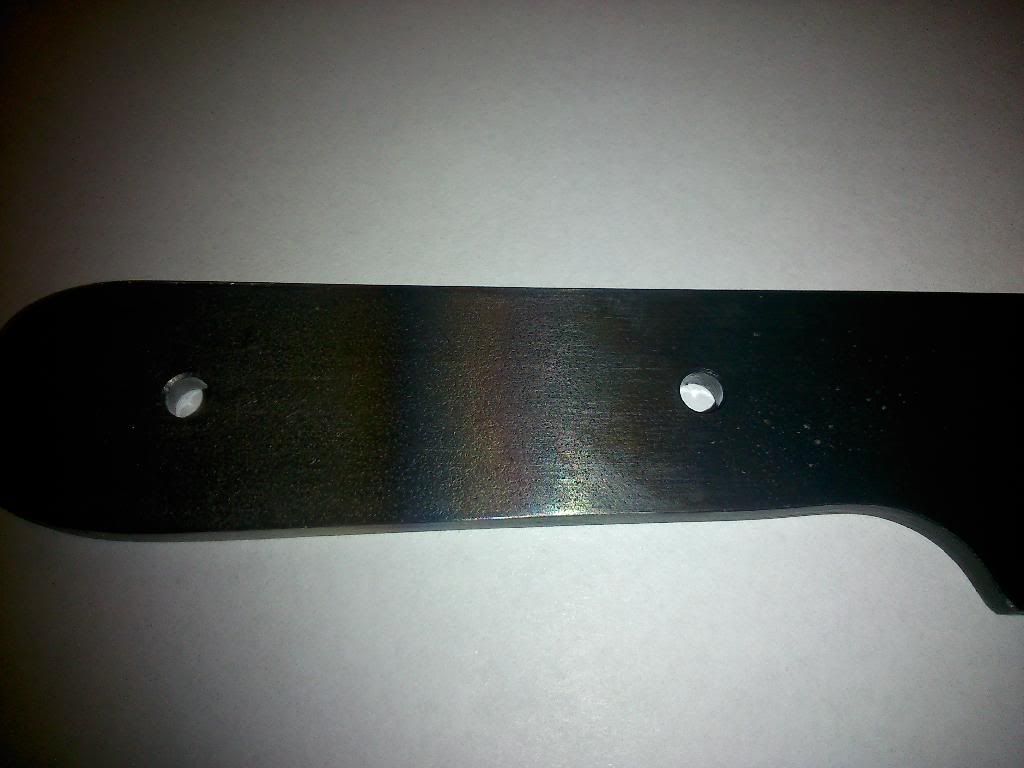
DSC_0247_zpspl4udn59.jpg

Grabt it on the handle and heated it half way te handle to the tip.

DSC_0249_zpswhrj2krr.jpg
 
O-2 needs to be heated to about 1500F and held there for 10 minutes. That is about two shades red hotter than non-magnetic.

It isn't a good steel for torch HT.
 
Good to know.
I quess it isn't fully hardened? Too low temperature and not long enough at that temp.

Can I just heat it again to the correct temp? And for what kind of red do I need to go?

My next knife will be deffenitly from 1080/84/95 steel.
 
Red is a color....1500°F is a temperature. They are not the same thing. Color will look different depending on the ambient light.

That said, the simplest way with no equipment is to use a magnet and color.
Place a good size magnet near the forge door. I like the cheap HF 3X3" welding magnets.
When heating the blade, start checking the blade by pulling it out and touching to the magnet. It will stick until it reaches the Currie point, around 1414°F. Once the steel's internal structure converts to austenite, it will no longer be magnetic. You need to heat it about 75°F hotter than that. Look at the blade color when it first stops sticking. You want the blade about one to two shades of red lighter than that. Once it is evenly heated to that shade, quench it. You can't hold a blade for 10 minutes in an uncontrolled forge , so forget the soak time. This is why 1084 is a much better steel for heat treatment by these simple methods.
 
Thank you for the great advise! Really appreciated.
Hope I can redo it again on monday.

I'll keep this updated.

Oh, do I need to clean de blade first? There is now an even blackish color en the blade.
 
No, but heating it to about 1200F and then letting it cool to black a couple times before the new HT would be a good idea. That temp is just below the non-magnetic point, and is a medium red color. After this normalizing step, straighten any warps if needed, and then do the new HT at the proper temp. The quench oil should be around 120F.
 
Thought I just give a little update. I'm planning to work on it tomorrow. Hope I can finish HT that day, otherwise I have to wait for next week.

Keep you guys updated.
 
I HT it again yesterday. First I did 2 normalization cycle's. Then I heated it back up tot non magnetic point and just a little further. It was pretty hard to keep it on a steady temp/color.
I think it went better then previous time. I can clearly hear the difference between de butt of the handle and the point of the blade when I run a file over it. The point sounds much more like glass then the butt.


It is a mid flat grind (saber grind). the blade is 3mm thick and ~30mm wide.
The grind is pretty uniform but both the grinds aren't not exactly identical.
 
With O2 you need to be precise.
It has LOADS of manganese which will ruin the steel grain if overheated.

Btw - do you have easy access to O2 in Netherlands?
 
There is a webshop that sells a lot of different steels. O2, D2, CPM 154CM, 440C, ATS 34 for examble. Not sure if I can give the name.
 
There is a webshop that sells a lot of different steels. O2, D2, CPM 154CM, 440C, ATS 34 for examble. Not sure if I can give the name.

No need for naming.
I guess they sell it in small batches, and premium prices, im looking for 10 - 50kg and small price :D
 
Zeer goed!
Sand the blade down well to remove the layer of de-carb on the steel and then sand to the finish desired. Be sure to get all deeper scratches out before moving on to finer grits.

Just a small thing, and not everyone agrees with me....but:
Look at that photo. See the lump of unsharpened steel sticking down behind the small choil ( the round indent at the end of the sharpened blade). That will impede the blade when cutting. Especially after a few sharpenings. If you just raise the bottom of this projection so the choil curve goes straight back, it will look and cut much better. All that would be required to do it would be to grind the bottom of the lump back about 2mm until it was flush with the top of the semi-circle. As the say in the UK - easy-peasey.
 
Thanks! :D

Today I have tempered the blade, 1 hour at 200 degree celsius (approximately 390-400 fahrenheit).
Then sanded it to 400-600 grit. The edge has a more coarse finish, you can clearly see all the grinding lines/scratches. I really like that 'unfinished look'.

It's a good idea to straighten out the choil but not sure if I will do that. That is also something that I like, the original design didn't have a choil in it. I have added that later.

I'm not going for the ultimate clean look on this first knife.

When finished I'll make another thread to show it.
 
Back
Top