Peening Questions

Sean Yaw

Gold Member
Joined
Feb 26, 2019
Messages
413
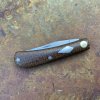
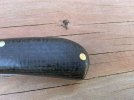
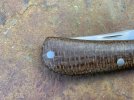
I finished my first peened together knife and have a couple questions. As you can see in the attached pictures, I managed to split the peened material (416 SS) at the edges which leaves an unsightly look, and likely compromised integrity of the joint. My naive logic leads me to suspect two possible culprits: (1) I made the counterbores too large, which forced me to try and expand the material too much and/or (2) I went too quickly and hit too hard and caused the splitting. I would appreciate any insight you would be willing to share.

My second question relates to process ordering. I finished the handles and then did the peening. The process of flattening the domed ends with a file and sandpaper led me to scratch everything up and just redo the handle finish. Should I just be more careful, or is it common to do handle finishing after peening is complete? Again, thank you so much for you feedback.
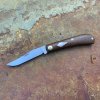
IMG_0548.jpeg

4D97F641-459A-4DFA-9531-08815ECBB01B.jpeg

3023024B-47DC-4240-A408-9D4BD185035B.jpeg
 
To answer your 1st question. You only want to chamfer about .004 in the hole. Anything more and as you suspect its asking too much from the pin. You also only want to leave about 1/16 sticking out. One very overlooked thing that helps, and I can't explain why bit it works, polish your hammer face. I like to leave my pin a little long. Peen one side. Tap it into the hole and then grind the other side down to exactly where I want it.

For your handles. Yes I pretty much contour them up to either 800 - 1000 grit. Once the knife is peened together I then grind the pins off on a worn 400 grit belt and 8" contact wheel. Just enough to knock the head off. Then I go back over each side starting at 400 grit and working up to my final grit and buff. If you dont gouge your handles this goes pretty quick. Hope this helps.
 
On both sides of the pin it should be about the width of the pin.
Take the pin once you have the length you need, chuck it up in a hand drill and go to your sander and knock off the edge making a slight bevel on each pin.

Install the pin and start peening, the bevel will keep the pin head from splitting.
 
Jason and Adam,
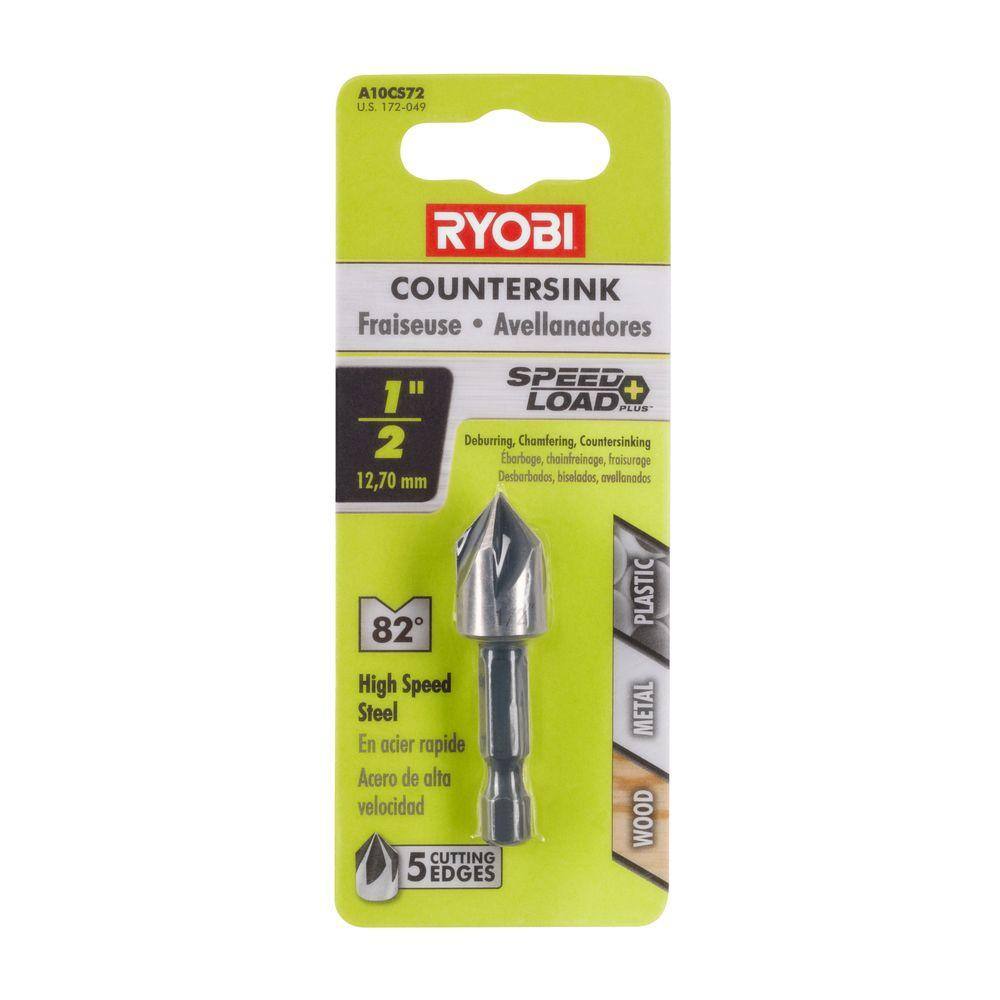
That is all very helpful information. The device I am using to make the chamfer is this countersink from Home Depot:

It seems like too high of a degree countersink could lead to a chamfer that is too shallow for a given width, or too wide for a given depth. Do you think that this countersink is appropriate for achieving the desired chamfer, or do you recommend something else? Thanks.
 
While I am asking peening questions, here is another: Is blade centering adjusted during the peening process, or is it independent of peening?
 
I've been using a dremel 125 bit in a hand pin vise since day 1 to chamfer the hole.

The goal is to have your blade centered before peening naturally but it can sometimes be crinkled to center if it's a little misaligned after peening. Sometimes. If your going to crink though it should be done before you grind off and clean up your pivot.

Edit to add if you want to be proficient building slip joints I suggest you learn how to crink and slacken a blade. Google the "slackening a slip joint" and there is a video from the master. There is also is a great video on proper crinking but I always have trouble finding it. It's out there though you just have to dig a bit.
 
Last edited:
There is a four-part YouTube video by Nick Wheeler on domed pins. Jason's posts above are consistent with the info in the videos, but seeing it done in meticulous detail will likely help a lot.
 
I will hunt that down. Thanks for the reference.

Crinking worked in centering my blade.
 
Stainless is particularly difficult to peen. As you see, it splits easily and is really too hard to get consistent results.
Perhaps you should try nickel silver and brass. They are easy to work with.
 
Stainless is particularly difficult to peen. As you see, it splits easily and is really too hard to get consistent results.
Perhaps you should try nickel silver and brass. They are easy to work with.
Thanks, Bill. Maybe I will get some practice in with those materials first.
 
Jason and Adam,
That is all very helpful information. The device I am using to make the chamfer is this countersink from Home Depot:

It seems like too high of a degree countersink could lead to a chamfer that is too shallow for a given width, or too wide for a given depth. Do you think that this countersink is appropriate for achieving the desired chamfer, or do you recommend something else? Thanks.
I have used many thing to taper the hole, I use these and never looked back https://smile.amazon.com/gp/product/B00HA3QTBO/ref=ppx_yo_dt_b_search_asin_title?ie=UTF8&psc=1
 
82° is way too much chamfer. The 20° carbide bits Adam recommends are much better. Even 20° is probably more than needed. A quick ream with a machinist carbide tapered reamer for the hole size drilled will lock the pin in with even less hammering.

+1 on a polished hammer ball and flat. It reduced friction and makes the pin spread easier. Start with the ball and after a few dozen firm taps on each side, give it some with the flat. It isn't necessary or desirable to be hammering hard or for a lot of blows.

Sometimes when the edges look ragged you have to sand the handle down more. When doing peened pins I recommend leaving a bit of final sanding to be done after peening.
 
Start with annealed pin stock if you want to expand them and peen them over.
+1 on tapered reamer.
 
The problem with annealed stainless pin stock is you have to buy it annealed.
If you don't have an oven, it's real difficult to get it soft.
 
I've only peened a few pins to retain handle scales, I tend to use corby bolts, or simply epoxy the pin into the hole and grind it down while shaping the handle. This eliminates the need to peen and almost guarantees a clean finish if you have a well fit hole and use relatively new belts with a firm (platen) backing.

I peen a retainer pin on every stainless steel and nickel silver knife guard, which is an integral part of almost every knife that I've made. I've had good success, but occasionally one peened pin does not perfectly fill the countersunk hole, which leaves a minor void.

Rules:
Keep only 1 to 1.5 pin diameters protruding from each side before peening.
A shallow 35 degree centerdrill countersink has worked well for me in the past, but I've recently bought a tapered reamer which seems to be working well too for guard peening.

Here's one with a blemish on the guard peen.. This also shows an epoxied handle scale pin that has been ground with the scale while shaping . . . no peening needed there.:
IMG_5590_1800.jpg
 
I have used the Dremel bits and counter sinks bits with some success but sometimes the pins would show, once I went to tapered pin reamers I haven’t had one show. The first few folders I made I peened the heck out of the pins and they cracked like that, even cracked the micarta scales on one, then I tried to take one apart half way through peening and I ruined the handles getting it apart. I found out it doesn’t take much of a head on the pin to hold it together. I use stainless pin stock, but on bone or stag, nickel silver would be better.
 
Last edited:
I have used the Dremel bits and counter sinks bits with some success but sometimes the pins would show, once I went to tapered pin reamers I haven’t had one show. The first few folders I made I peened the heck out of the pins and they cracked like that, even cracked the micarta scales on one, then I tried to take one apart half way through peening and I ruined the handles getting it apart. I found out it doesn’t take much of a head on the pin to hold it together. I use stainless pin stock, but on bone or stag, nickel silver would be better.
KUtrw9j
 
try peening 1 side before you put it in the hole... if it deforms or cracks it is not on a almost finished knife..
yes it can be a challenge to hold the pin to peen .. i made a small plate with different sized holes in it to peen pins with ..
 
Back
Top