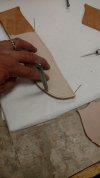
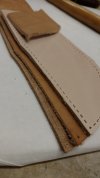
Progress Thread - The Redmeadow Bowies

That is the coolest one yet.
 
Tests like this really don't prove much, but they give an idea of how consistent an edge is. I usually do this really slow when I sharpen to look for snags, they'll show up pretty quick.

LOL!!! :D Good call wit da music!!! :thumbsup: :cool:
 
How much time goes into making a Bowie sheath, start to finish? We've seen the labor intensive knife making WIP's, but you mentioned hand stitching the sheaths; that's got to be time consuming as heck.
 
Since I goofed up and preemptively did 75% of the work on a right hand sheath and just sold the stacked leather to a lefty, let's do a WIP for this sheath. The good news is, we have a right hander that wants a Bowie so that work want a waste.

A leather WIP will be fun to do, although it may just provide a guide of what not to do! But sometimes that's the best example lol.
 
As it pertains to leatherwork...
Redmeadow Rule #1- Clip your friggin fingernails. This simple rule will save you from learning new cuss words as you try to figure out how in the hell all of these little half moons got all over the sheath. After the eighth or ninth time you call yourself these new words you will remember to clip your fingernails short before you even get close to the leather.
 
I'll try to keel numbering the photos so if anyone has any questions it'll make it easier.


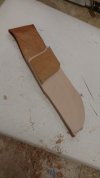
1. Paper template taped to a piece of leather with shipping tape, keeps everything in place while I cut. A hard template would be ideal, but for now, this is working pretty good. Each time I use it, it gets another layer of tape and a little more solid.
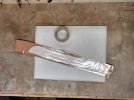
IMG_20171025_225801574_HDR.jpg

2. This piece will get folded back on itself to make the back portion of the sheath and where the belt will go through. It allows the finished side of the leather inside against the blade instead of the rough side. It also makes a for a sturdy sheath.
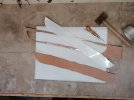
IMG_20171025_230716811.jpg

3.Skiving down the leather and thinning it out towards both tips with a hand skiver. That lets the sheath taper and prevents it from being a klunky knife box.
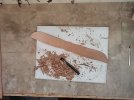
IMG_20171025_232927425.jpg

4.It's hard to tell, but the leather in between my fingers is thinner than at the bend.
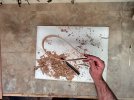
IMG_20171025_232951525_HDR.jpg

5.Wetting the leather to be able to form the belt loop and line things up.
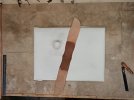
IMG_20171025_234751007.jpg

6. Folded in half, hammered, lined up and carefully trimmed so that the two pieces meet as close as possible.
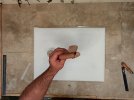
IMG_20171025_235145868.jpg

7. Making sure everything is gonna work out.
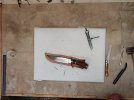
IMG_20171026_240457055.jpg

8. What will become the front piece of the sheath is layed in between and cut out so that it fits.
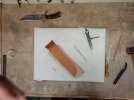
IMG_20171026_241029783.jpg

9. The front piece being marked to fit the guard. This piece will be lined with pigskin to cover the rough side.
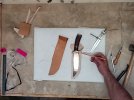
IMG_20171026_242031591.jpg
 
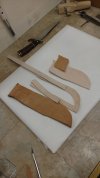
10. The main pieces cut.
IMG_20171026_003314785-1024x1820.jpg
11. Jumped ahead a bit, but the welt, retaining strap, and wedge are shown.
IMG_20171026_010718101-1024x1820.jpg
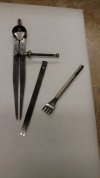
12. A Wing divider, used to mark out the stitch line along the edge. I usually go a little over 1/8". 2 and 4 prong chisels also shown.
IMG_20171026_010807596-1024x1820.jpg
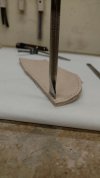
13. Whack a Doo...repeat
IMG_20171026_012139731-1024x1820.jpg

14. This picture is a bit confusing. I am tracing the stitch holes on to the backside of the sheath using the front piece as a template. That keeps the front and back looking the same, it bugs me when the backside of a sheath looks crappy.
IMG_20171026_013617498-1024x1820.jpg
15. Almost punched, there's still the inside layer, the wedge, retaining strap, and welt to go.
IMG_20171026_014526988-1024x1820.jpg
 
I bet the lefty that made you make up a whole new sheath feels horrible about it. Well, maybe horrible is too strong a word...
 
Ha, not a worry one Mack.

Catering to wrong handed people is like helping a charity, someone has to help the afflicted.:D

I'll try to get some more pictures up as I go if it interests anyone.
 
My helpers are always willing to swing a mallet.
IMG_20171026_141322597-1024x1820.jpg
IMG_20171026_142234370-1024x1820.jpg
^good lord I look like a Wookie^


Getting everything prepped for Vinegaroon and dye. Gong to shoot for a dark brown center fading into black edges.
IMG_20171026_155228358-1024x1820.jpg
 
Back
Top