You are using an out of date browser. It may not display this or other websites correctly.
You should upgrade or use an alternative browser.
You should upgrade or use an alternative browser.
Starting a Batch of AEB-L
- Thread starter redsquid2
- Start date

- Joined
- Aug 31, 2011
- Messages
- 2,985
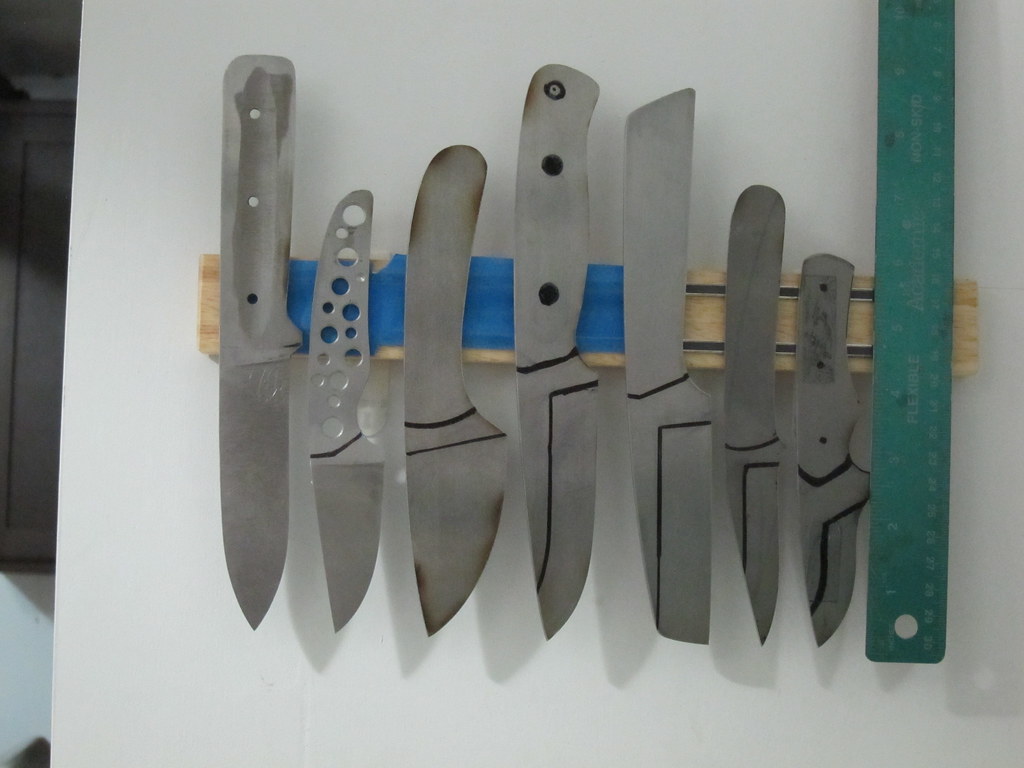
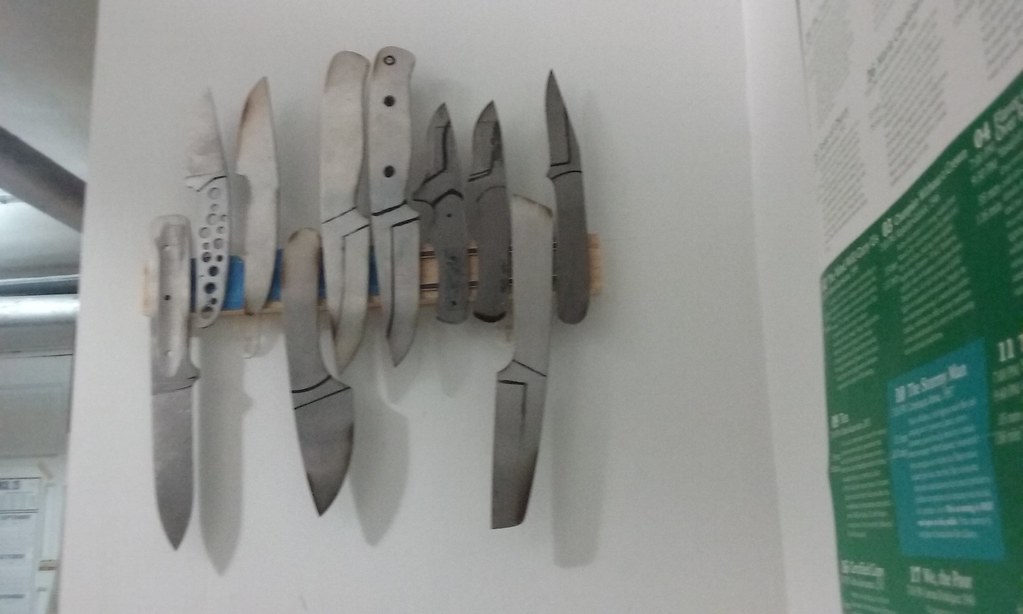
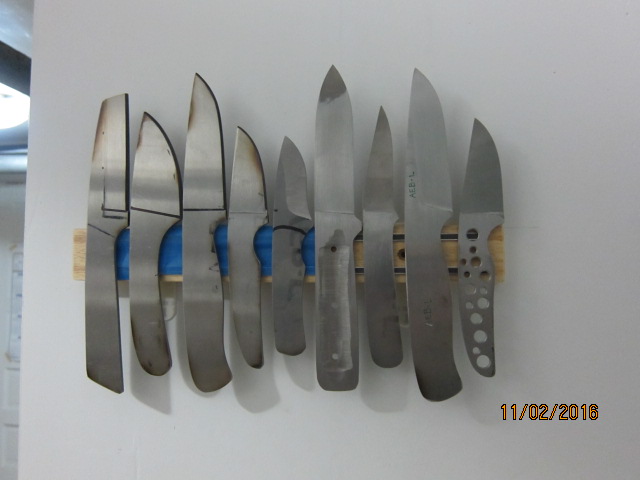
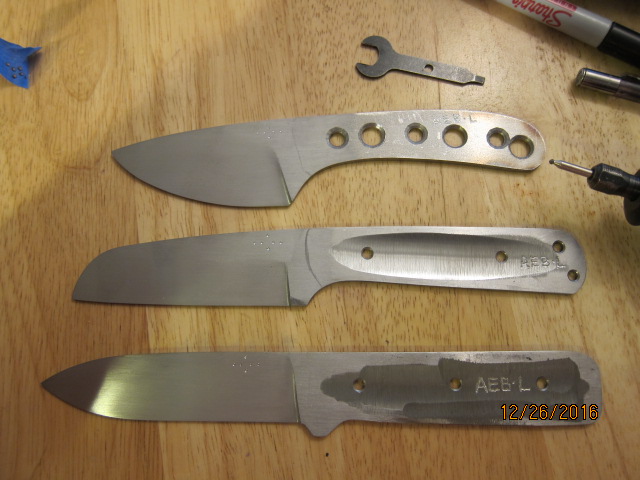
Starting on the left:
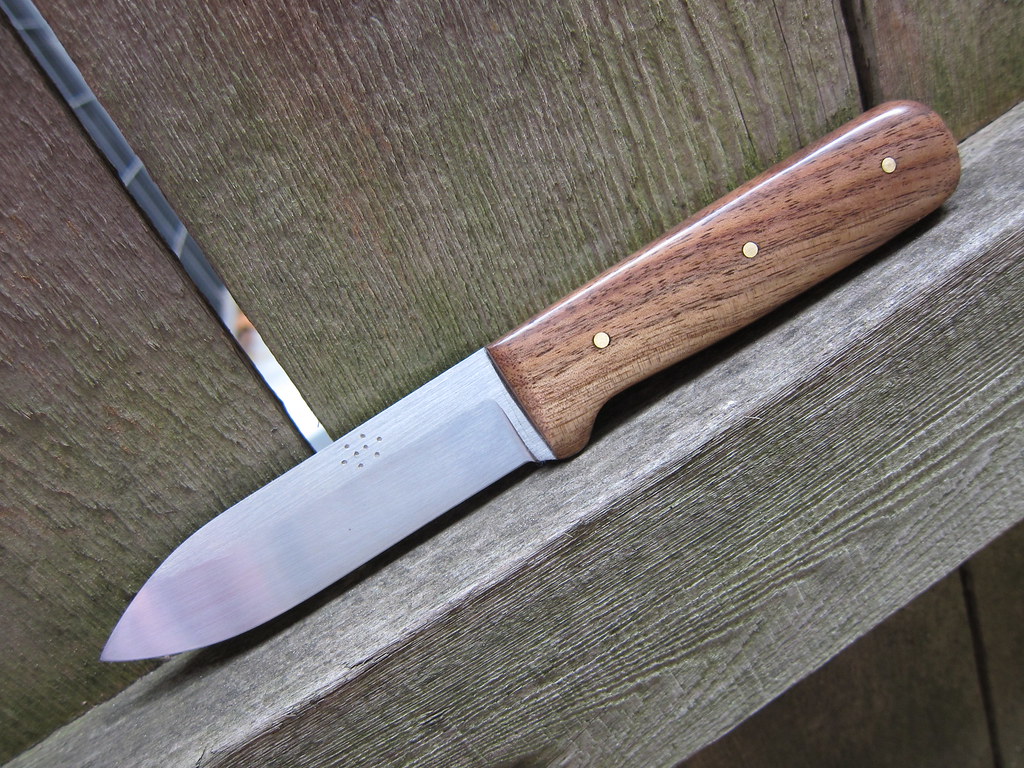
#1, I love kepharts, by the way. I first got my hands on one a couple of years ago, and I immediately knew it was comfortable and versatile.
#2, 3 I designed for backpacking - the light kind, although not ultralight.
#4, not sure what I was thinking. Just doodling with pencil and paper and that was what I came up with.
#5, 6 basic drop-points are always popular.
#7, 8 it's complicated.
#9 could have given it a longer blade, but I am sure it will still be useful.
#10 love it. Not sure why, just love it. Small, light, good for lots of tasks.
- Joined
- Aug 14, 2005
- Messages
- 15
will that kephart be up for sale in the near future?
- Joined
- Aug 31, 2011
- Messages
- 2,985
I'm going to say four months before any of these are up for sale. I don't make knives full-time. I do a hour in the evening, maybe a little more on a Saturday or Sunday. It can take a while.
Thank you for asking.
Thank you for asking.
- Joined
- Aug 31, 2011
- Messages
- 2,985
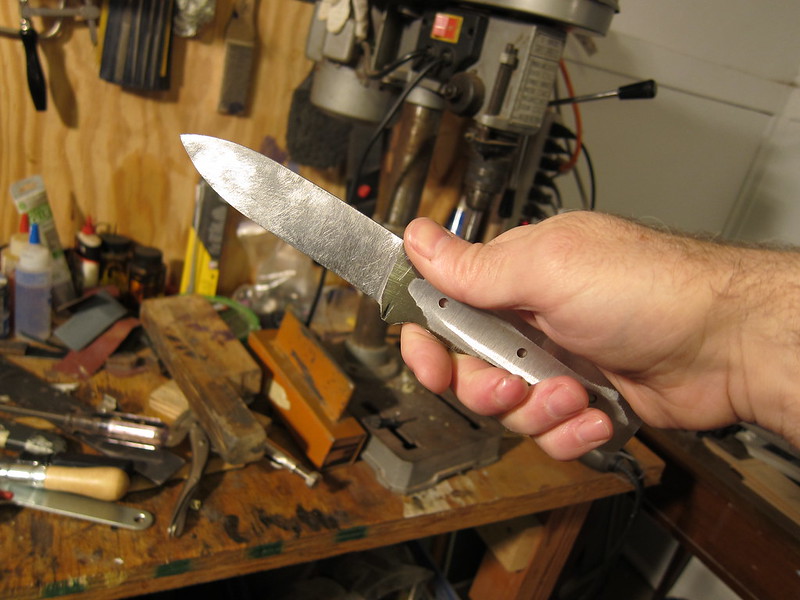
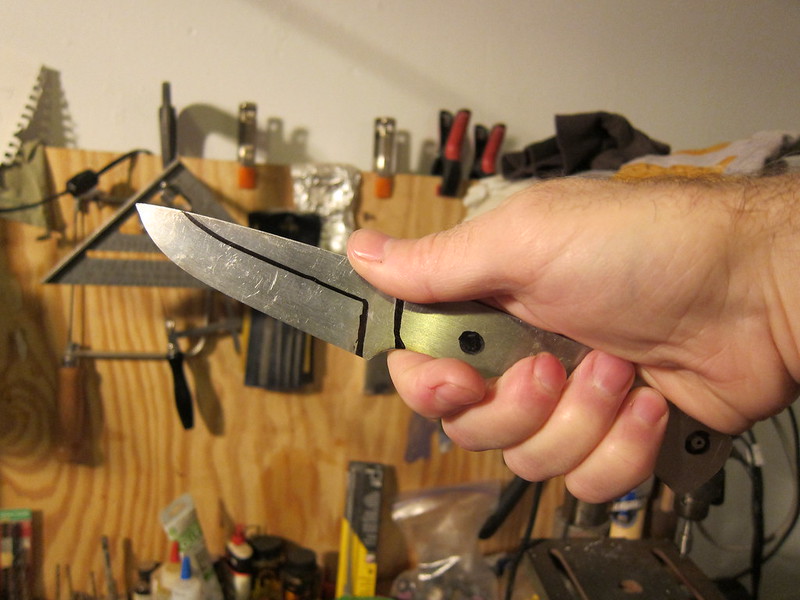
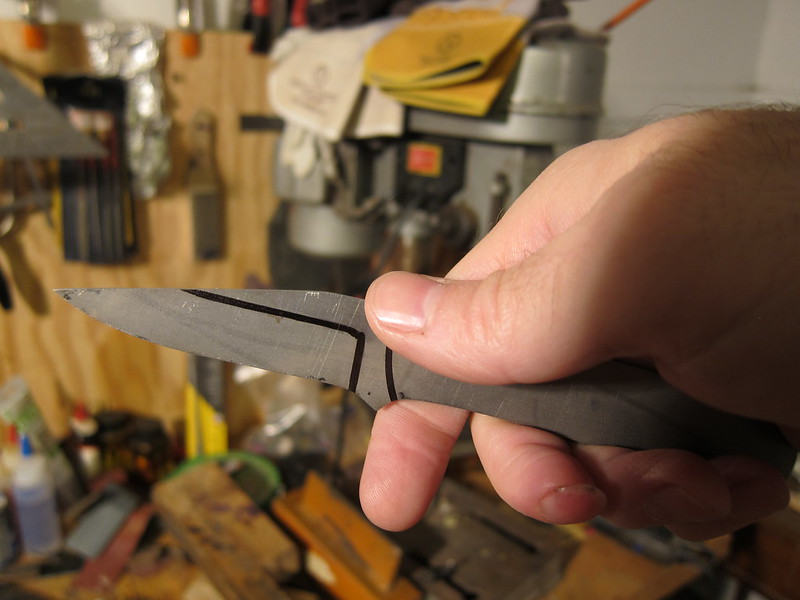
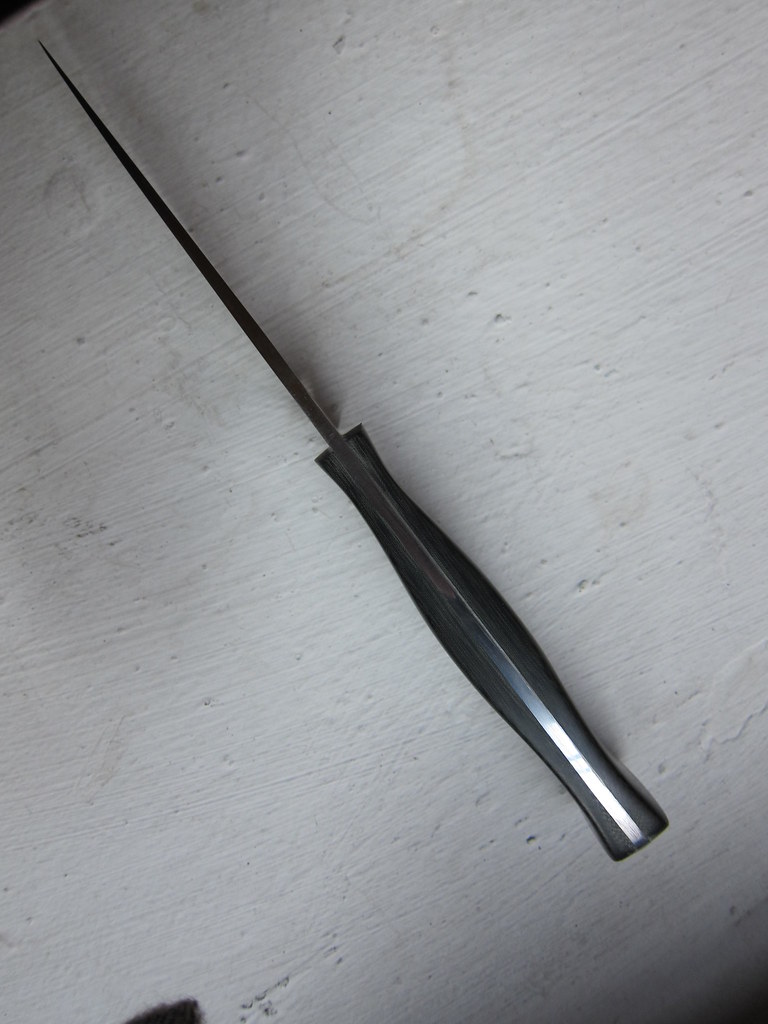
Started beveling the second drop-point. I do it by hand on a filing jig, with a magicut file. I will probably follow up with an 8" single cut file for draw filing, then start hand sanding at 80 grit.
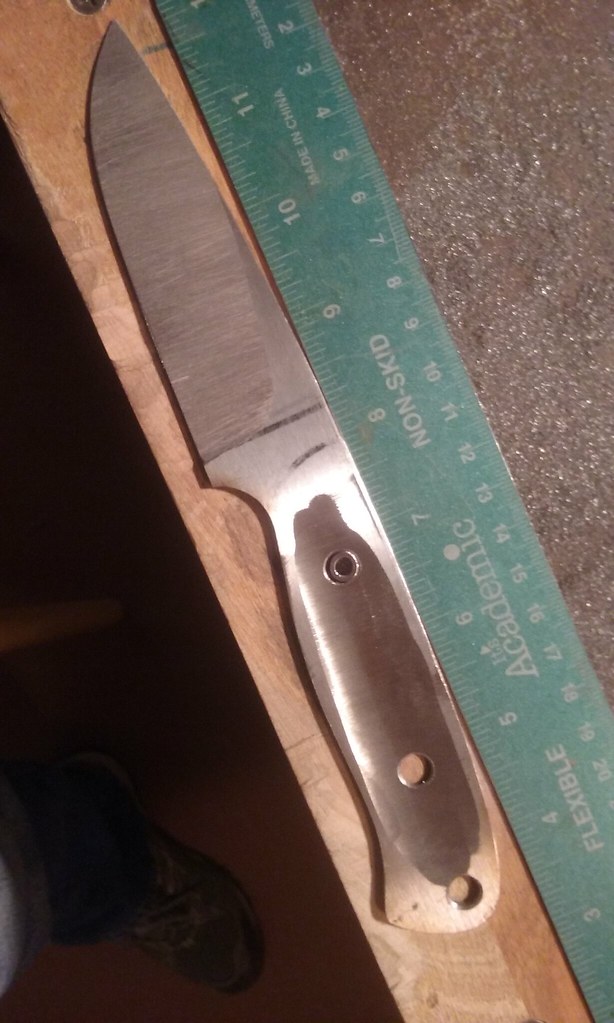
I may have mentioned, but my only grinder is the 2X42 - a beast I have not tamed. I just use it to take off a little material before going to the Magicut. I also use it to lighten up the handles, like you see here. Never tried making a tapered tang with that thing.
I may have mentioned, but my only grinder is the 2X42 - a beast I have not tamed. I just use it to take off a little material before going to the Magicut. I also use it to lighten up the handles, like you see here. Never tried making a tapered tang with that thing.
- Joined
- Sep 29, 2015
- Messages
- 714

Very happy I decided to go through some of the "more recent" threads in this sub forum... you have been making some awesome posts and progress, redsquid. Big motivation

- Joined
- Aug 31, 2011
- Messages
- 2,985
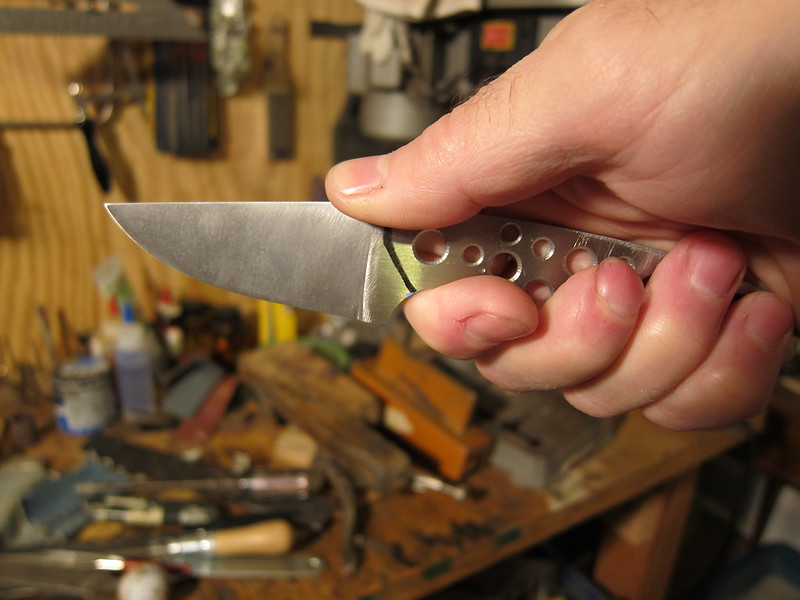
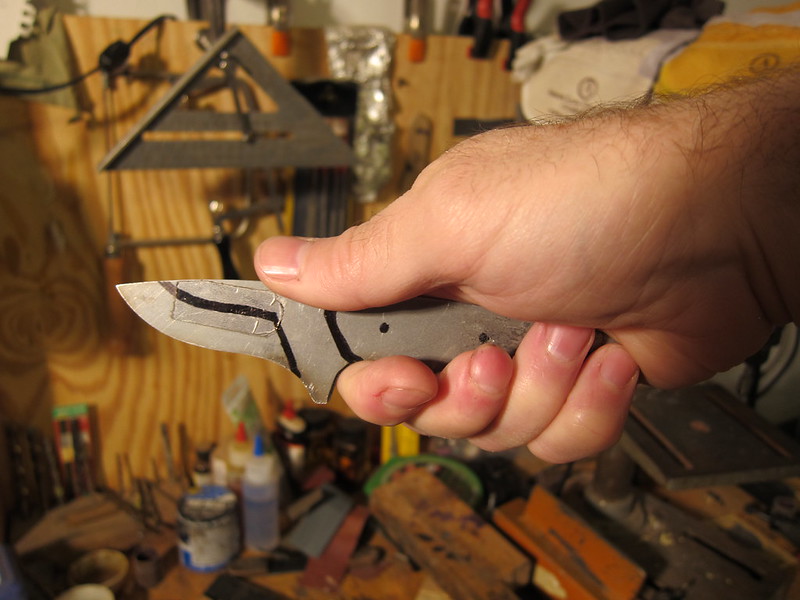
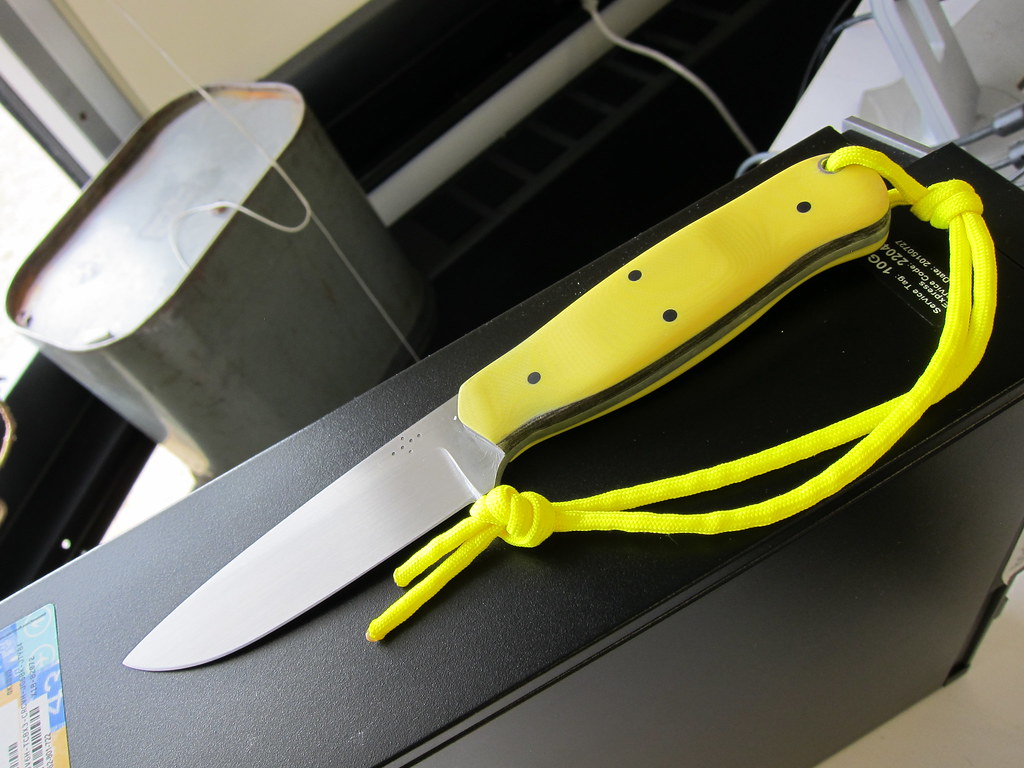
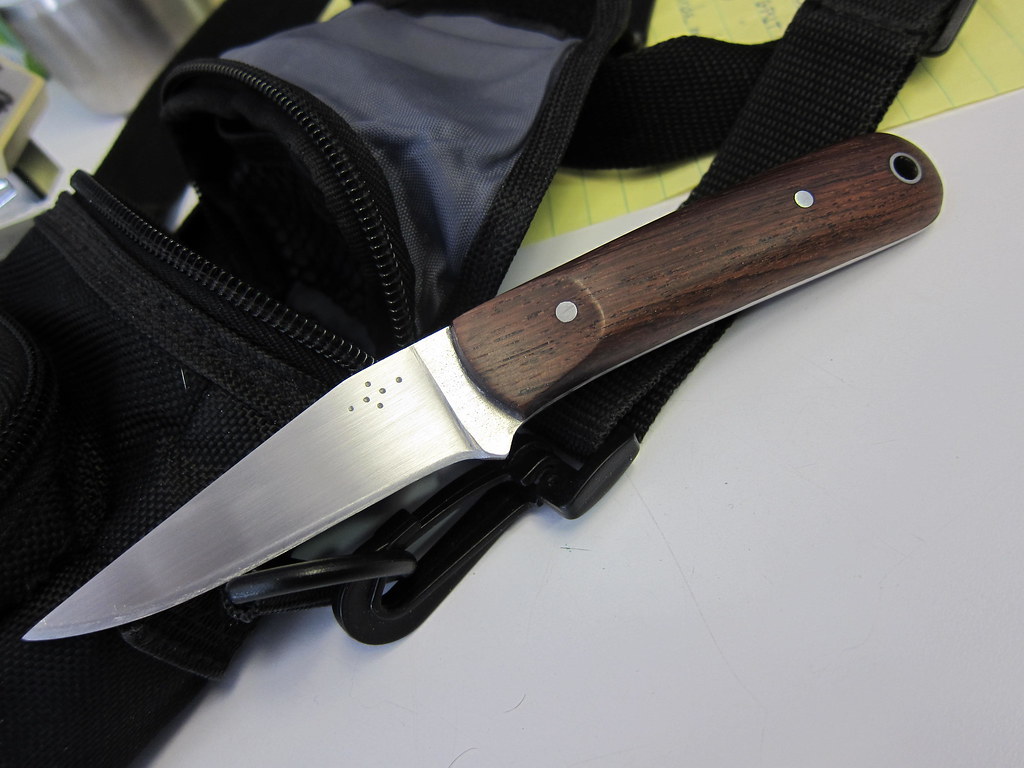
HUGE fan of the bird and trout! Why did you decide to run the edge into the plunge grind instead of filing a sharpening choil on that one?
I prefer not to have a choil. It might be easier to sharpen with a choil, but, two reasons: 1. I think it looks better without it, and 2. I don't like the way rope/cord will get snagged in a choil.
On that other one, I made a choil to cover up a mistake I had made in my grinding right there at the plunge.
- Joined
- Aug 31, 2011
- Messages
- 2,985
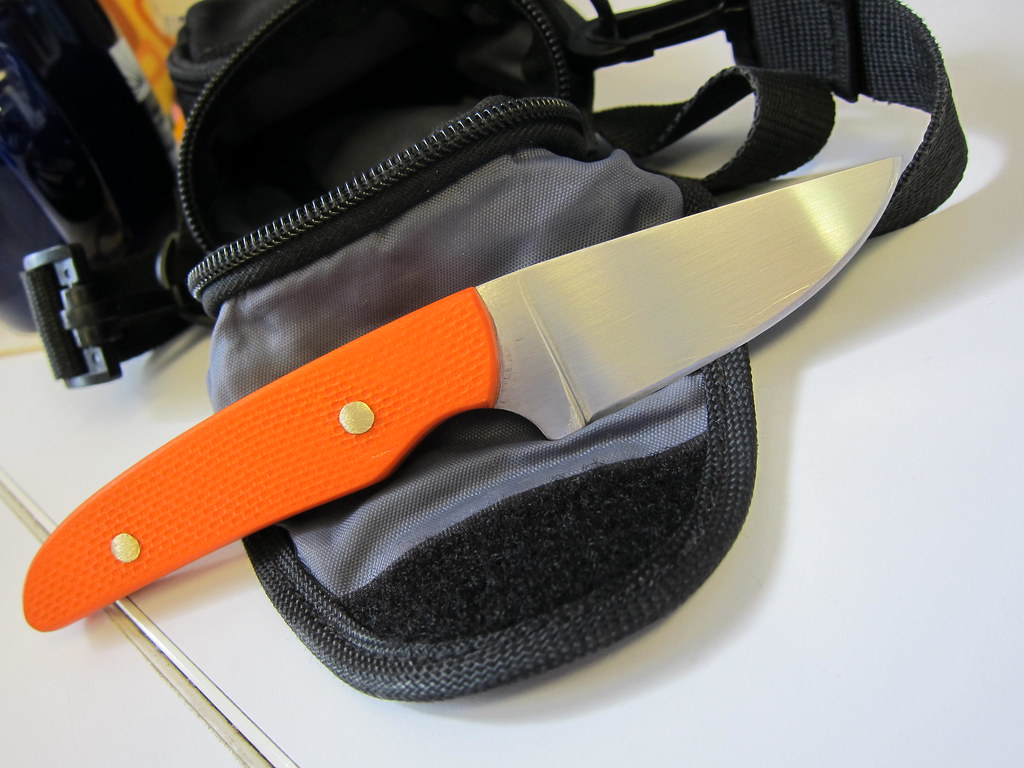
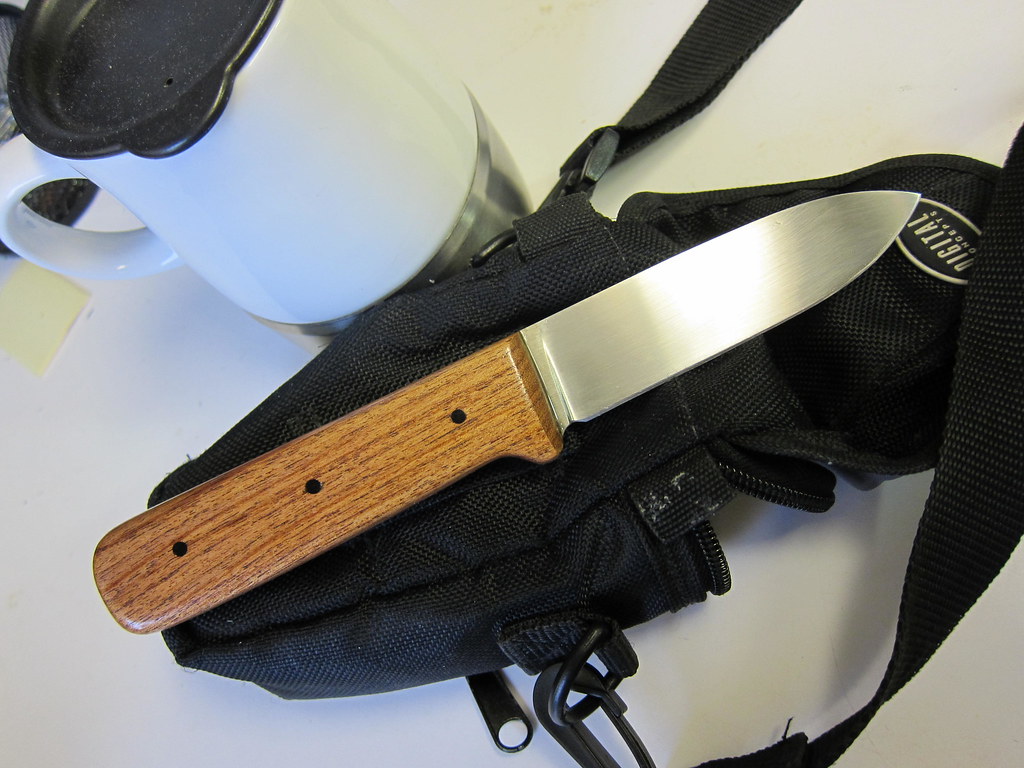
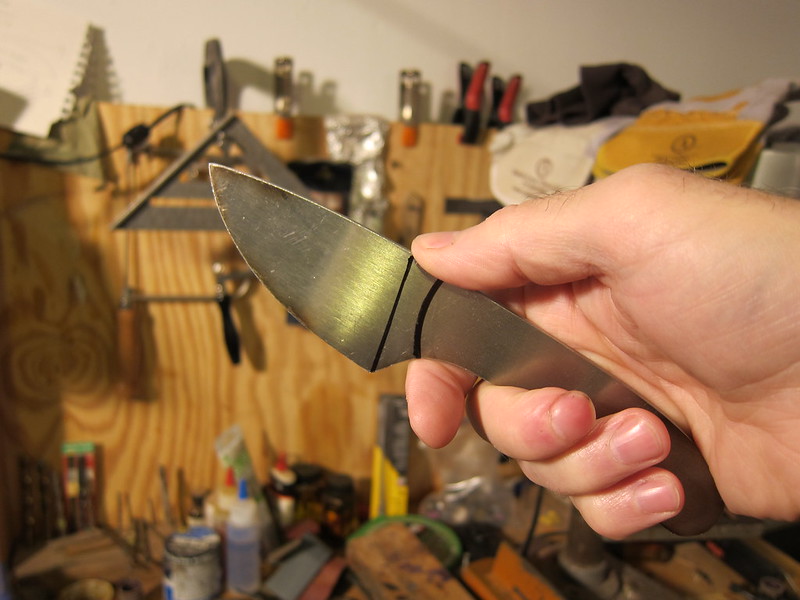
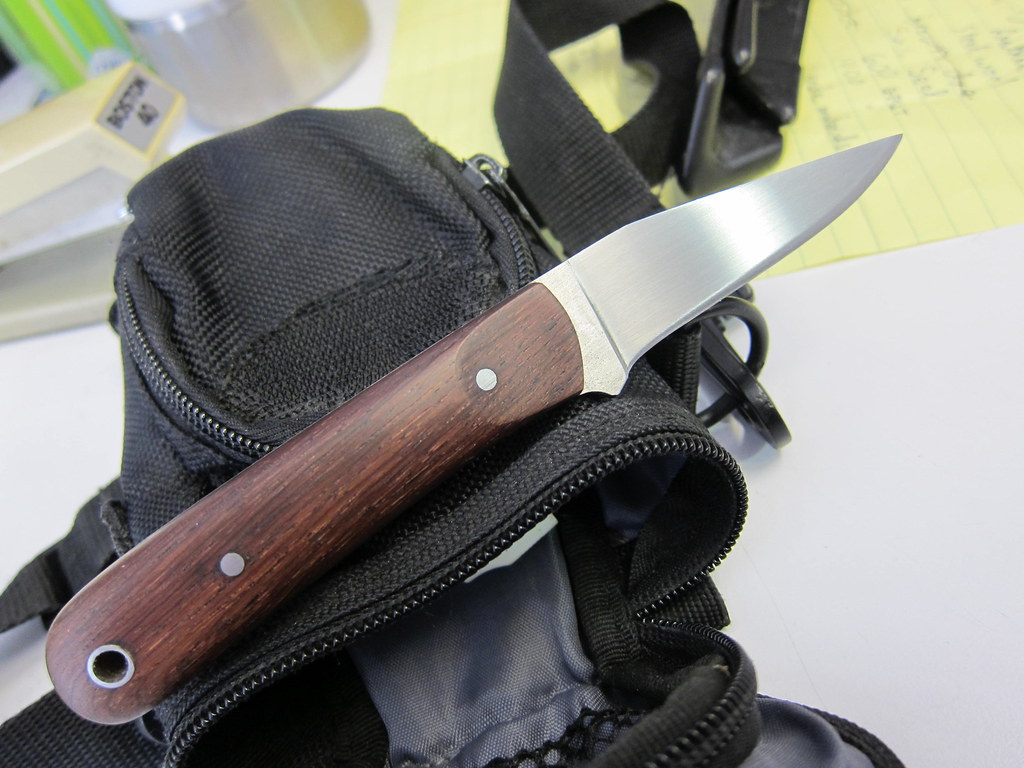
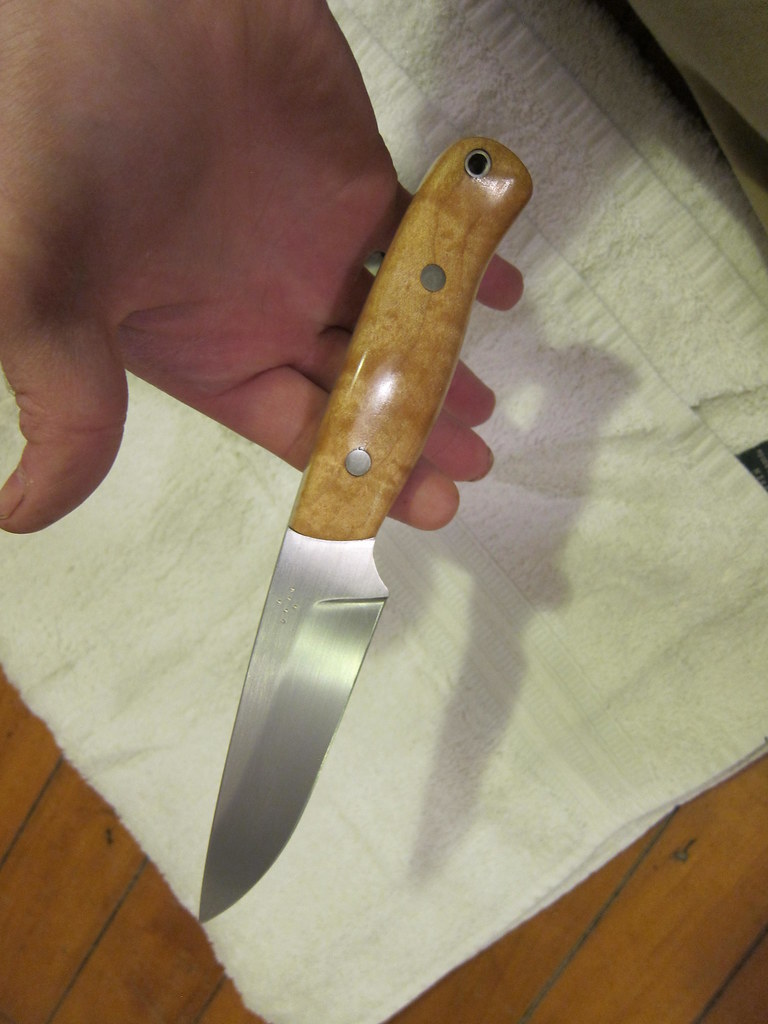
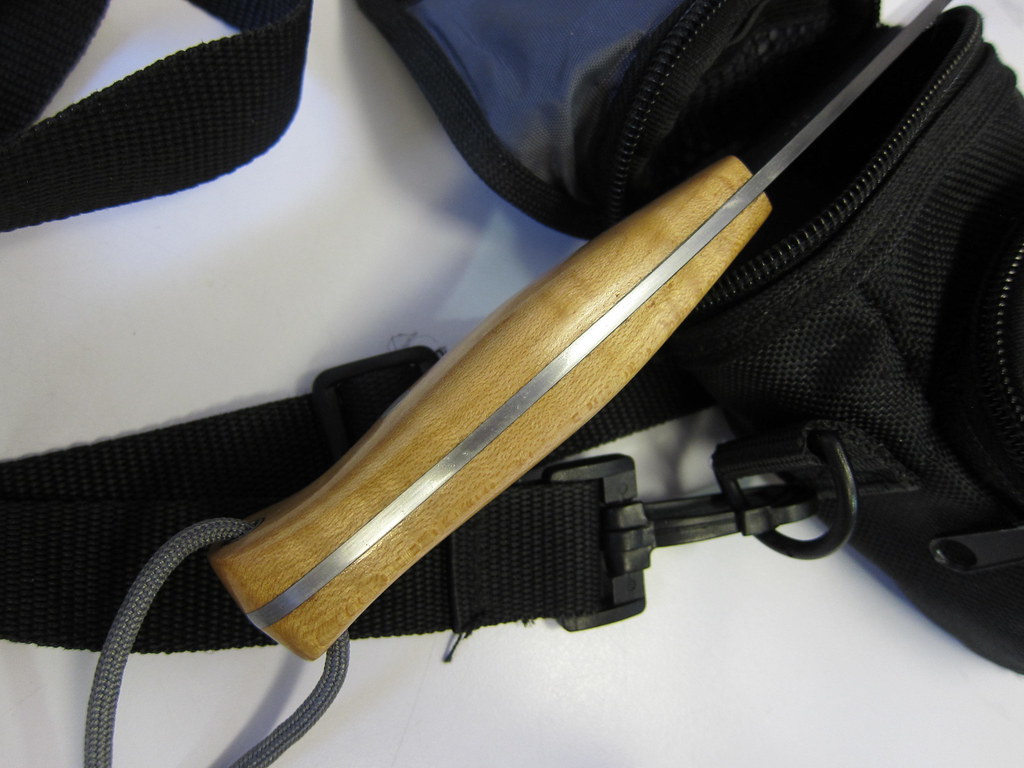
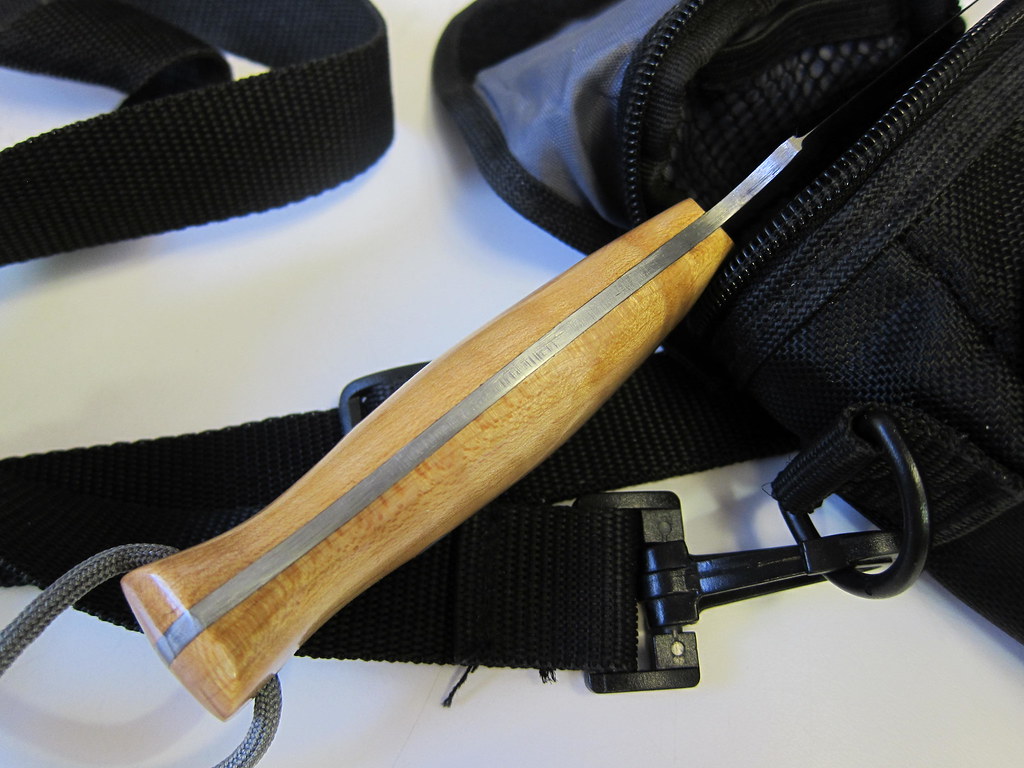
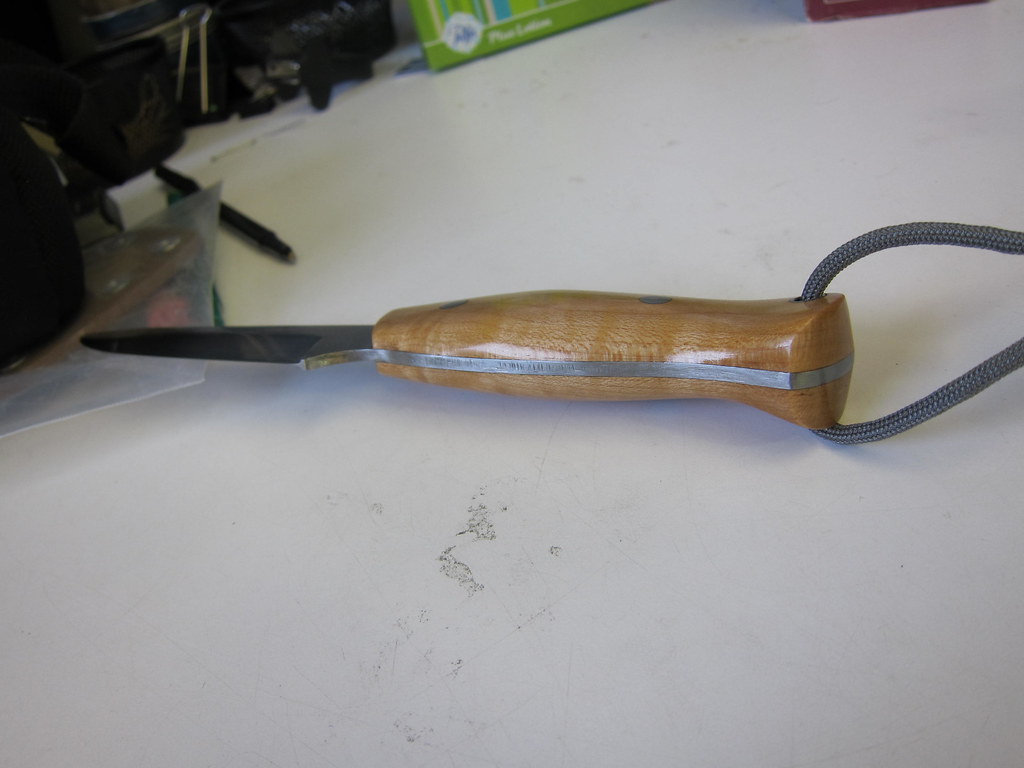
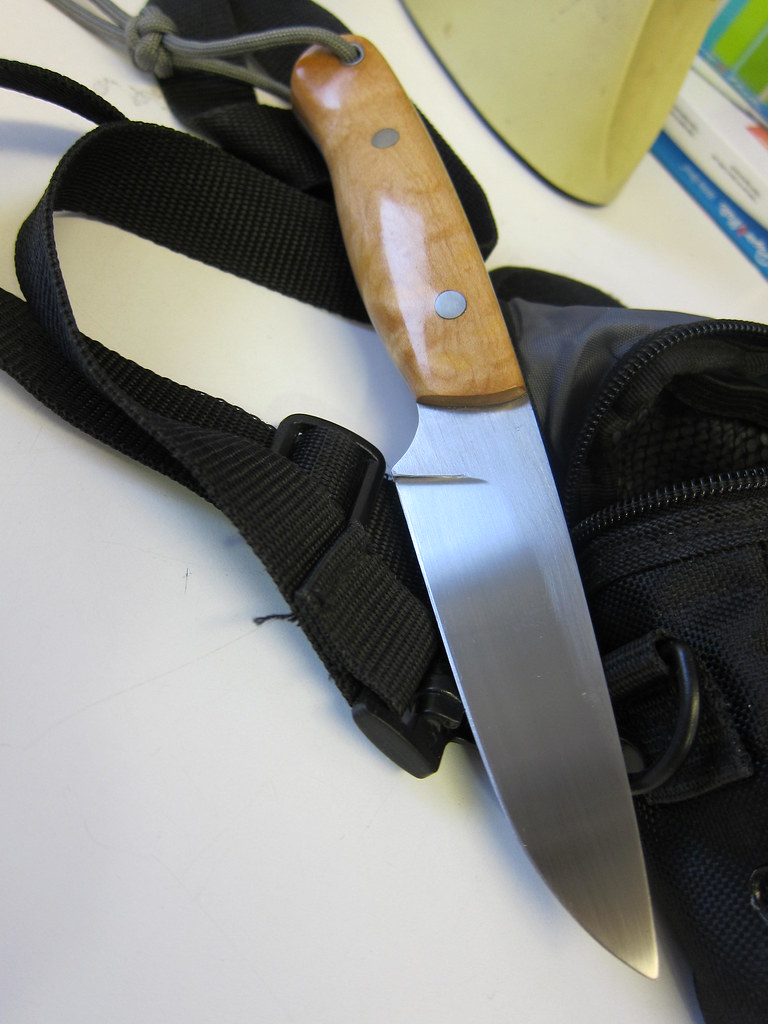
Finished another one. Drop point in AEB-L
Blade: 4 1/4"
OAL: 8 1/2"
Thickness: .118"
HT: Paul Bos for 61 RC.
Handle: natural hard maple, G Flex, corby screws, Tru Oil finish.
I need to find better light for taking pictures.
Blade: 4 1/4"
OAL: 8 1/2"
Thickness: .118"
HT: Paul Bos for 61 RC.
Handle: natural hard maple, G Flex, corby screws, Tru Oil finish.
I need to find better light for taking pictures.
Last edited: