Tanker 1/66
Gold Member
- Joined
- May 18, 2015
- Messages
- 5,199
I'm glad you like it Brother. Very Underrated knife and a perfect knife for your son to learn bushy knife skills on. Warms my Heart for Sure. Karma ")
Last edited:
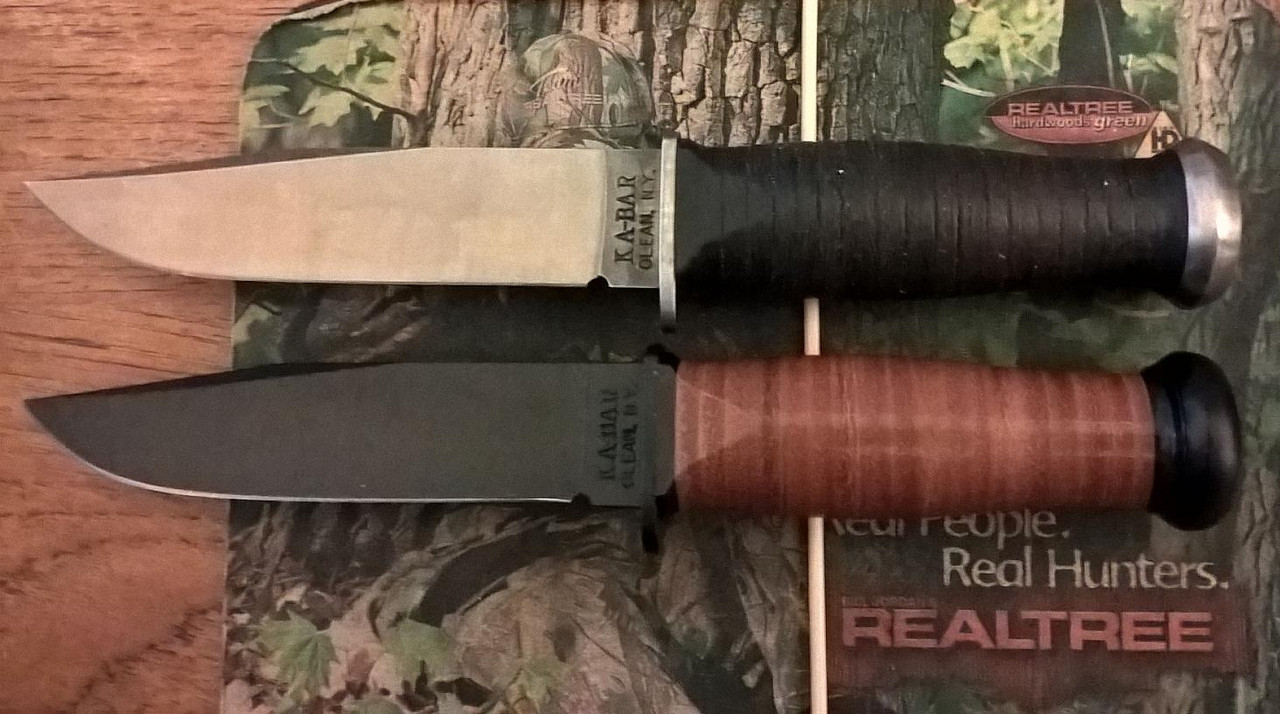
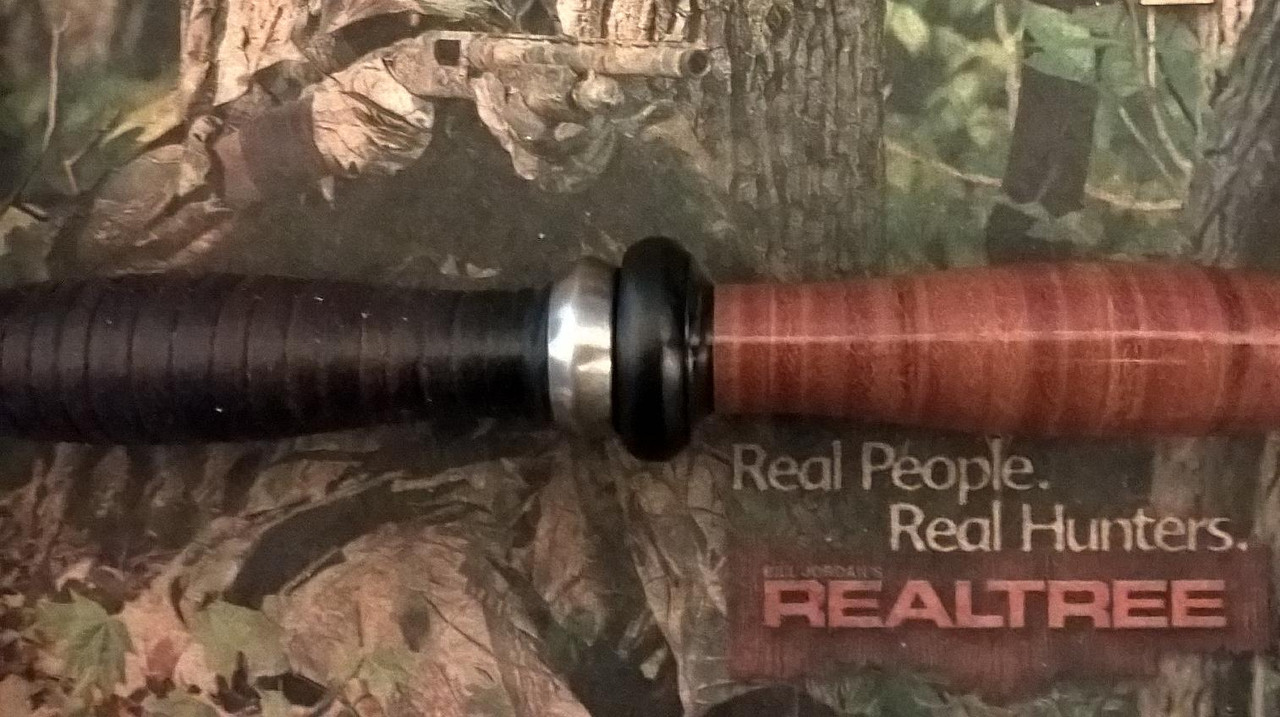
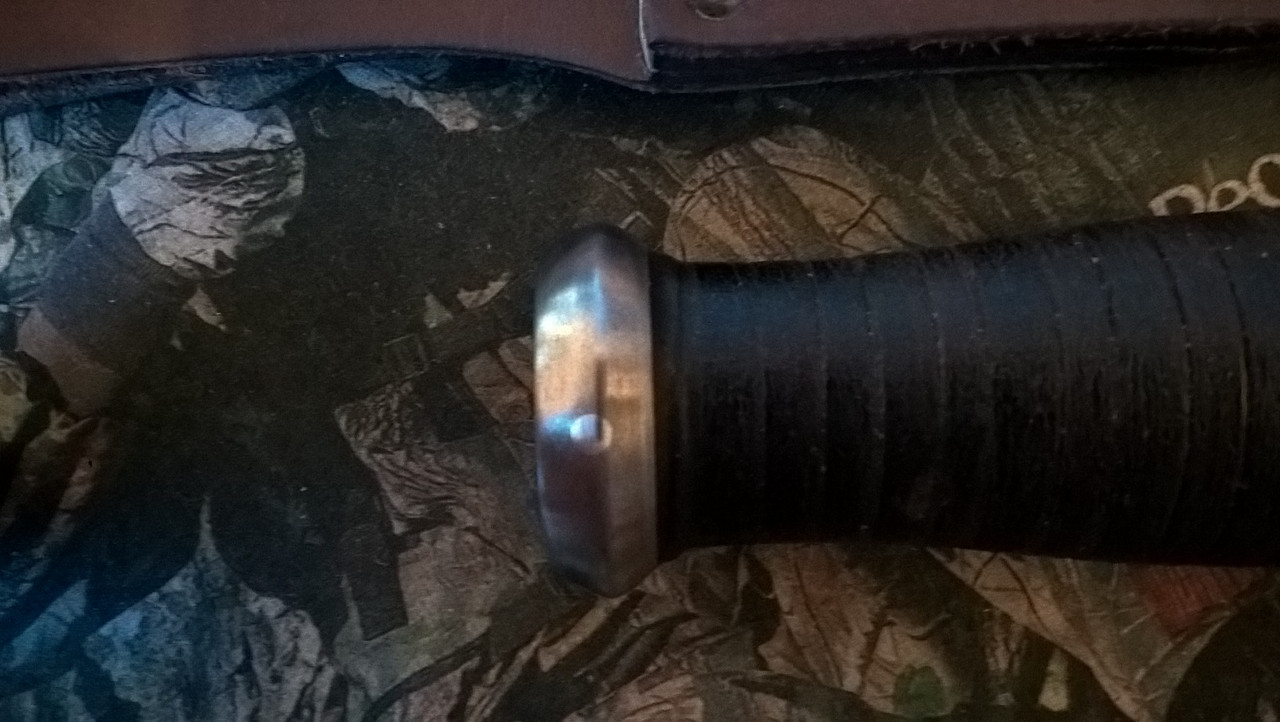
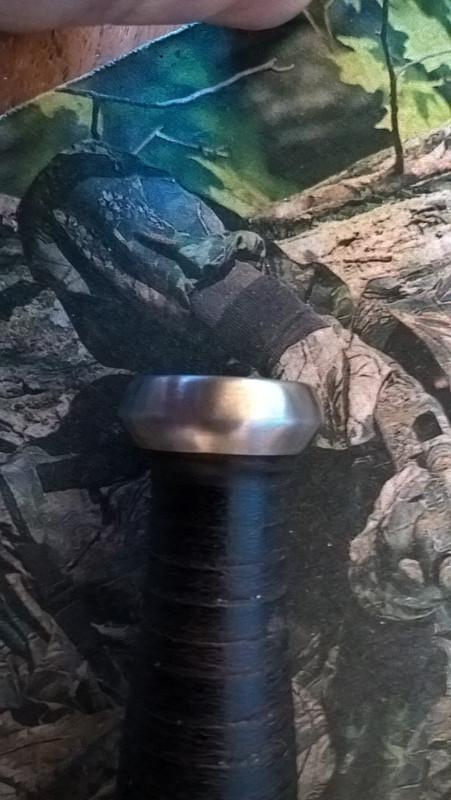
The WW2 spec for this knife calls for a birds head pomel. Which gives an extra length to the handle. Somehow KaBar decided to use the flat steel pomel like a mkii knife, but did not add more handle.View attachment 1021970

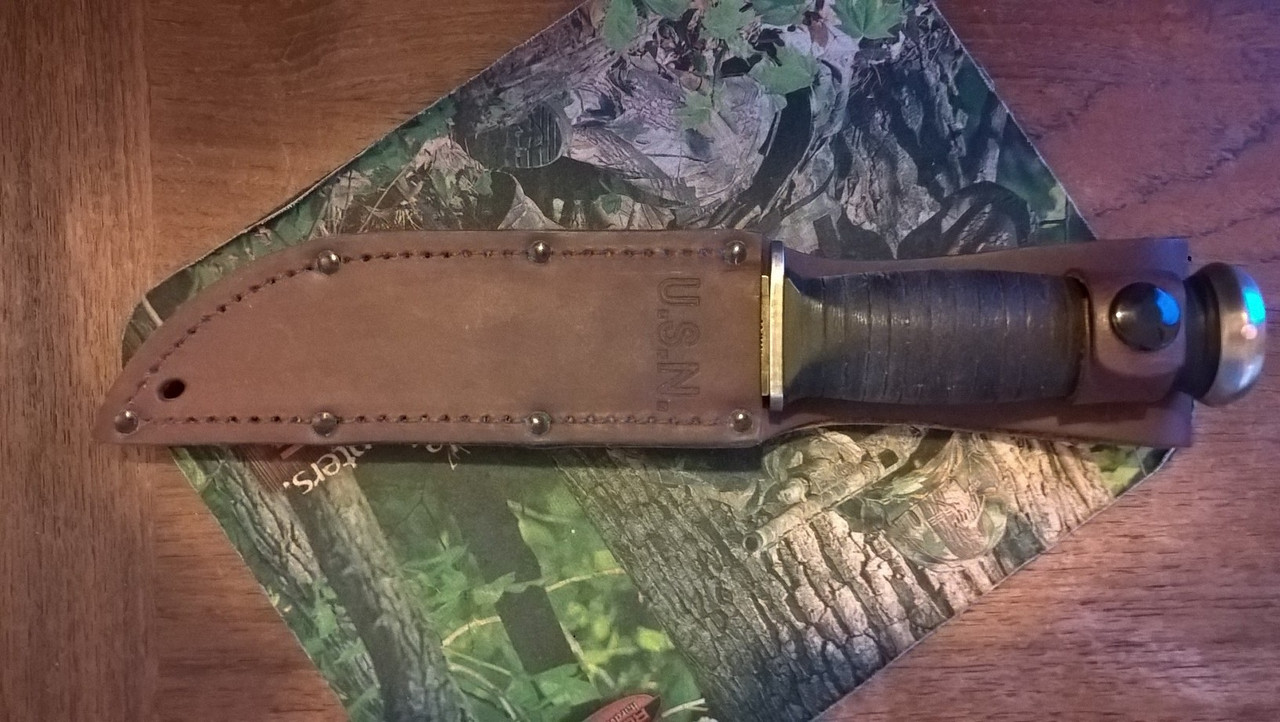
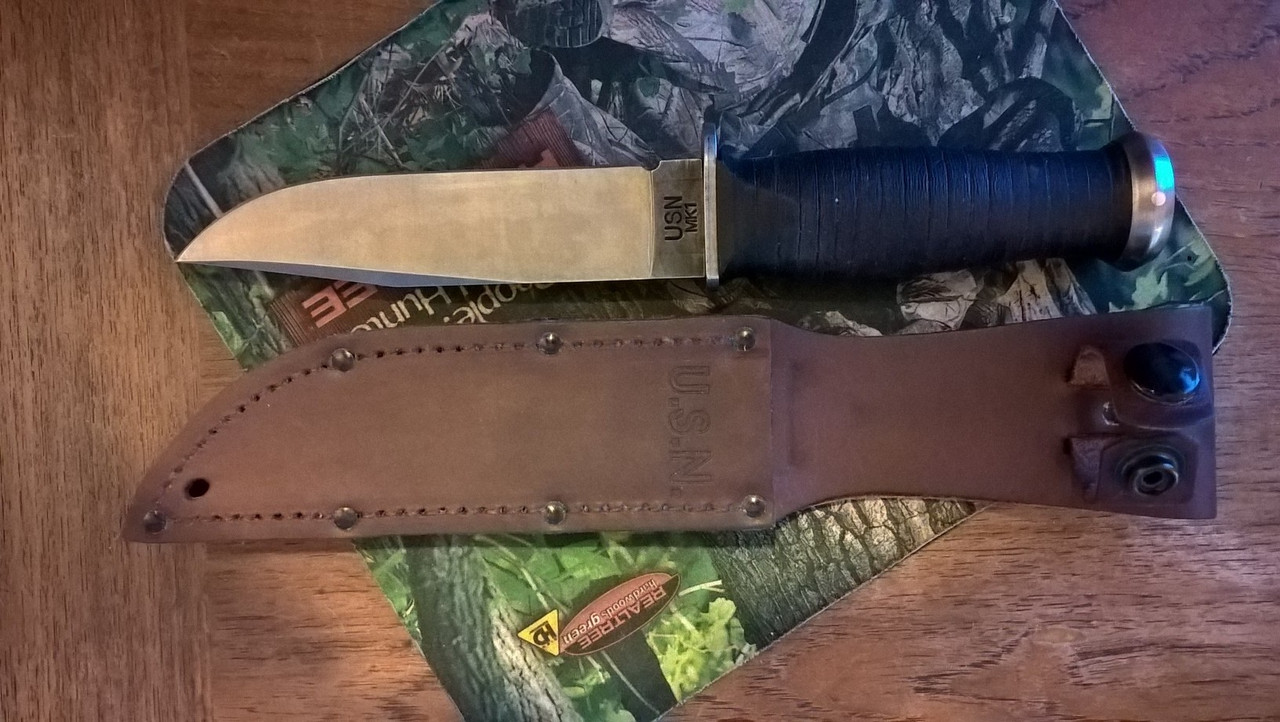
This just happened.Tanker 1/66 put this leathered handled 1095 Cro-Van piece of awesomeness in my mitt. Amazing generosity my friend. I love the knife, but the fact that it was a gift changes it from something I’ll use to something I’ll pass on to my son after I use it for a few years. It’s all about karma, and this knife is loaded with good karma.

And it’s not too little!
It’s a classic that will get used on lots of family adventures. Thank you brother!
I'm glad you like it Brother. Vey Underrated knife knife and a perfect knife for your son to learn bushy knife skills on. Warms my Heart for Sure. Karma
ShhhhhDamn if Tanker isn’t the best of what BFC has to offer.
Hell of a guy.
The WW2 spec for this knife calls for a birds head pomel. Which gives an extra length to the handle. Somehow KaBar decided to use the flat steel pomel like a mkii knife, but did not add more handle.View attachment 1021970

View attachment 1056106
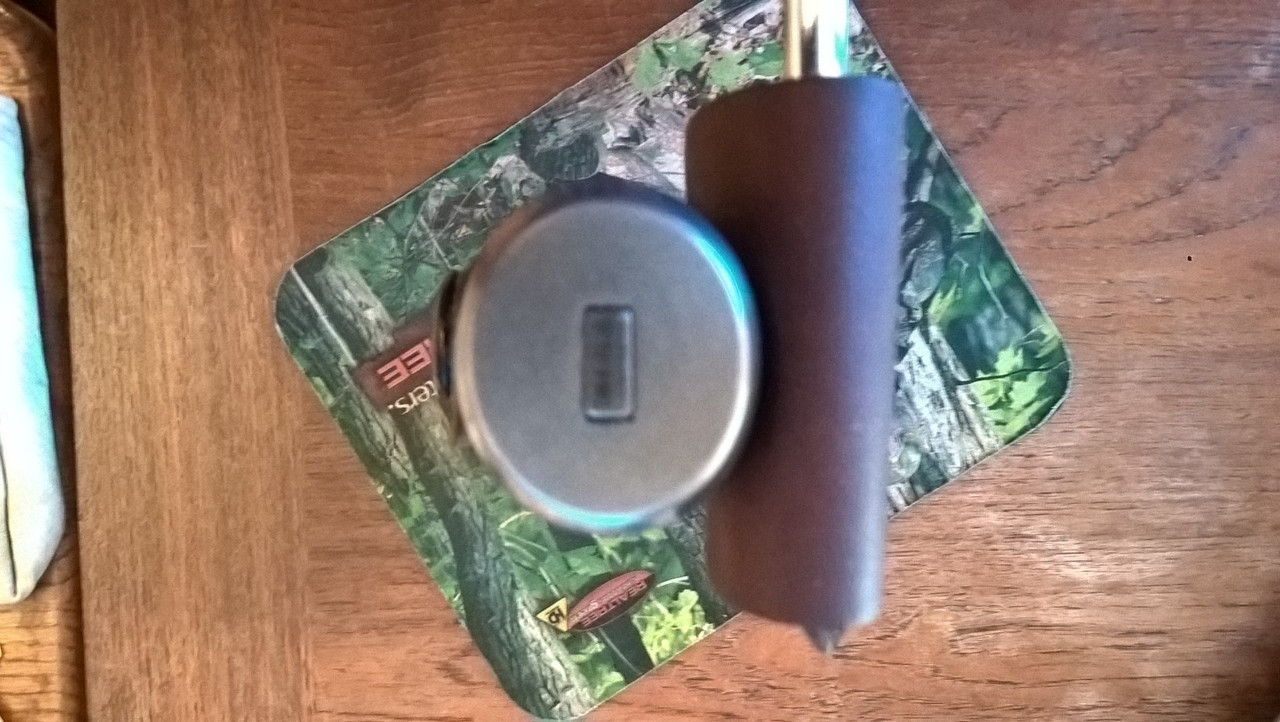
Not entirely true the original mk1 usn deck knife made by KaBar had a flat steel pommel. The spec called for an aluminum birds head. Everyone else followed the spec with something close to a birds head, aluminum, wood or plastic. 1 other maker had a solid rubber handle and pommel.
The blades are smaller on the new KaBar deck knives too. Which doesn’t help the balance problem you mentioned. I like your solution to grind it down
Still, the re-grind makes a big difference.
Can you describe roughly how much material you removed? I’m comparing your pics with my MK2 handle and I can’t see too much difference.
I think I got it, not too bad. Doesn’t sound like you’re taking off too much. Thanks for the details.