Who else uses a scythe?

The collar was never hardened to begin with so no loss there, but the blade would definitely need to be heat treated. It's a True Temper Briar Edge from the 1950's-ish, and it's whole steel rather than laminated. It would probably be fairly safe to treat it like 1080 and target 55 RC. You'd need to send it somewhere that can handle tools that big, though.
 
  • Like
Reactions: A17
I'll need to buy or build a handle for it first. I have a peavey and a log carrier that (I imagine) are from the same fire. Now I'm curious as to where and what fire they're from. The only local fire I know of was back in the late 80's or early 90's.
 
Just use it like it is.

I really wouldn't. Either get it re-heat-treated or (more realistically) get a different blade that hasn't been through a fire. Annealed steel is not going to be able to support the thin edge angle that a scythe requires, least of all if it's a bush blade.
 
  • Like
Reactions: A17
And I'd try file-testing the edge just to be sure. It does have the look of a tool that's been through fire rather than the proper factory finish or simple rust from neglect, but it's worth checking before drawing any conclusions. Those blades should be moderately hard--about the hardness of a nice vintage axe. If a file cuts it like butter then it's definitely annealed.
 
From a 1953 catalog on Archive.org -- the touting of the blades being beveled on the underside only is curious, as it's the worst option to have with a single-bevel configuration. Not sure what basis they have for thinking it would be more efficient.

BookReaderImages.php


BookReaderImages.php


From their 1955 catalog. These models were all also present in 1954, but 1955 shows they were still around at that point. No point in posting both pictures since they're essentially the same.

BookReaderImages.php
 
Last edited:
From a 1953 catalog on Archive.org -- the touting of the blades being beveled on the underside only is curious, as it's the worst option to have with a single-bevel configuration. Not sure what basis they have for thinking it would be more efficient.
I spent about an hour on your blog site last night enjoying your posts of historical scythe literature. What a coincidence to continue my reading with your forum post today. Interesting stuff!

The textual descriptions of the first two blades seem to contradict the graphical cross section depiction. The first description says the blade has a "narrow bevel on top edge." The second blade's description says, "Blade beveled on both sides due to heavier construction."

You recommend sharpening bevels at 7 to 9 degrees per side. If the blade is not a laminated bi-metal blade, does it benefit at all from having equal bevel widths? The result is still 14 to 18 degrees for the included angle, which is what the grass "sees", right?

BTW, what edge profile do you recommend for a 40 cm Arti "bush" blade for wild rose, star thistle and wild blackberry removal? I can adjust the lift of the tang for whatever lay is best too. (Say something like two fingers under the edge?)

Thanks!
 
By "narrow" with the first description they mean the visual bevel width. You can't just grind the underside without it causing a burr on the other side, so both sides were ground, just not evenly. In retrospect, I've seen that uneven bevel shape on Briar Edge blades in the past, but never thought it was deliberate (and am still a bit incredulous of it.)

As far as angle goes, the per-side thing is mostly for American blades. It's recommended to still treat whole-steel American blades like laminated ones so that if you even end up with one that's laminated you've already conditioned yourself to treat it properly. For Euro blades, peening inherently produces a single-beveled edge, and having the bevel on the topside is most advantageous. For wild rose and blackberry removal I'd suggest you just leave the edge a little more robust than you would if prepping it for grass. If you experience any edge damage just sharpen it out at a very slightly steeper angle and get back to work with it. With woody stalks just remember you're still trying to slice, not hack, and you're making the heel take the brunt of the force.
 
Stuff like burdock, thistle, mullein, etc. can all get stems over an inch thick, but they're pretty "juicy" stalks, so they're not tough to cut through as long as you have enough depth to your web. And also providing that the plants haven't gone woody like they do in the late season. You can still get through them then, but it's a comparative pain in the butt.
 
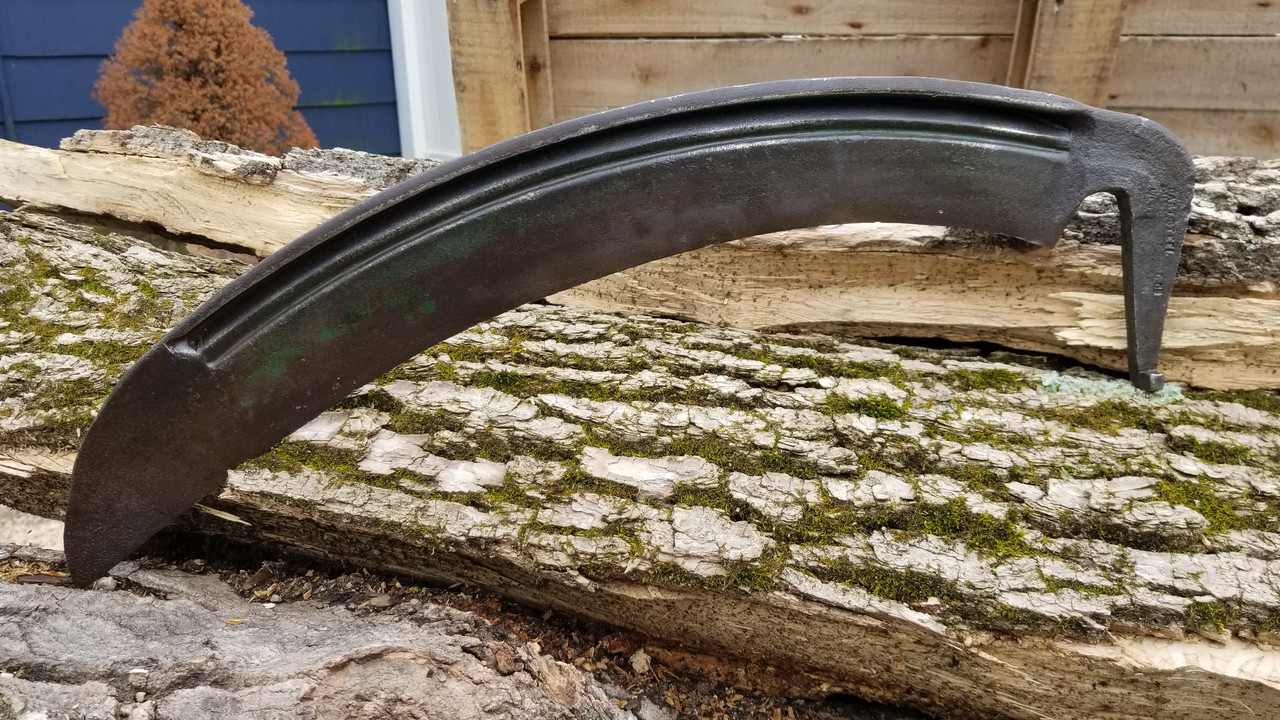
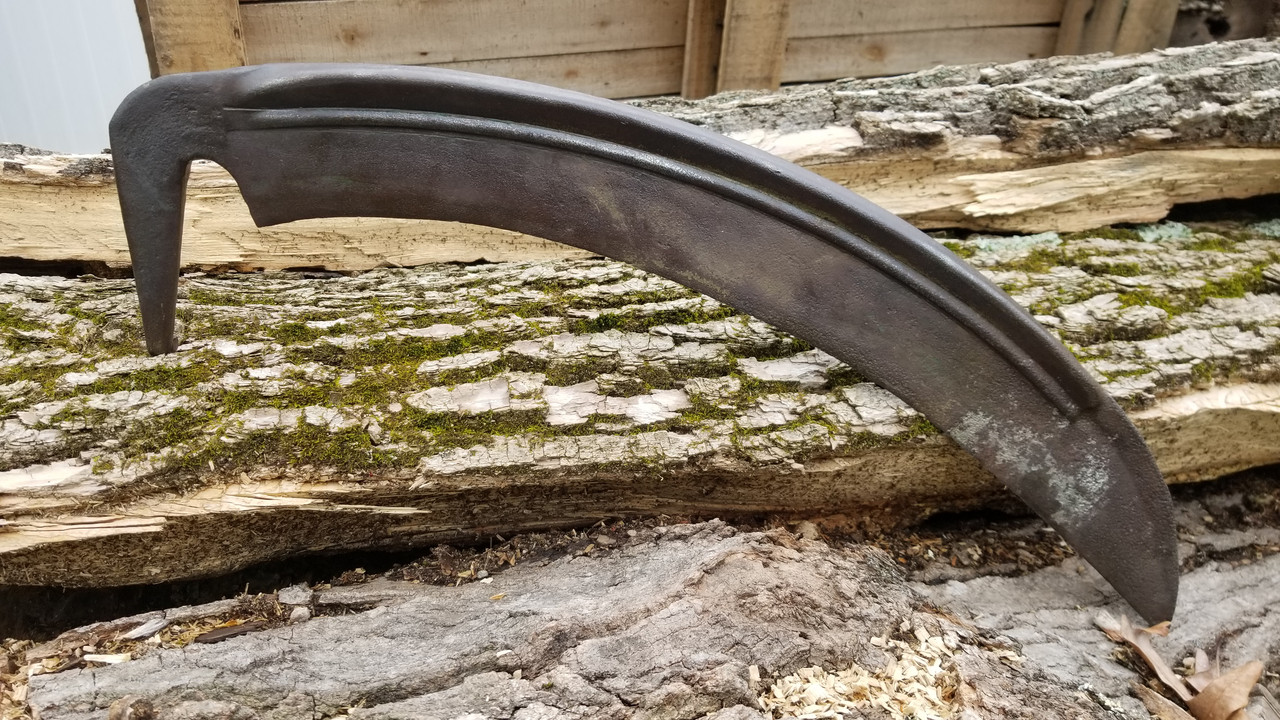
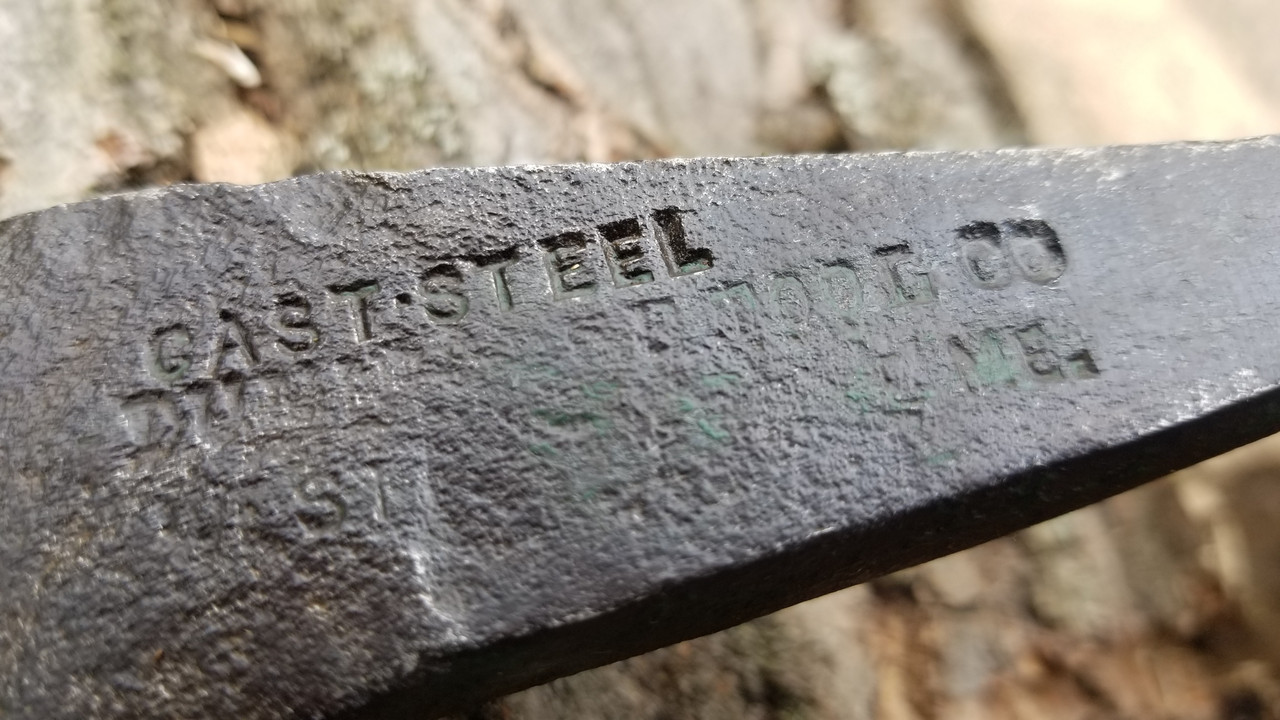
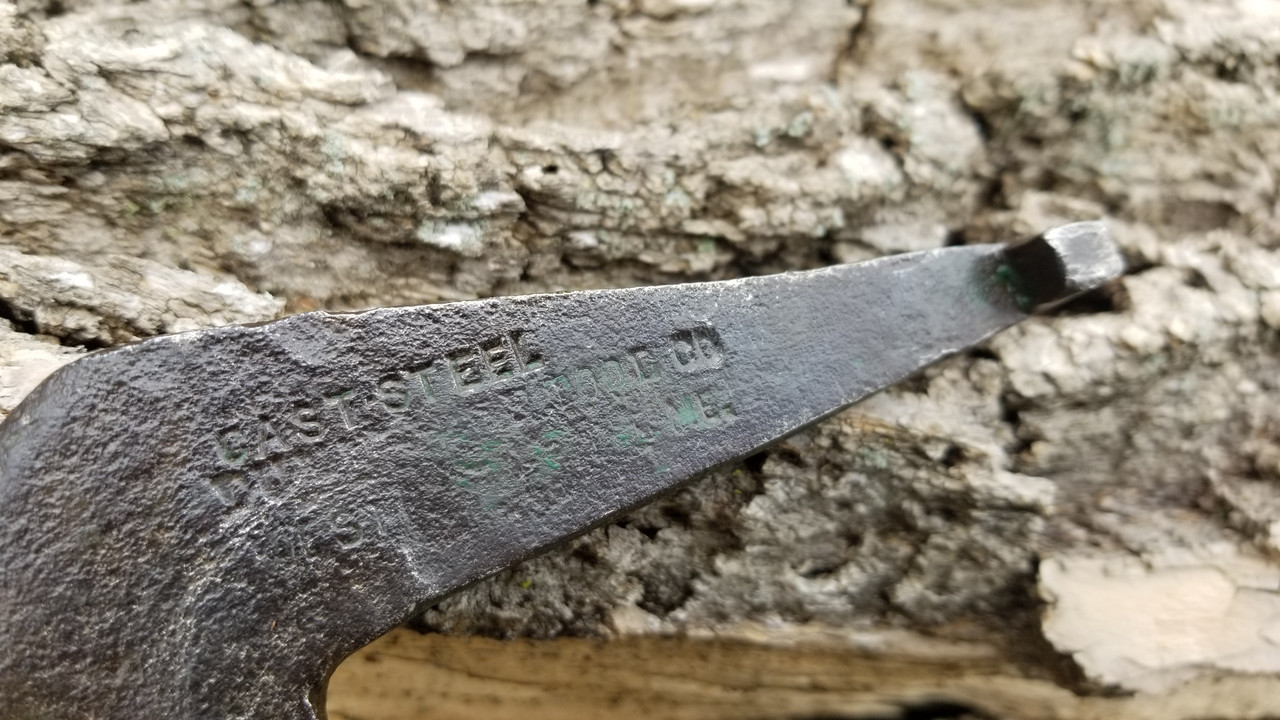
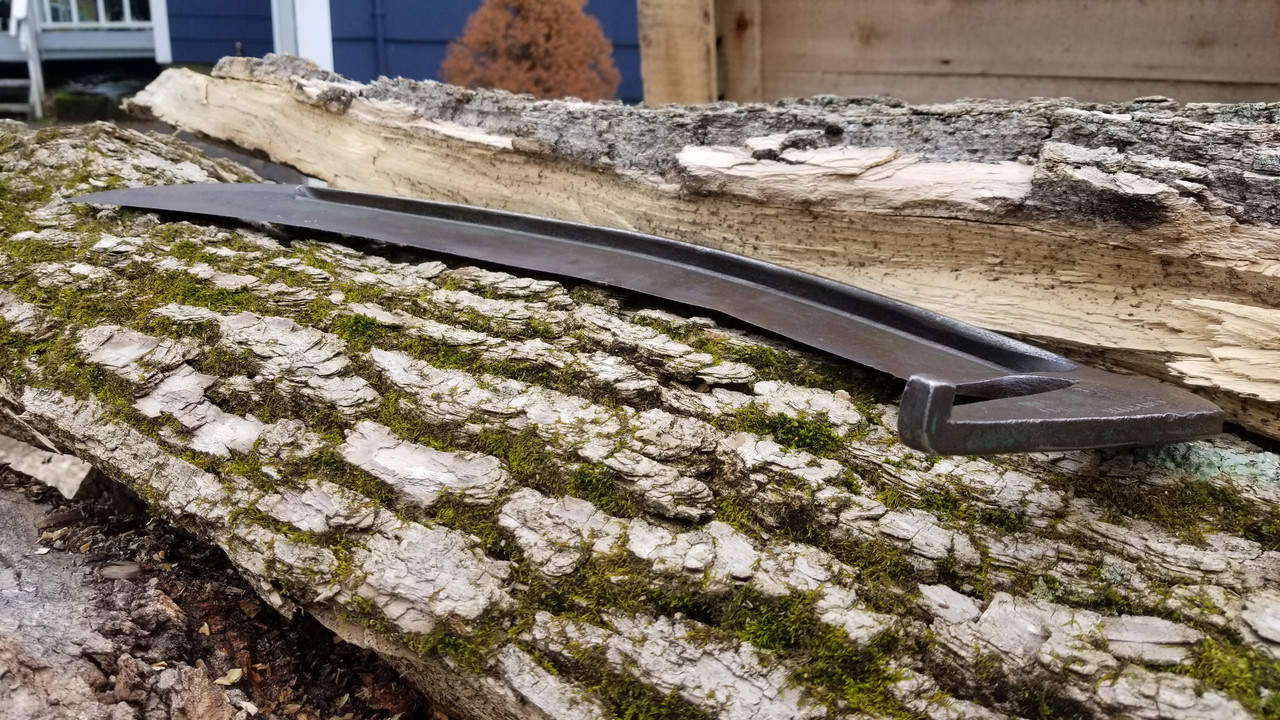
Here's my lengthened SN-9 snath. I used it to cut a bit of lawn grass but, while now green, the grass hasn't really taken off yet this spring. Lacking grass, it's a good time to manicure the hay field however, so I switched over to clearing some nasty wild rose bushes from our pasture. The sturdy Seymour (modern Austrian) grass blade seems to be up to the task, even at 30 inches in length, and I haven't even fit-up my Arti 40 cm bush blade to try it yet.

I made the extension from a 1.5 square piece of oak lumber that I picked up at Home Depot. It was the only hardwood that I could find locally. Even after carefully centering it in my 4-jaw metal lathe chuck, it was barely large enough to fully turn to 1.5" of round. Then I turned down 4" on each end to match the 1.375" ID of the SN-9 tubing. There's 8" of straight section in my SN-9 snath so I made the cut with a tubing cutter right in the middle of it.) The length added to the snath is nearly 5-3/4 inches. I clamped angle iron to the lathe carriage to serve as a tool rest. Yeah--it would've been easier if I owned a wood lathe, but I'd rather turn wood on a metal lathe than try to turn metal on a wood lathe!:eek:

In the spirit of a DIY project and learning, I also made my own skew chisel from 10 mm x 14 mm rectangular HSS that I had on hand. I studied-up online about skew chisels (and skew runback and "catches", oh-my!) and it worked really well. Lacking a tool to turn a tool handle, I 3D printed my own handle in tough nylon. Everything went very well with no practice parts consumed even. I just chucked-up my expensive piece of Home Depot oak and went for it! Maybe I'll post pics of my homemade skew somewhere in the forums too.

The splice is currently secured with JB Weld only and, despite the shock of trimming wild rose bushes (even when slicing optimally, the tough stalks really jar the snath and arms, which is a whole different scything experience than slicing easily and smoothly through grass and other "salad" vegetation), and getting my blade stuck in the rose bushed on a few occasions, the extension joints have yet to loosen. If they ever start to slip, I'll drill the extension for through-bolts.

I used a long sanding drum/threaded "wrap" extension attachment on my die grinder to roughen the inside of the tubing and I fully de-greased it with denatured alcohol. I also rough-chiseled lengthwise channels in the oak around the perimeter of the engaging oak sections to create a mechanical lock with the epoxy (a trick from bedding plastic rifle stocks). I fully coated all surfaces of both sides of the joint with JB Weld using tongue depressor sticks before joining and clamping the three parts together. Two wood clamps were squeezed over the joints but I positioned them to lap over the seams too, which squeezes the 0.125 wall aluminum tubing imperceptibly and holds the oak splice well enough to hold everything together while the JB Welds sets up. Due to the viscous JB Weld-induced "hydraulic memory" after rotating and pushing the gummy parts together to fully and evenly squeeze out the epoxy during assembly, the clamps are necessary. I know people here disagree with me, but I'll be very surprised if I ever need those through bolts (and they can just as easily be installed later anyway)!

I'm very happy with the result. This scythe finally fits my 6' 1"+ height perfectly now. (Though of course I still had to bend the blade tang a little with heat, which as FortyTwoBlades has explained here, is by design)!
46826531055_6f44ed25d4_k.jpg jpg image
 
Last edited:
See if you can take a photo using self-timer or a friend of yourself actually holding it in ready-to-mow position. I'll be curious to see how it pairs up. You probably know this already, but you shouldn't be standing bolt upright in use, but rather using slightly bent knees and a slight forward tilt at the hips.

Tidily done! Now to see how it holds up over time.
 
I'm sure my daughter would be willing to take a photo--or a video even! I've been thinking that a critique of my immature technique might speed my progress, if any of the experts would be willing to have a look at a video. I've had back problems for years though and, though my knees are bent somewhat while scything, the taller I stand, the less I have back pain. Keeping my knees and hips bent while keeping my back as straight as possible is usually the best position for me.

I'm also still playing with nib positions. Nib positioning certainly makes a difference. I think I can already feel the effects after a rotation of only 5 or 10 degrees or half an inch up or down on a nib.

Good idea and thanks!
 
The way I tend to describe the typical ideal body position is almost as if you're sitting on horseback. It's like you're dropping your seat a bit and you're mostly just making sure you aren't locking your knees. The degree of forward tilt is primarily to set your pace of forward advancement, but also helps with applying downward pressure on the scythe if trying to cut lawn-short.
 
Yup. West Waterville. That's a decently old blade in nice shape. Treat it well! Dunn made some of the best!

Thanks for the West Waterville confirmation.
I have not looked into more than finding West Waterville was formed in 1883 and I am assuming, without any knowledge, Dunn stamped West Waterville is an earlier mark and maybe earlier factory/location.
The Maine collection grows
 
Yes they later moved to Oakland, and then eventually were absorbed by the North Wayne Tool Co., which started in North Wayne, but moved to Oakland while retaining their name.
 
Back
Top