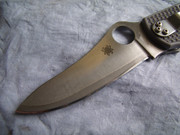
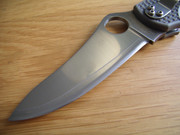
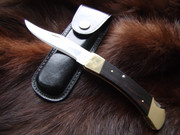
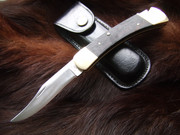
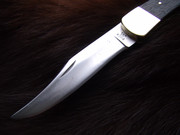
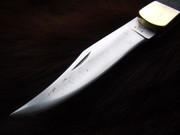
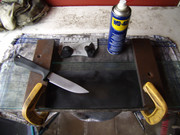
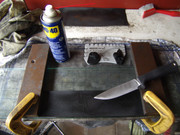
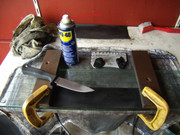
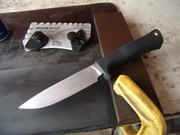
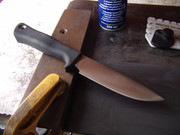
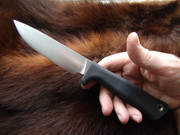
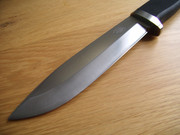
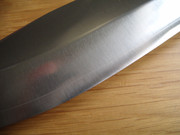
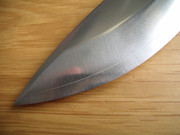
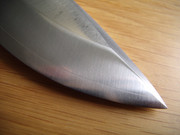
User Fallkniven A1 Pro in CoS stainless steel @ ~60 HRC from an experienced Dutch hunter, with it's apex at ~30 degrees inclusive.
The factory edge reflected light from slow wear, no dents or chips, and the owner wanted the new edge to have a somewhat toothy apex.
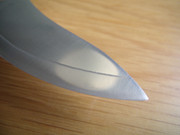
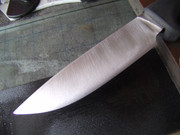
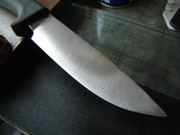
Pulled the edge a few times very lightly over a Chinese 3000 grit diamond plate, this to remove the weakened metal in the old apex and create a very narrow and continuous light reflection all along the edge.
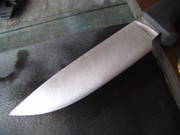
I use this line as a guide to sneak up upon while sharpening, and in the end make it disappear as evenly as i can.
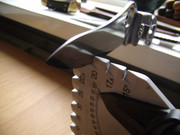
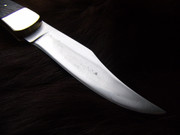
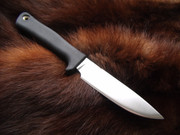
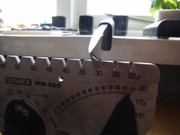
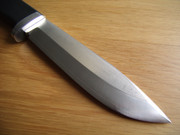
Sharpened the partially convex sides of the blade by hand to a new apex with an ever so tiny burr using only 1000 grit wet & dry SiC paper on a semi-hard rubber backing with WD40 as a lubricant, while regularly checking with my Tormek WM200 AngleMaster to make sure that the newly forming apex would also become ~30 degrees inclusive.
When this was done i removed the tiny burr with some careful light stropping on a piece of hard cardboard with a bit of 1.0 micron mono-diamond paste.
The sharp diamond particles are very efficiënt in removing tiny burrs on high alloy stainless steels, while the hard cardboard has just enough give to make sure that most of the toothyness in the apex from the 1000 grit wet & dry remains.
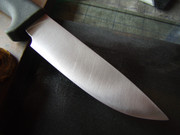
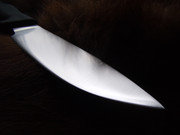
The new apex is just keen enough to pull a chest hair taught from root to tip and sever it close to the point of holding.
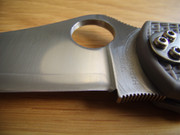
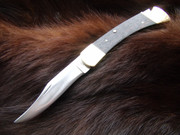
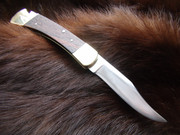
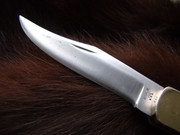
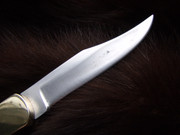
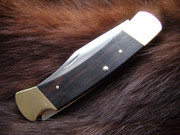
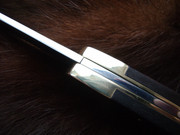
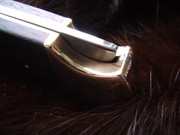
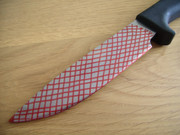
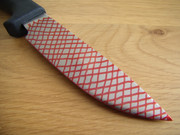
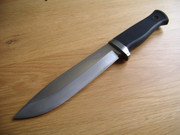
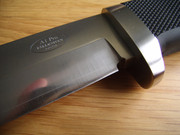
Took a number of pics with part of the camera & my finger in them on purpose to give a better idea of the scratch pattern.
You can click each picture 2 x for more detail.
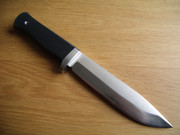

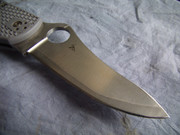
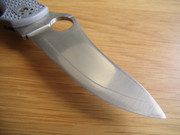
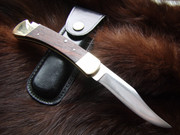
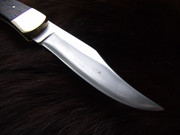
The factory edge reflected light from slow wear, no dents or chips, and the owner wanted the new edge to have a somewhat toothy apex.
Pulled the edge a few times very lightly over a Chinese 3000 grit diamond plate, this to remove the weakened metal in the old apex and create a very narrow and continuous light reflection all along the edge.
I use this line as a guide to sneak up upon while sharpening, and in the end make it disappear as evenly as i can.
Sharpened the partially convex sides of the blade by hand to a new apex with an ever so tiny burr using only 1000 grit wet & dry SiC paper on a semi-hard rubber backing with WD40 as a lubricant, while regularly checking with my Tormek WM200 AngleMaster to make sure that the newly forming apex would also become ~30 degrees inclusive.
When this was done i removed the tiny burr with some careful light stropping on a piece of hard cardboard with a bit of 1.0 micron mono-diamond paste.
The sharp diamond particles are very efficiënt in removing tiny burrs on high alloy stainless steels, while the hard cardboard has just enough give to make sure that most of the toothyness in the apex from the 1000 grit wet & dry remains.
The new apex is just keen enough to pull a chest hair taught from root to tip and sever it close to the point of holding.
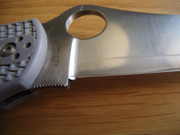
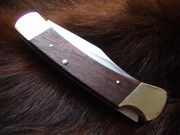
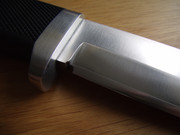
Took a number of pics with part of the camera & my finger in them on purpose to give a better idea of the scratch pattern.
You can click each picture 2 x for more detail.