So yeah i tried various tape products. Being absorbent, surgical tapes are the ones we're looking for. Among them the #1 best choice is the
surgical paper tape. And the market-leading surgical paper tape is made by 3M, and their product is called
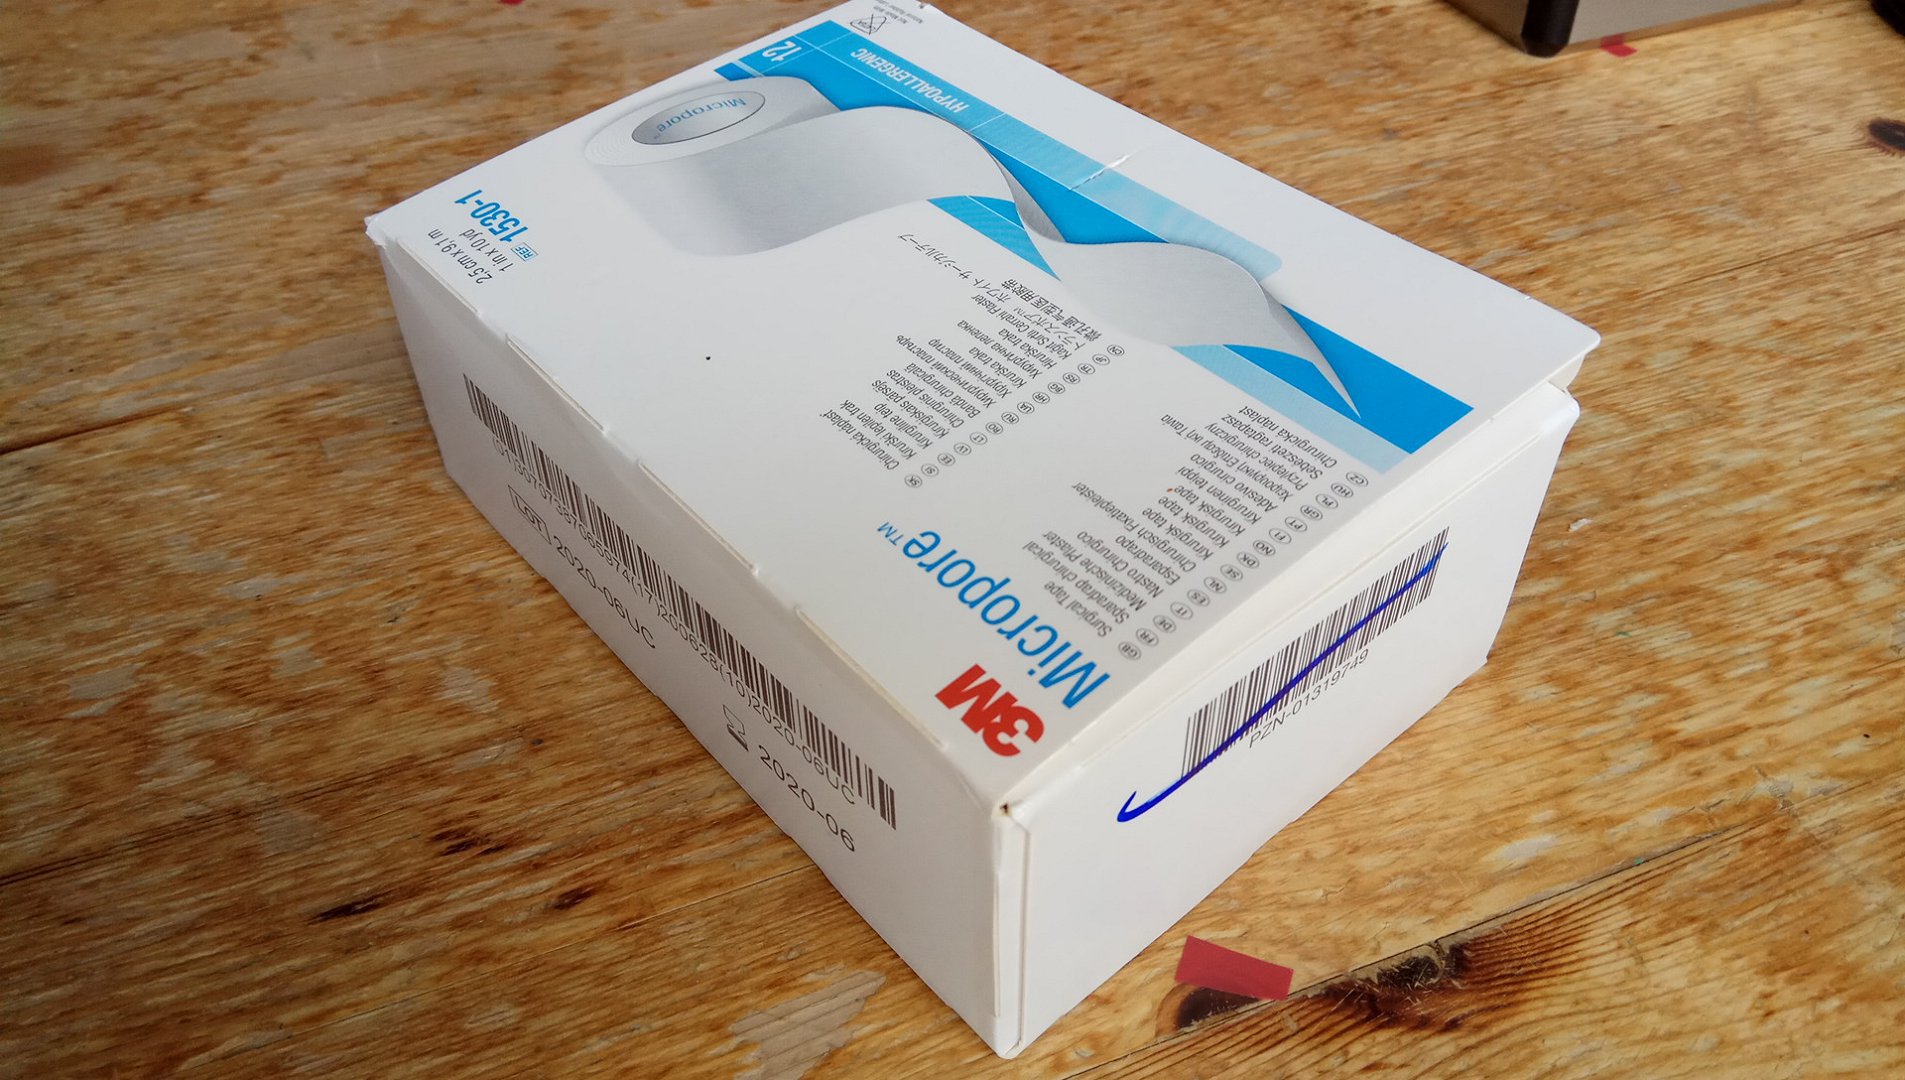
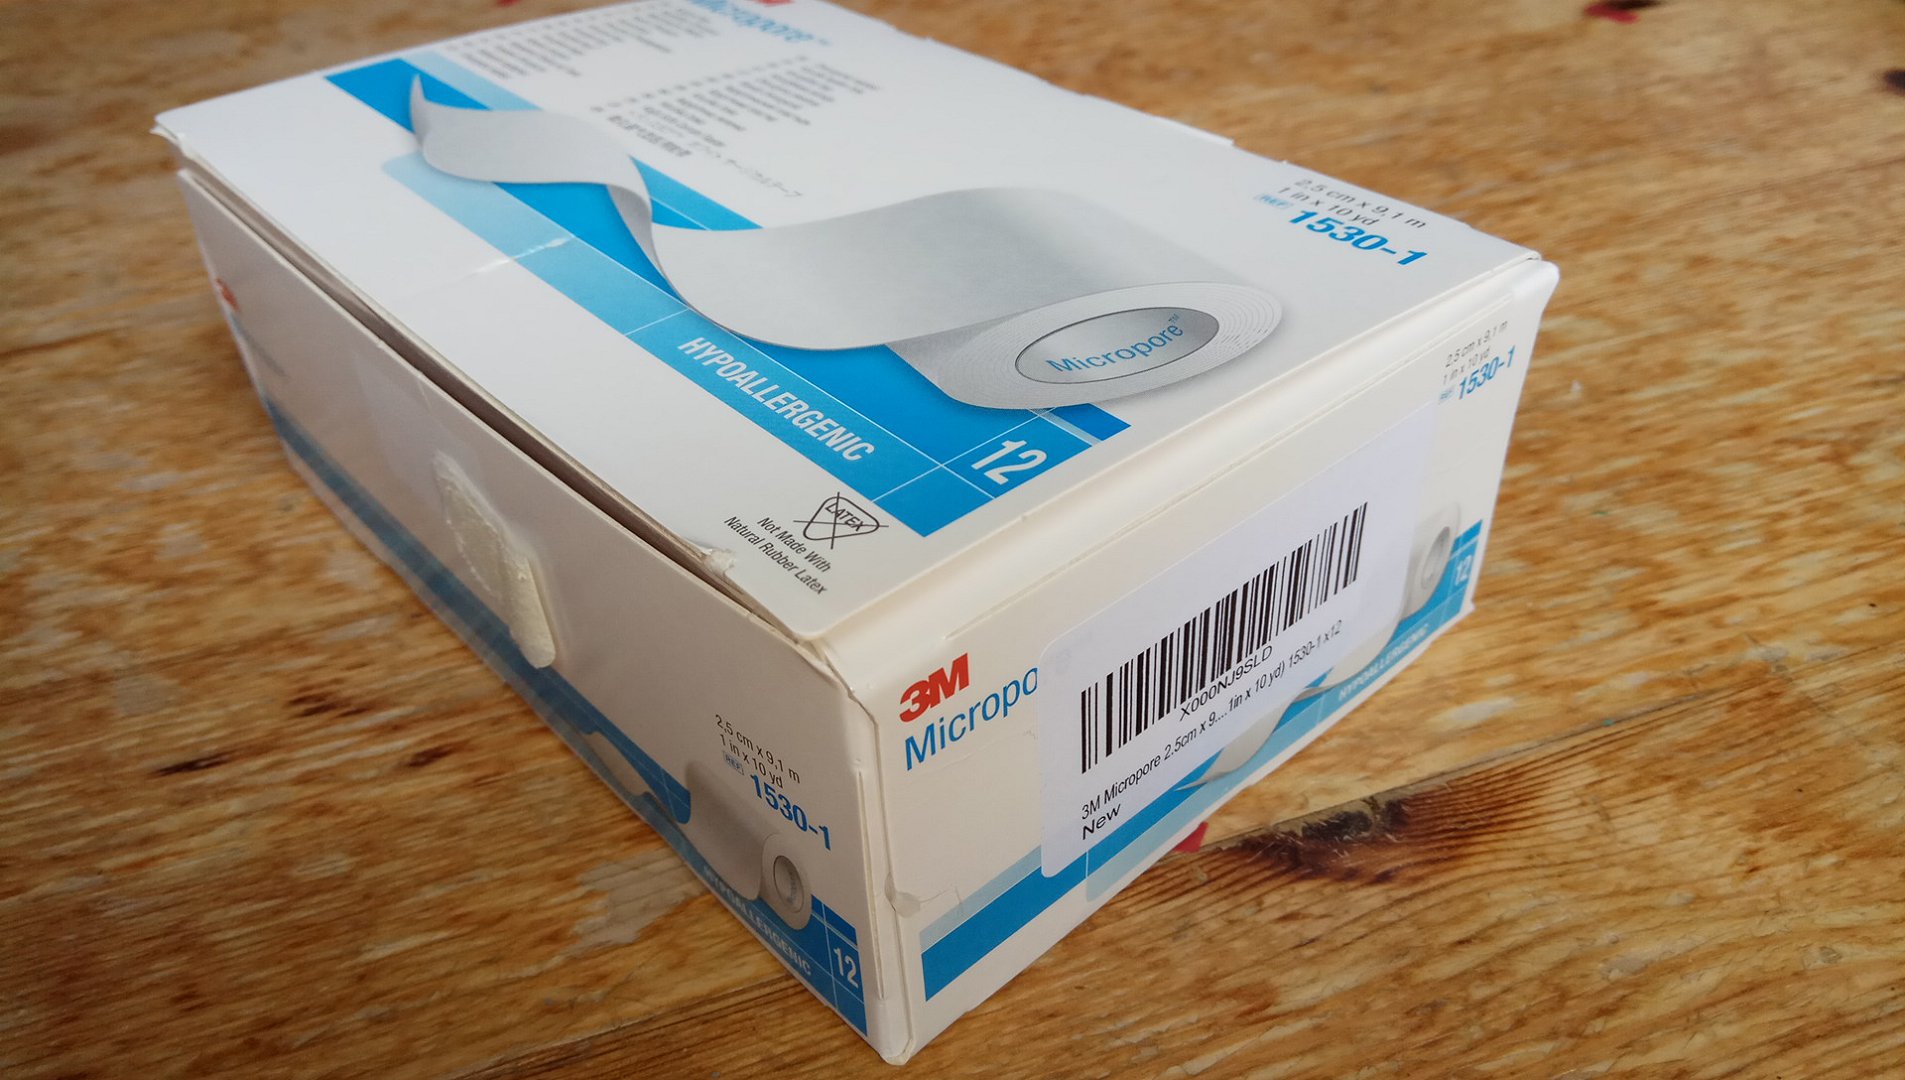
3M Micropore. If bought from a local pharmacy via the
PZN identification, it is expensive stuff, maybe 6EUR per roll. I found it on amazon, a 12-pack box for 9EUR shipped. Each roll has
2.5cm x 9.1m, what a steal:
With the 12 rolls à 9.1m one could build hundreds of Apex-sized paper tape strops. For sure it is an economic no-brainer to exchange the tapes frequently, regularly, as soon as they have turned black:
How to prepare a PTS "whetstone":
Assuming that you've already attached the wood on the plastic base, there are
3 steps:
- Apply a strip of paper tape on the balsa wood holder
- Place 3 oil drops on the dry tape (1 near either end and 1 in the middle) and rush to disperse the soaking oil evenly over the entire tape with the help of your index finger.
- Place "crumbs" of your compound on the (now slightly oily) tape and disperse them with your bare index finger through rubbing motions; the entire tape should be loaded with the compound evenly
- (optional) If the loaded tape is too dry, then no good. If the loaded tape is too wet from the oil, then also no good. In the latter case, game over, remove the tape and try again. In the former case, place 1 oil drop on the tip of your index finger and rub the finger across the tape to "moisturize" the surface.
Step1 is banal. You will notice that the adhesive of the 3M Micropore product sticks pretty well to the smooth balsa wood surface, so be careful later, when you replace the tape, and also remove adhesive residues with a paper towel plus some rubbing alcohol or oil. Remind yourself that the surface should be smooth when you apply the tape.
Step2 is for pre-saturating the tape and evenly so. The oil (personally, i use leather oil and never tried stuff like Ballistol or WD-40 for this purpose) acts as solvent (dissolving agent) for the polishing compound, no matter if the compound is in solid wax form, block form, liquid cream form, paste form, or dry powder form. Since the tape absorbs the oil fast, you need to be even faster with your index finger to disperse the oil with circling/rubbing motions over the entire tape surface. Just try your best and use as little oil as possible: i use a pipette apportioning 1 full-size drop among the 3 spots. In fact, 3 full-size drops of oil would be too much, no good.
Step3 is where you try to create an evenly compound-loaded stropping surface with your bare index finger. It is obvious that cream and pastes are the most convenient forms for this little task and don't need further How To explanation. See the remainder of this post how i manage to apply solid block compound.
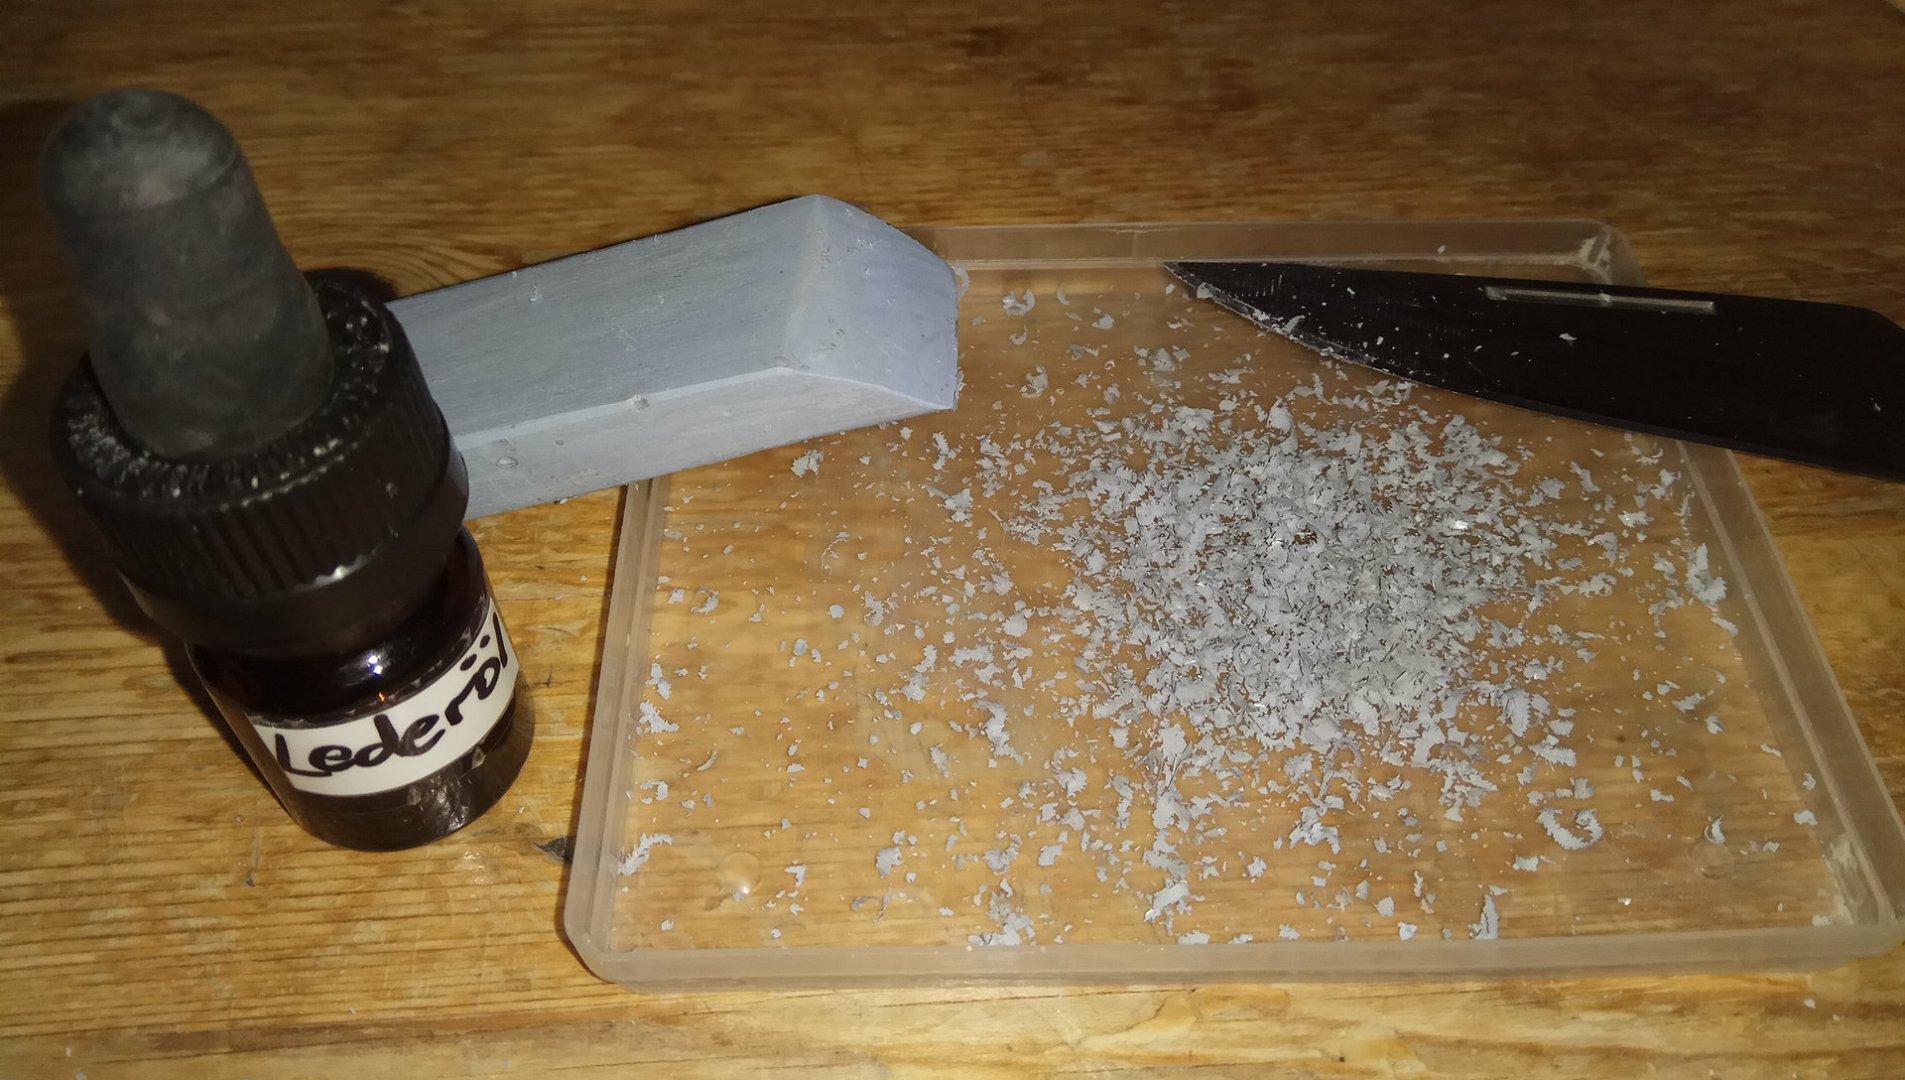
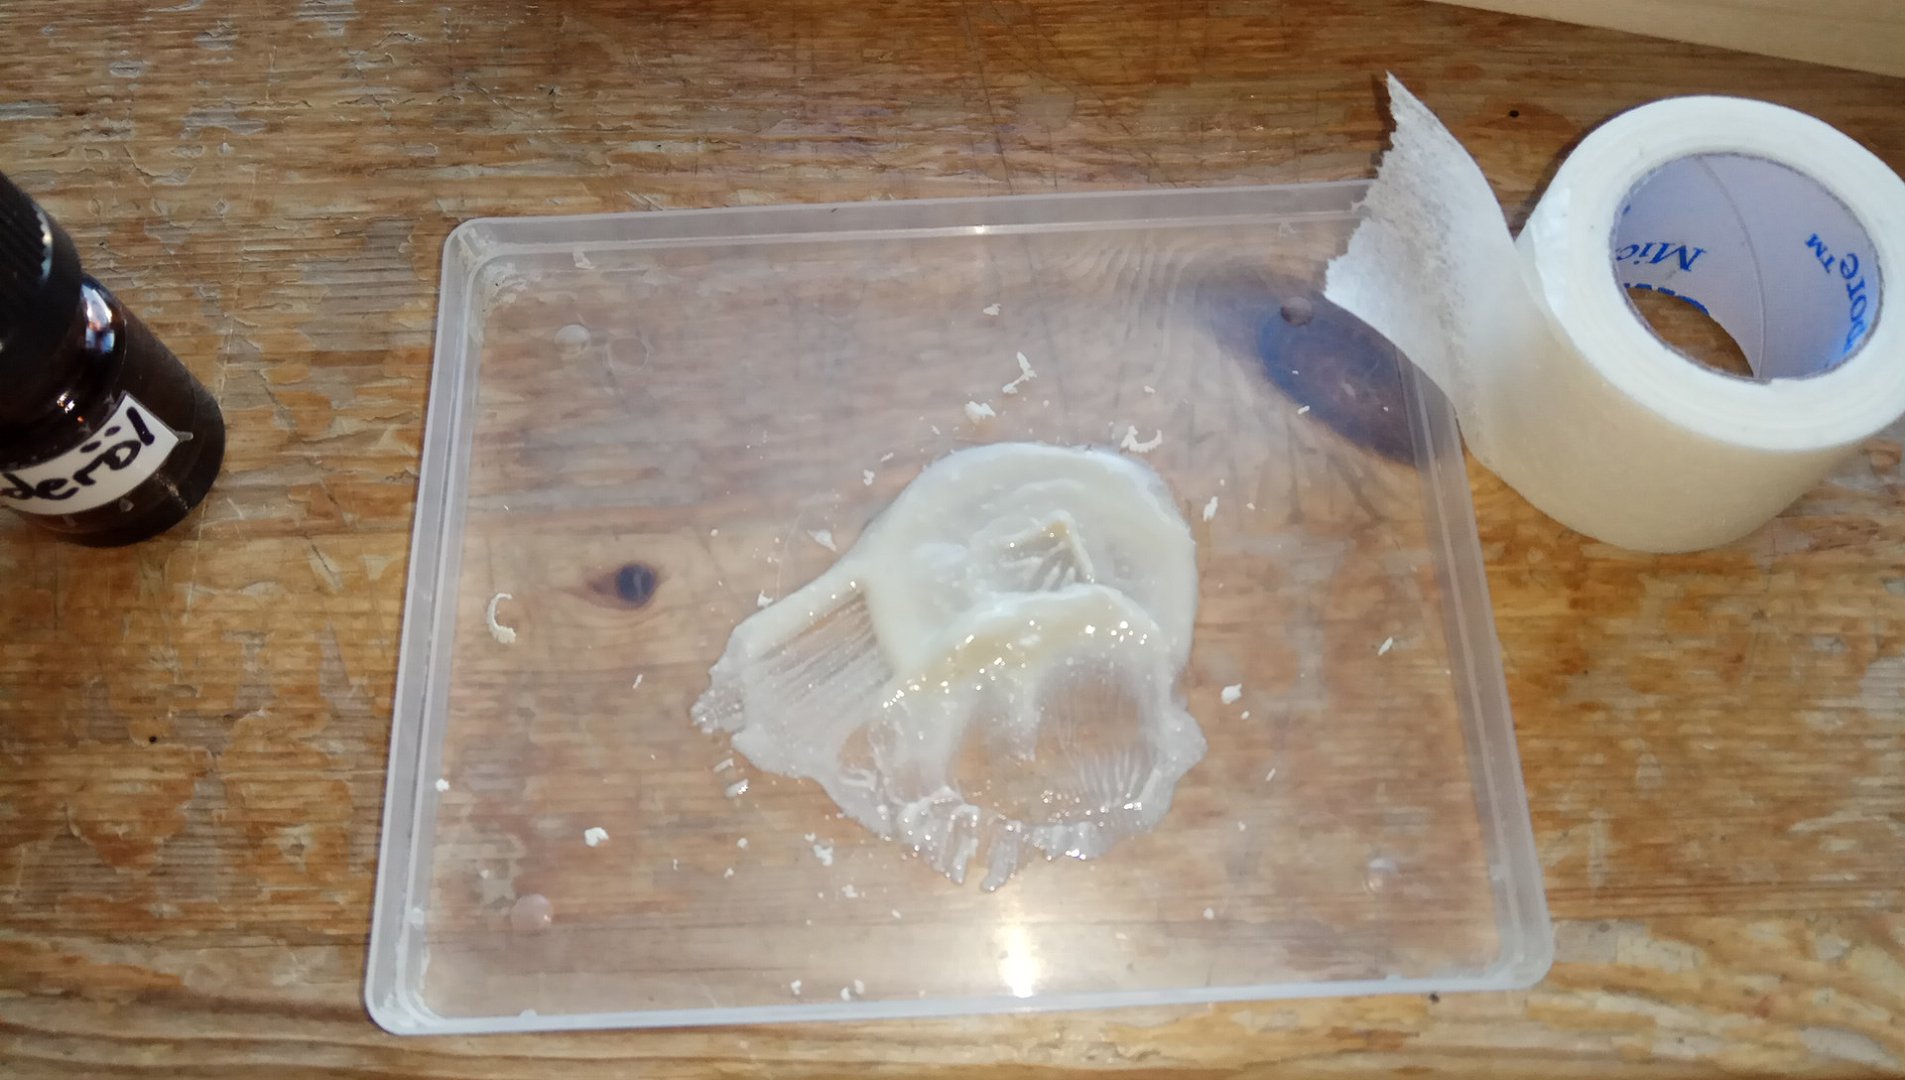
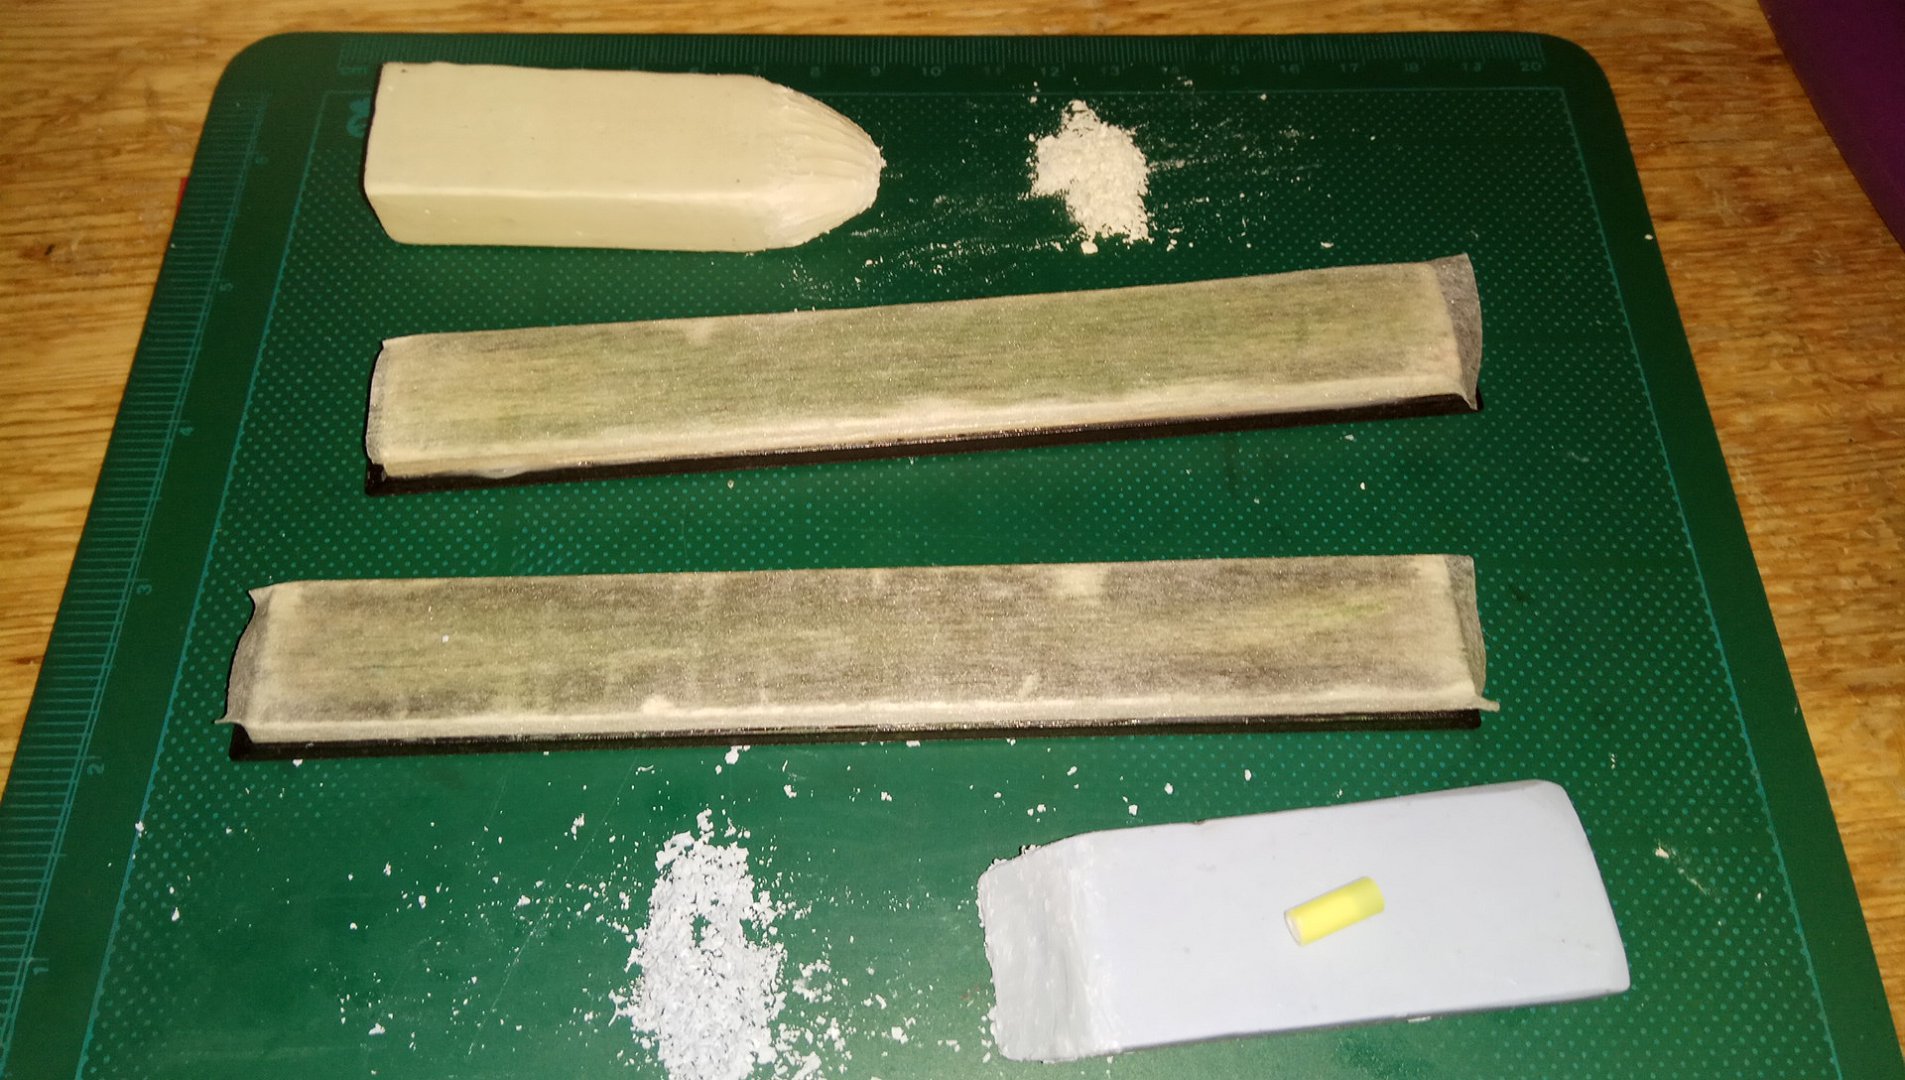
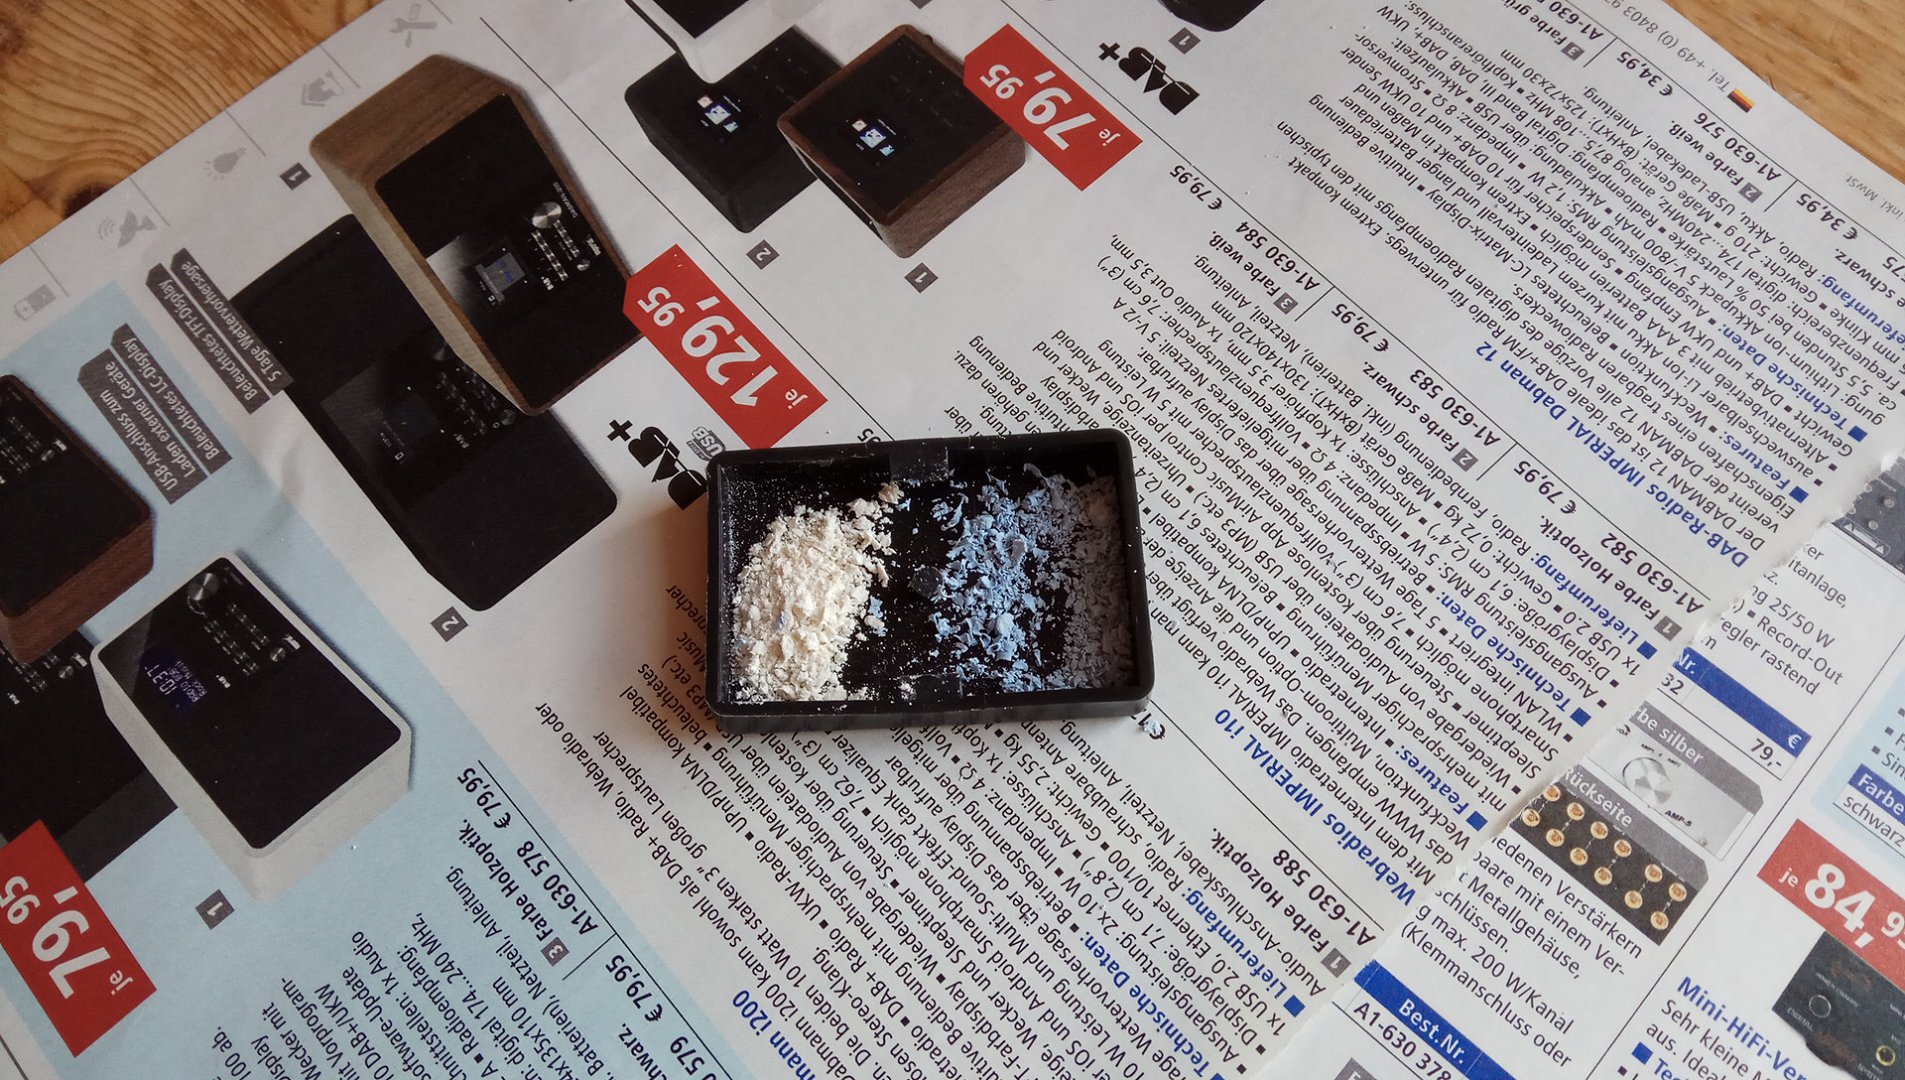
I use an old knife to scrape flakes from the block compound. One does not need much. Both flake piles are a bit too much:
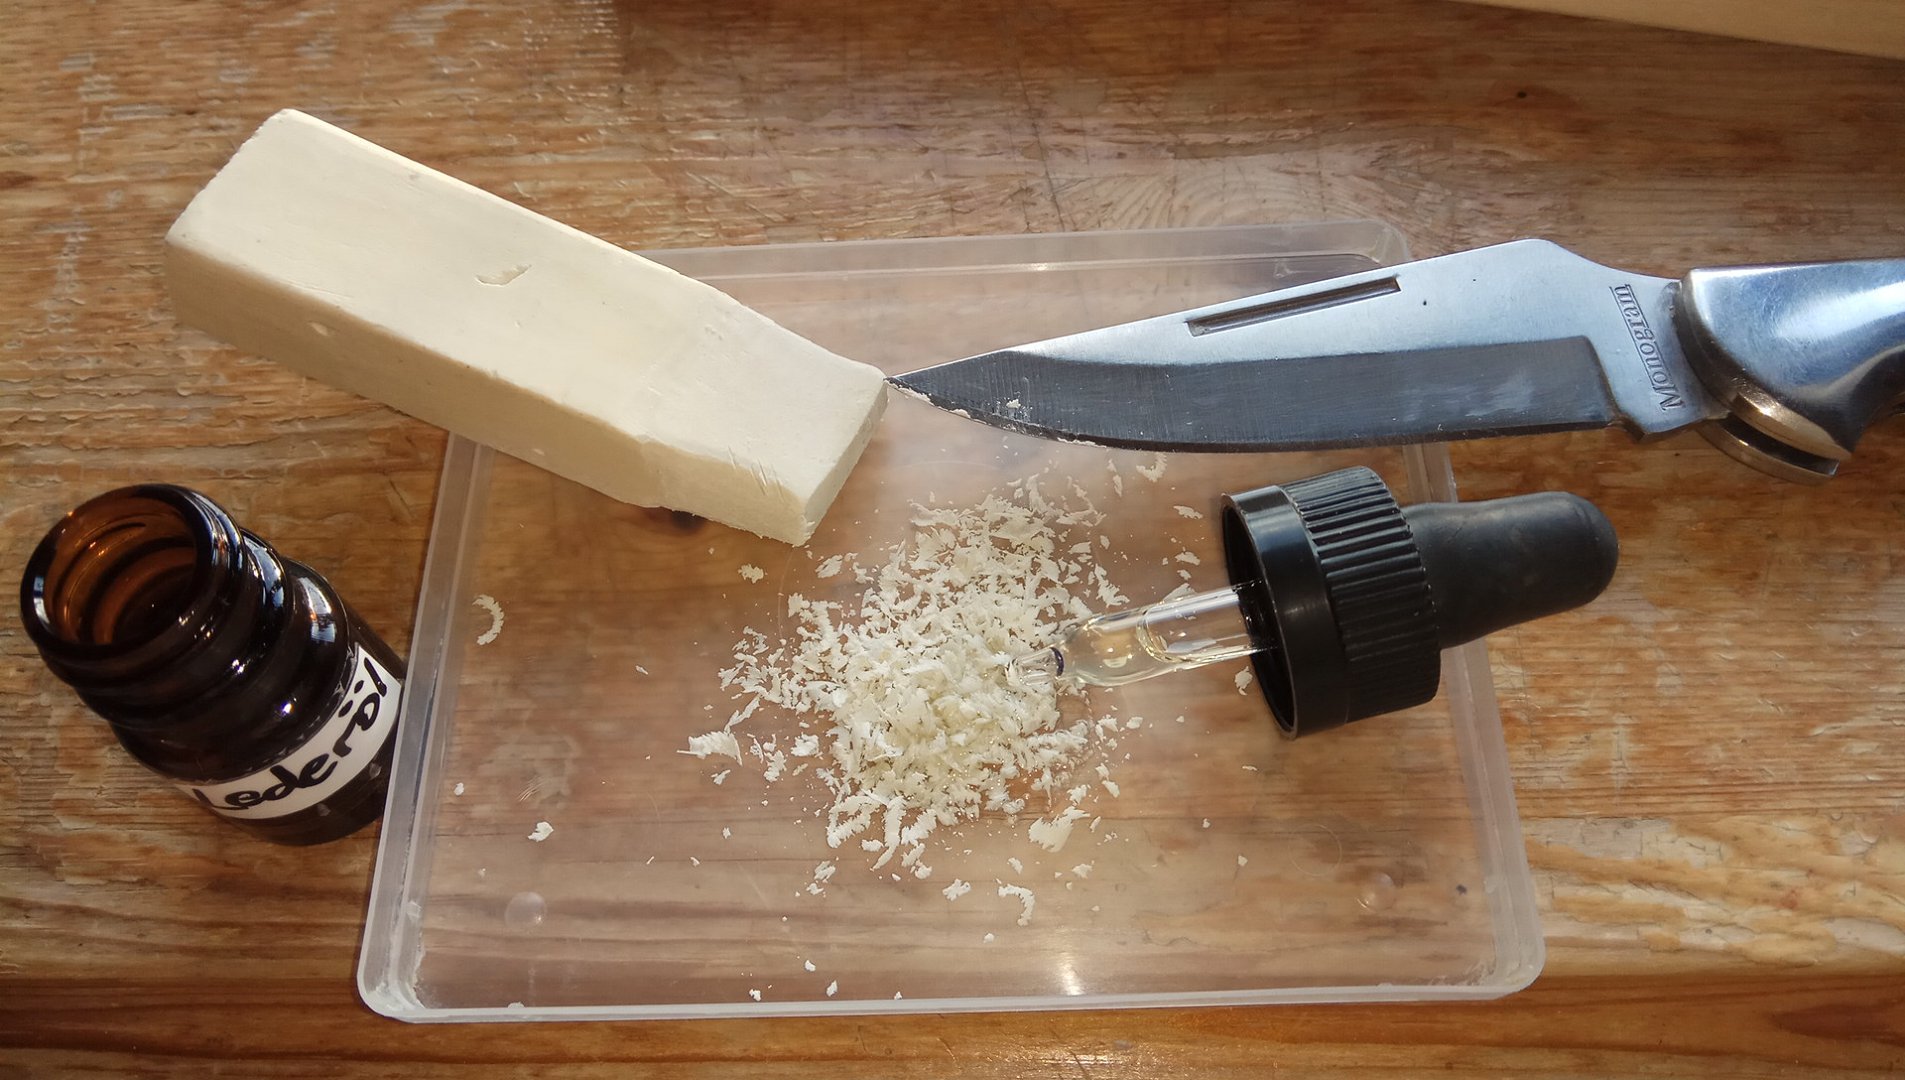
Oil does solve the flakes and liquefies them. A few drops of oil on the pile and some rubbing action with your finger and you've created a DIY paste. In the following pic i used too much oil, no good:
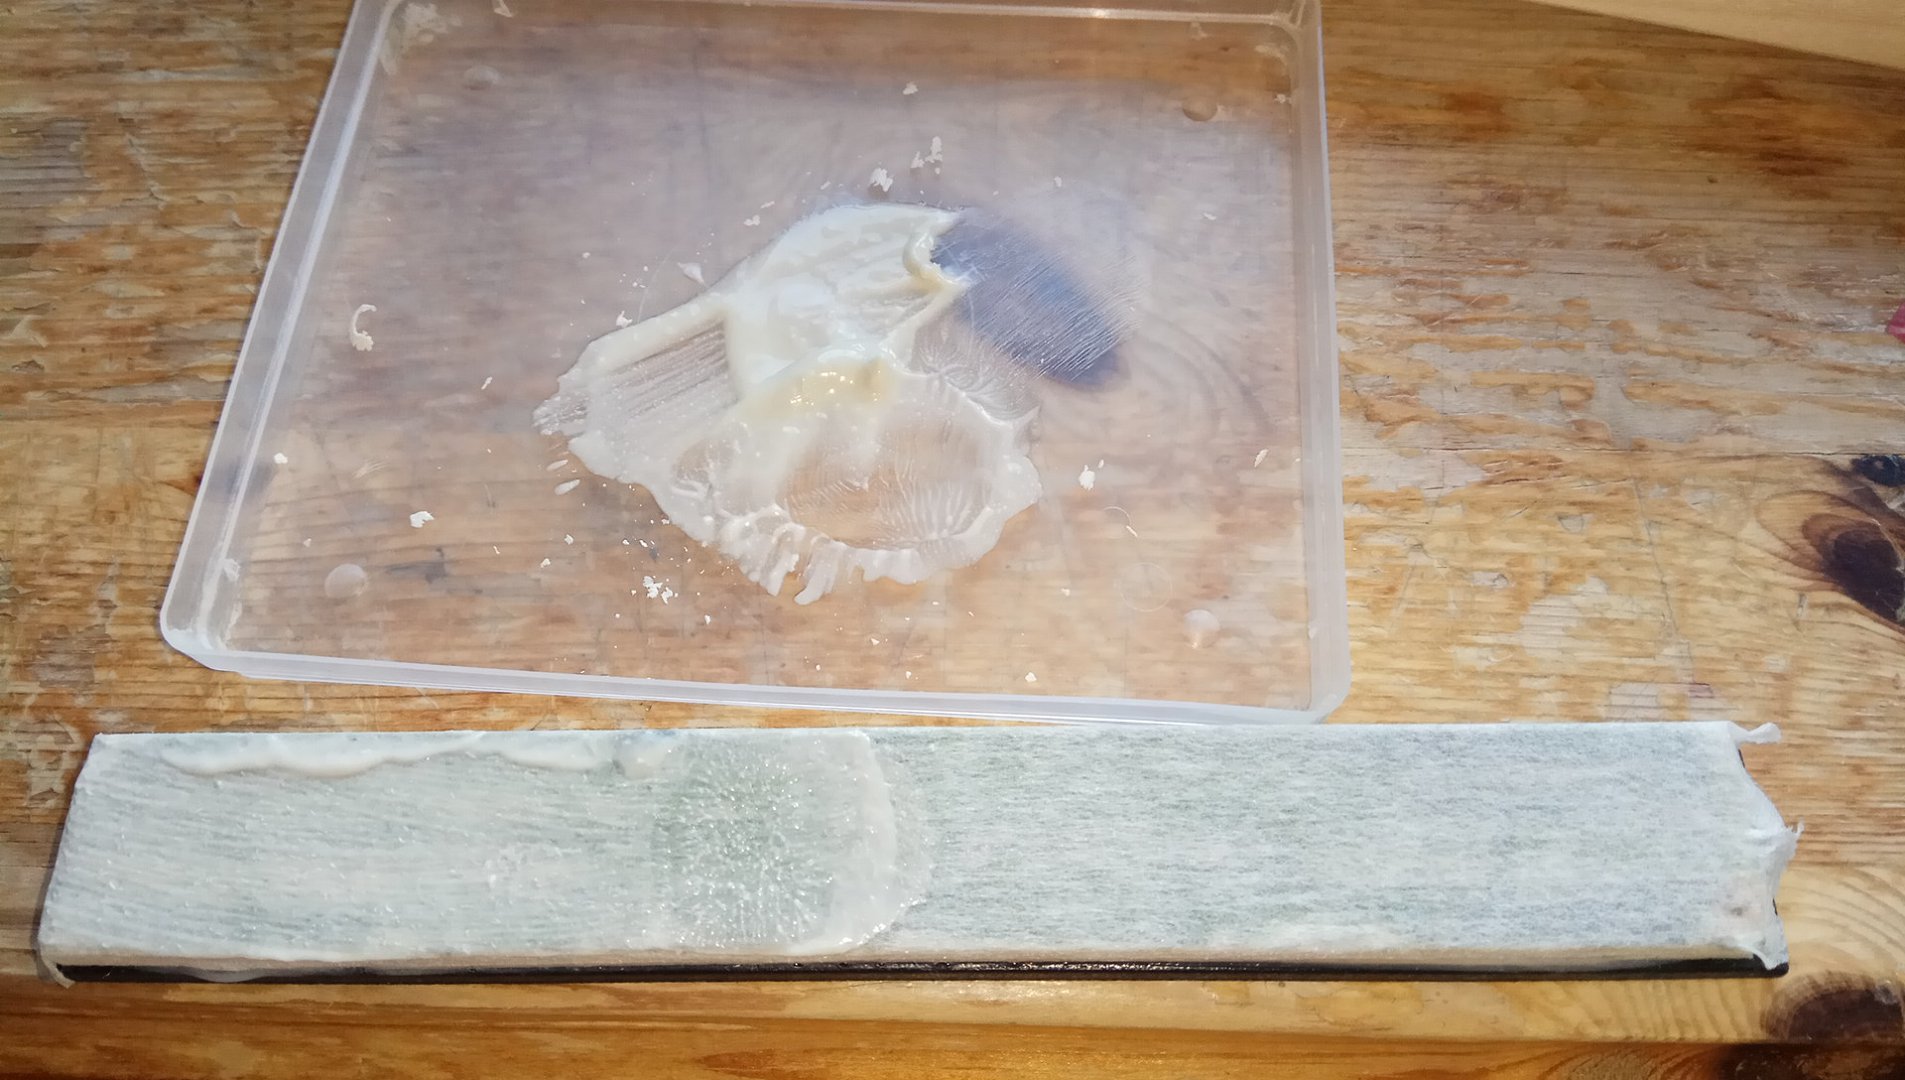
The following pic shows how i experimented with applying the DIY paste on
dry tape. No good, because you're losing control over the amount of oil getting absorbed by the tape:
Now let's do it the correct way, shall we?
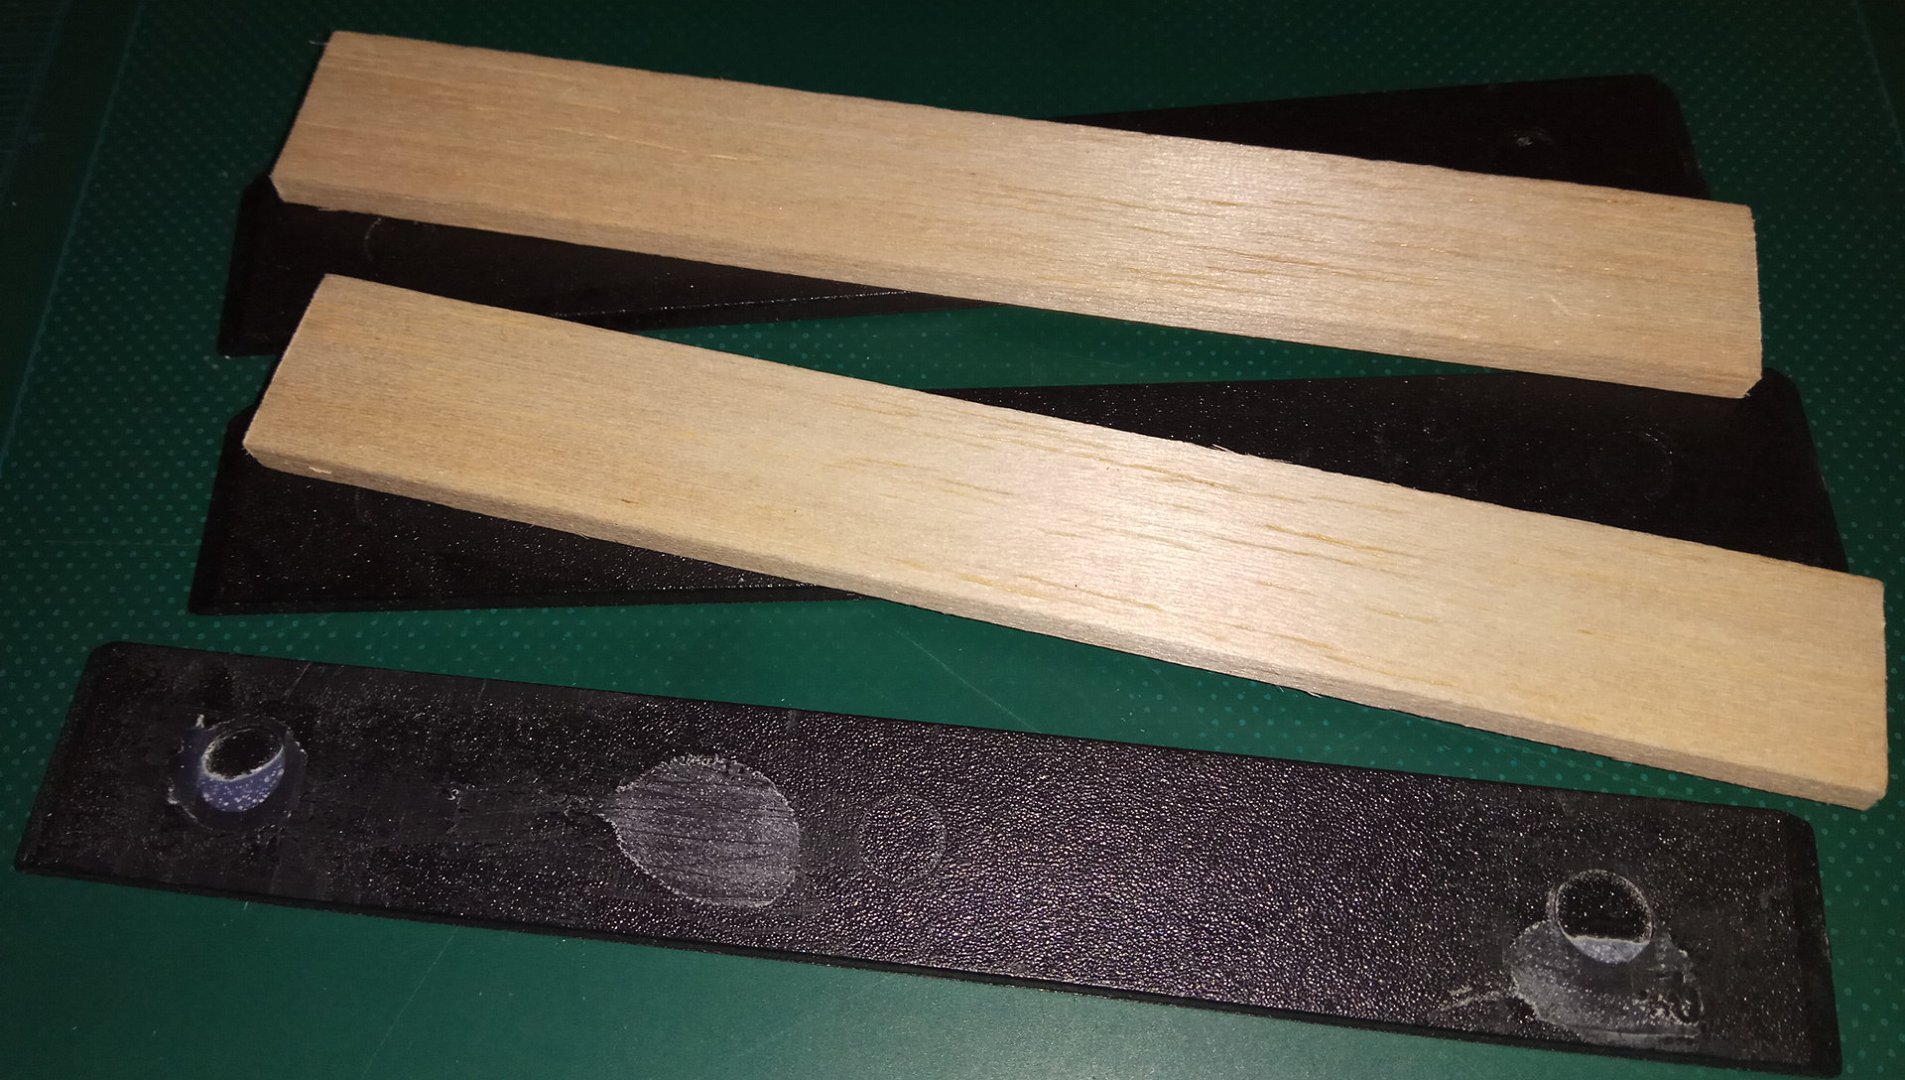
Step0 is getting your blank Apex balsa wood "whetstone" out on the table! For a
2-stage grit progression (WHITE → BLUE) it makes sense to prepare
2 of them, i.e.
1 "whetstone" with the WHITE compound and
1 with the BLUE. The following photo shows brand-new fresh stock wood, they are my spares for future use:
Step1 is applying a strip of paper tape on the balsa wood. Note that in all the following photos i am actually using used wood, not brand-new fresh stock wood. As long as the wood surface is smooth, flat, plane, and undamaged (material consistency), it doesn't matter. The wood only serves as "holder" for the tape. The tape does the stropping, not the wood:
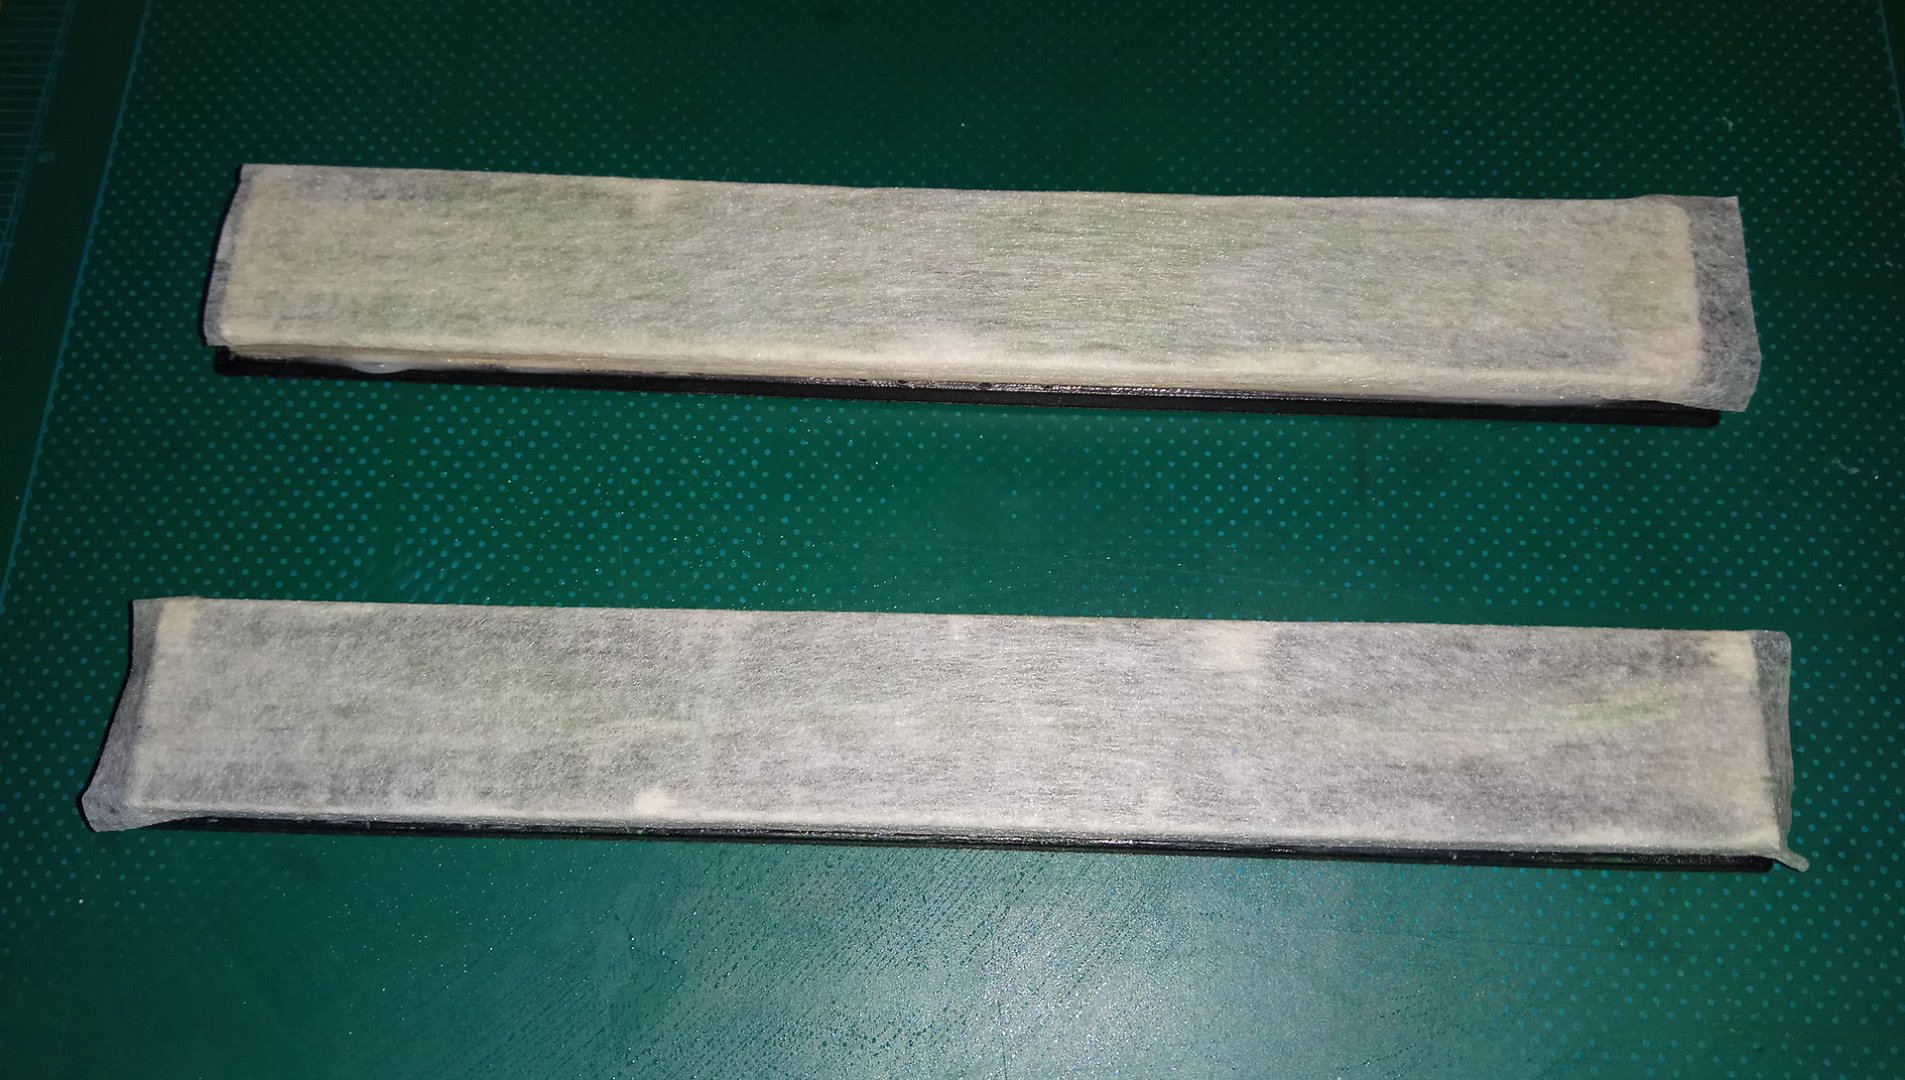
After
Step2 the tapes look a bit wet or "moisturized". Important, use as little oil as possible. 1 (or 2) full-size drops of oil should suffice:
For
Step3 i've produced more flakes than needed. My scraping tool is a scrap piece of hard plastic lol:
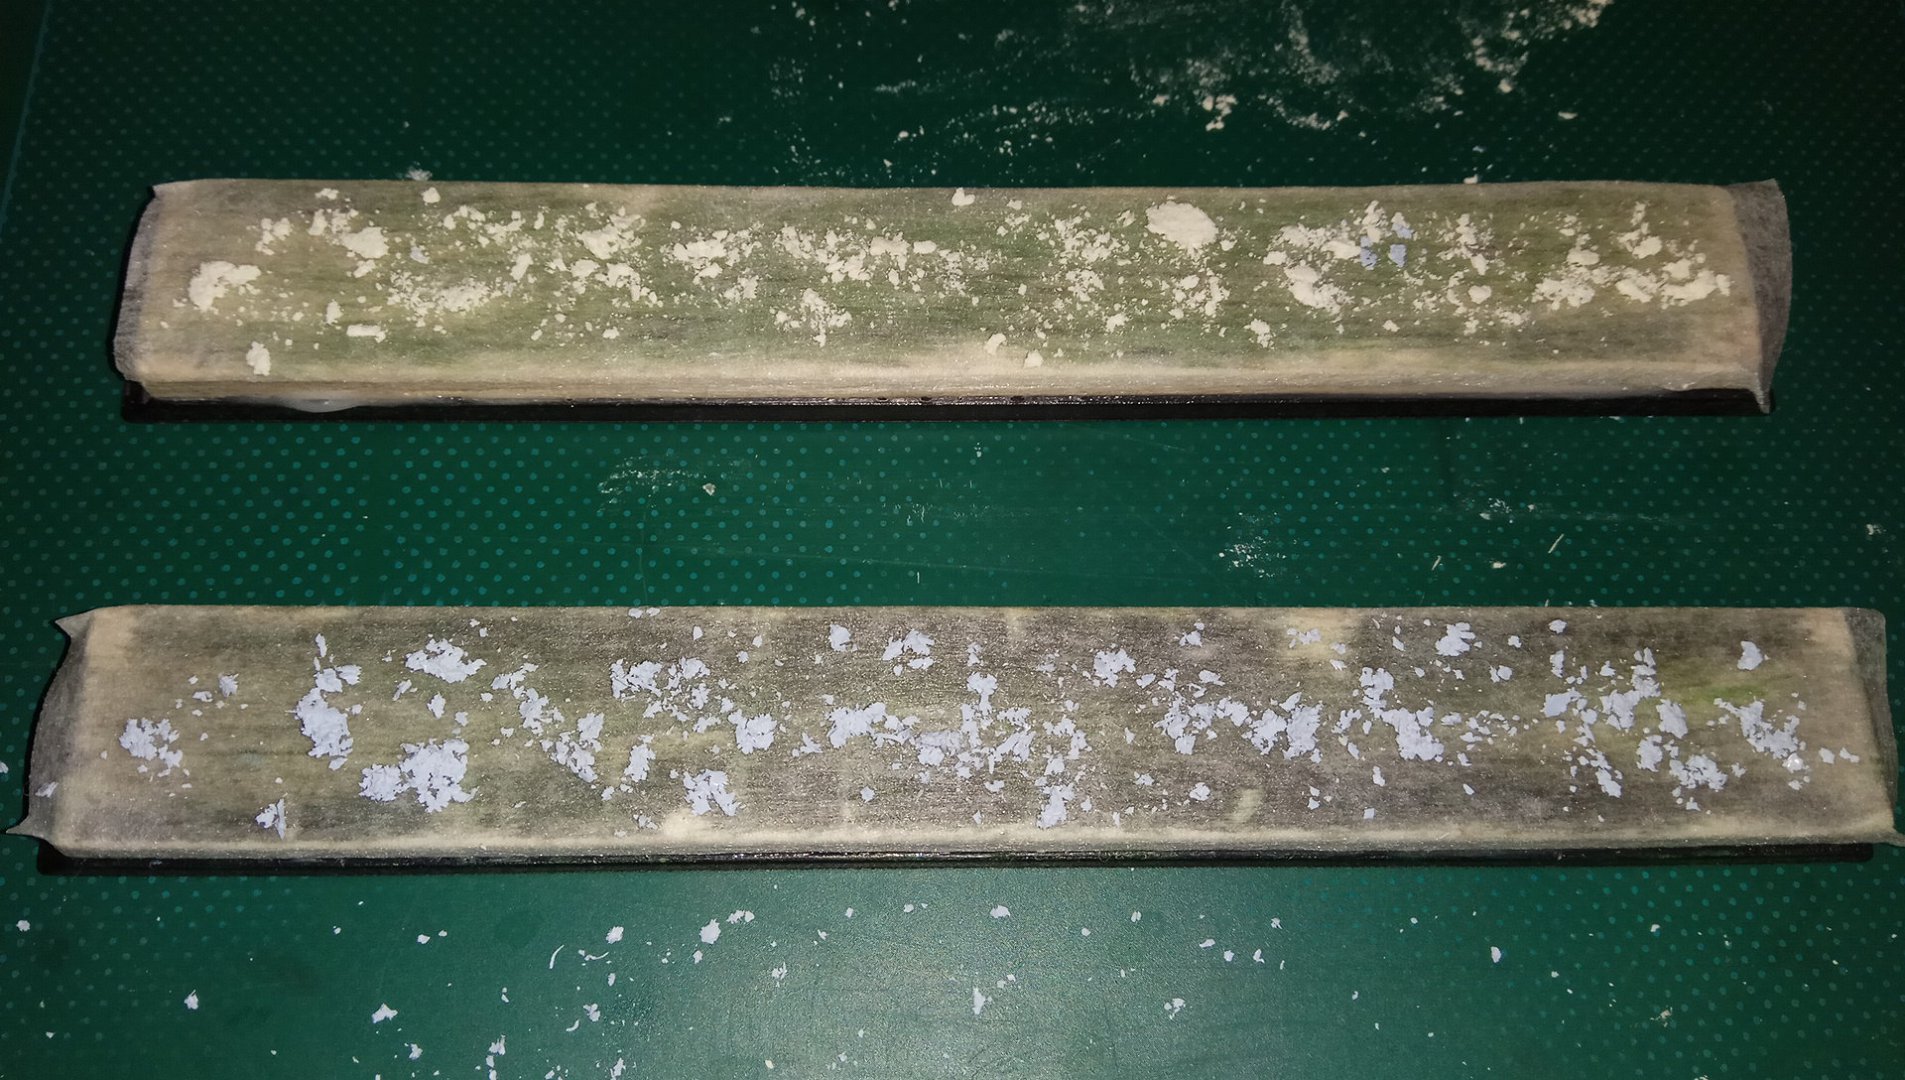
This is how it's done, correctly! You disperse the "crumbs" (here: flakes) rather generously over the tape, like so:
Then use your bare index finger to rub the crumbs into the tape. You'll be surprised how the rubbing motion plus the oil in the tape dissolve the solid flakes and how easy it is to spread the compound evenly over the tape surface, like so:
Now you're ready to go. If you think that the loaded surface seems a bit dry, don't worry; when needed, you could place 1 oil drop on the tip of your index finger and then either dab the minimal amount of oil on the (blackening) tape or directly on the knife edge.
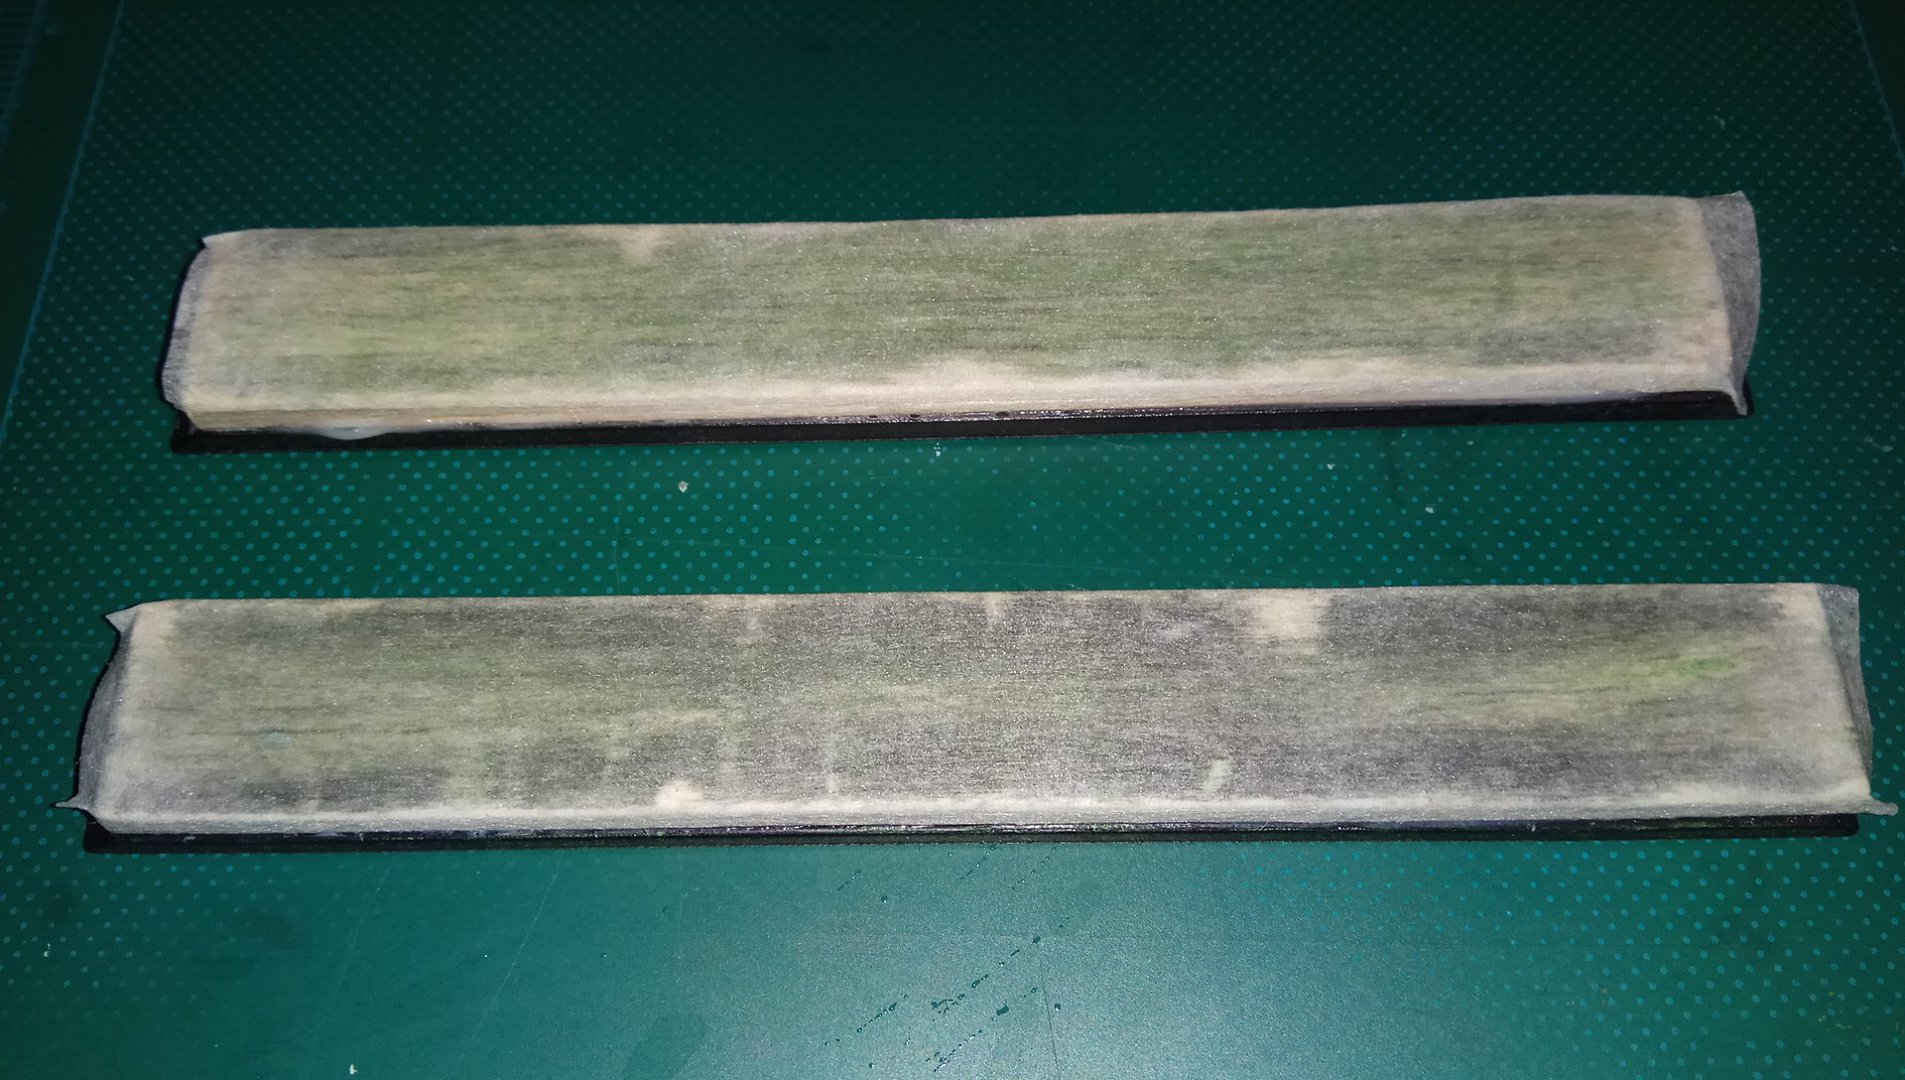
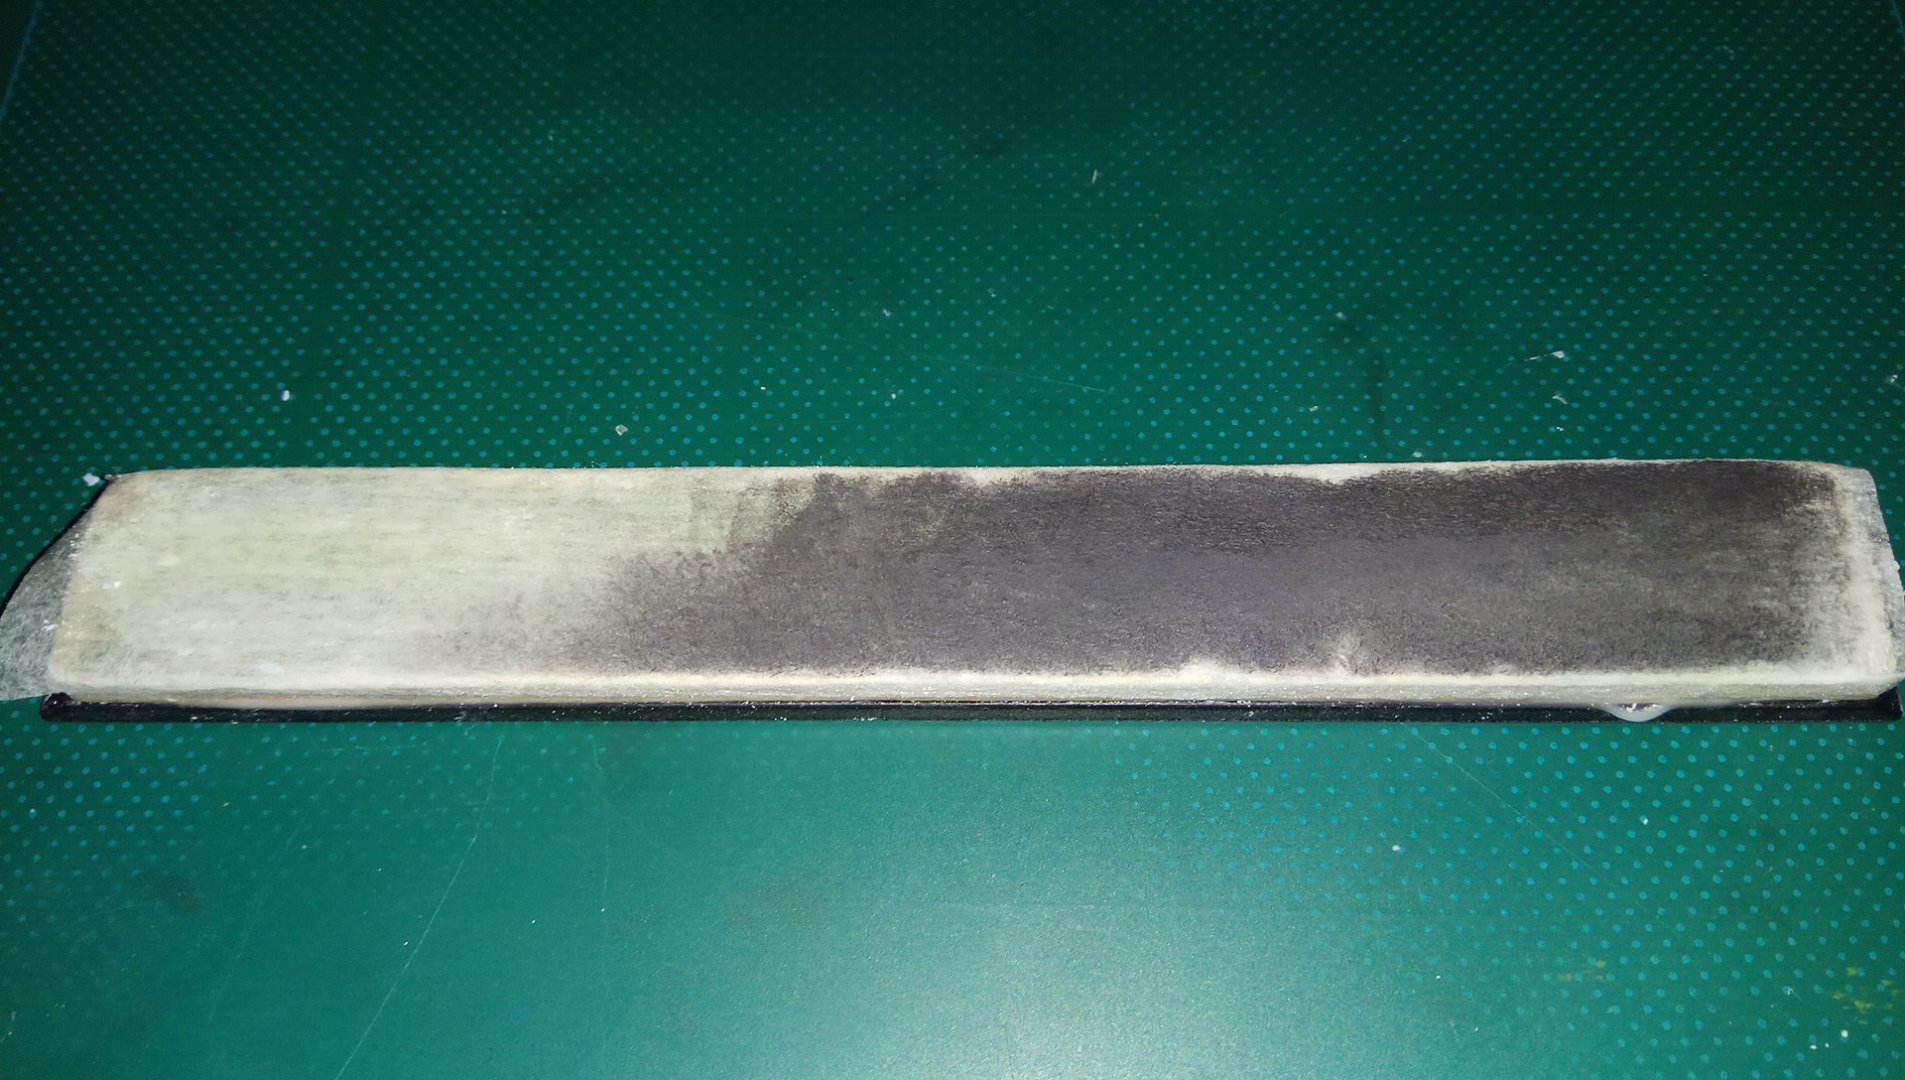
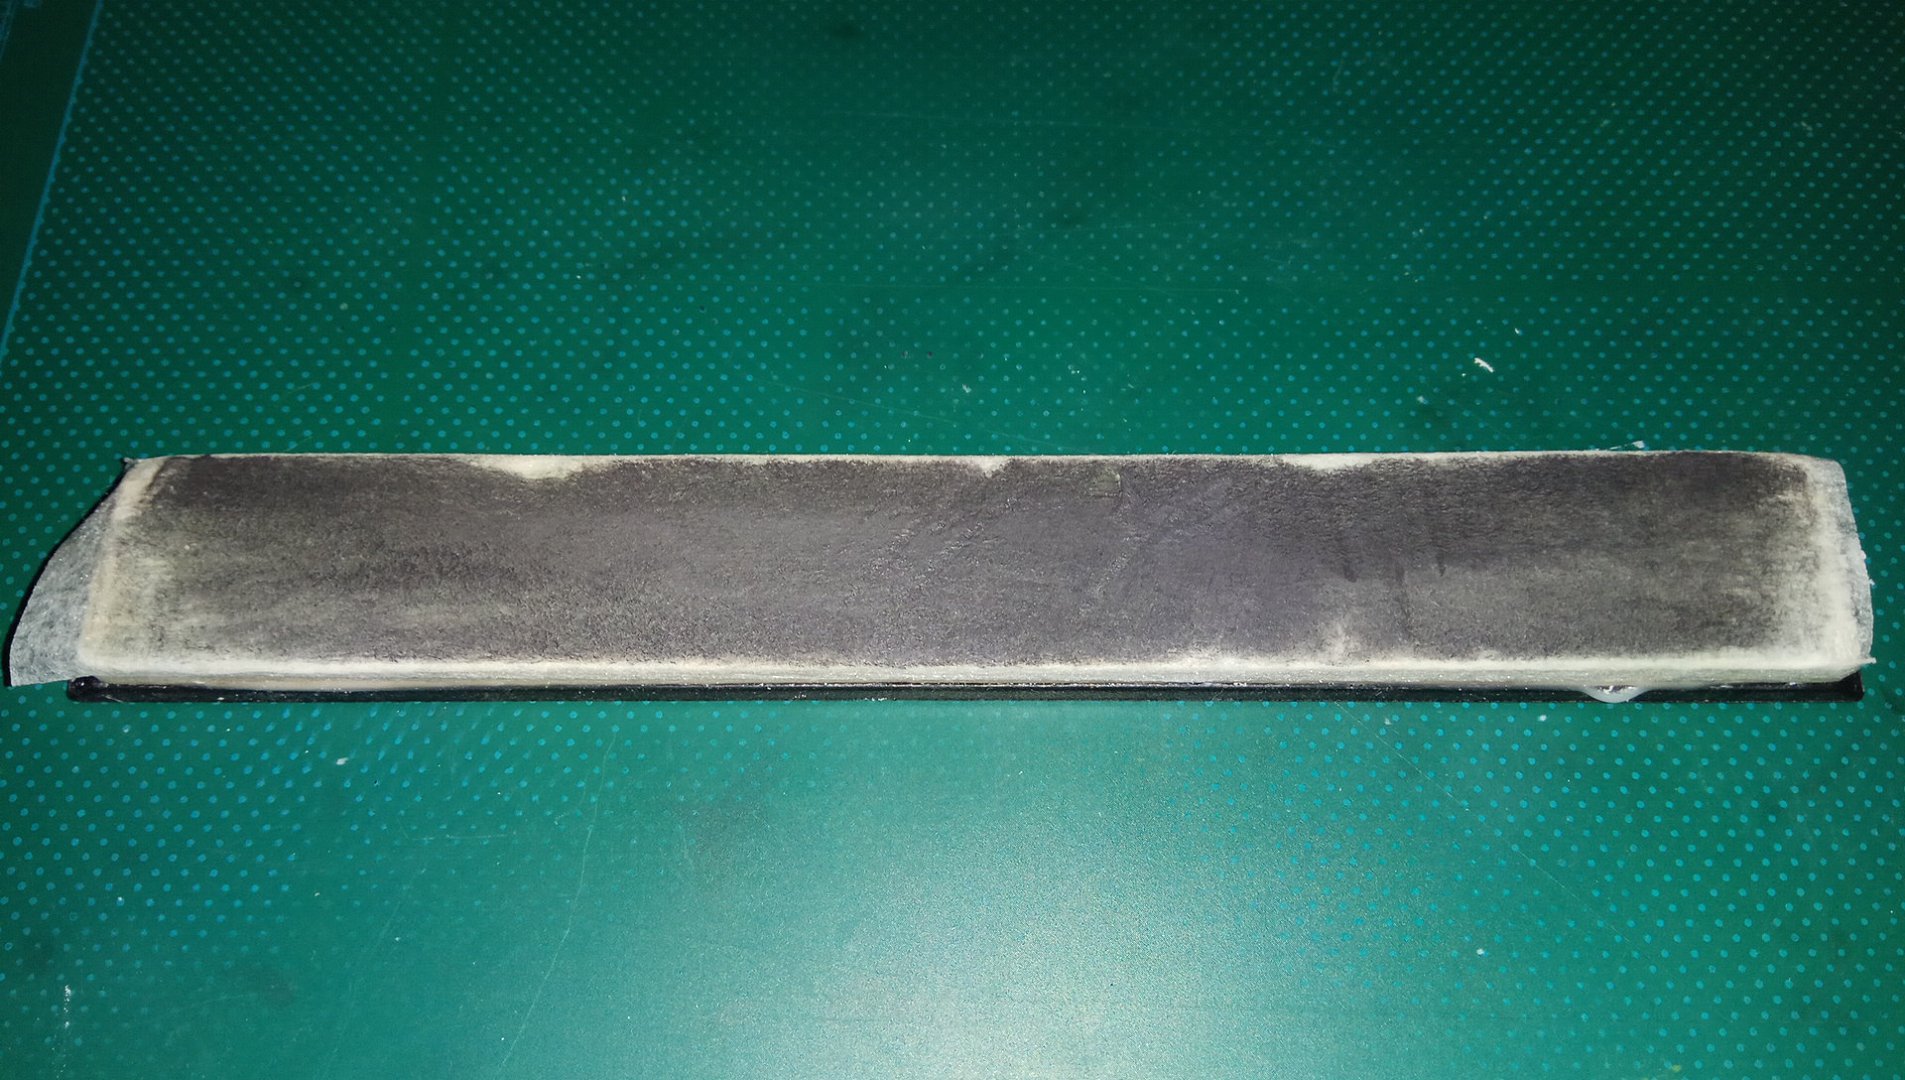
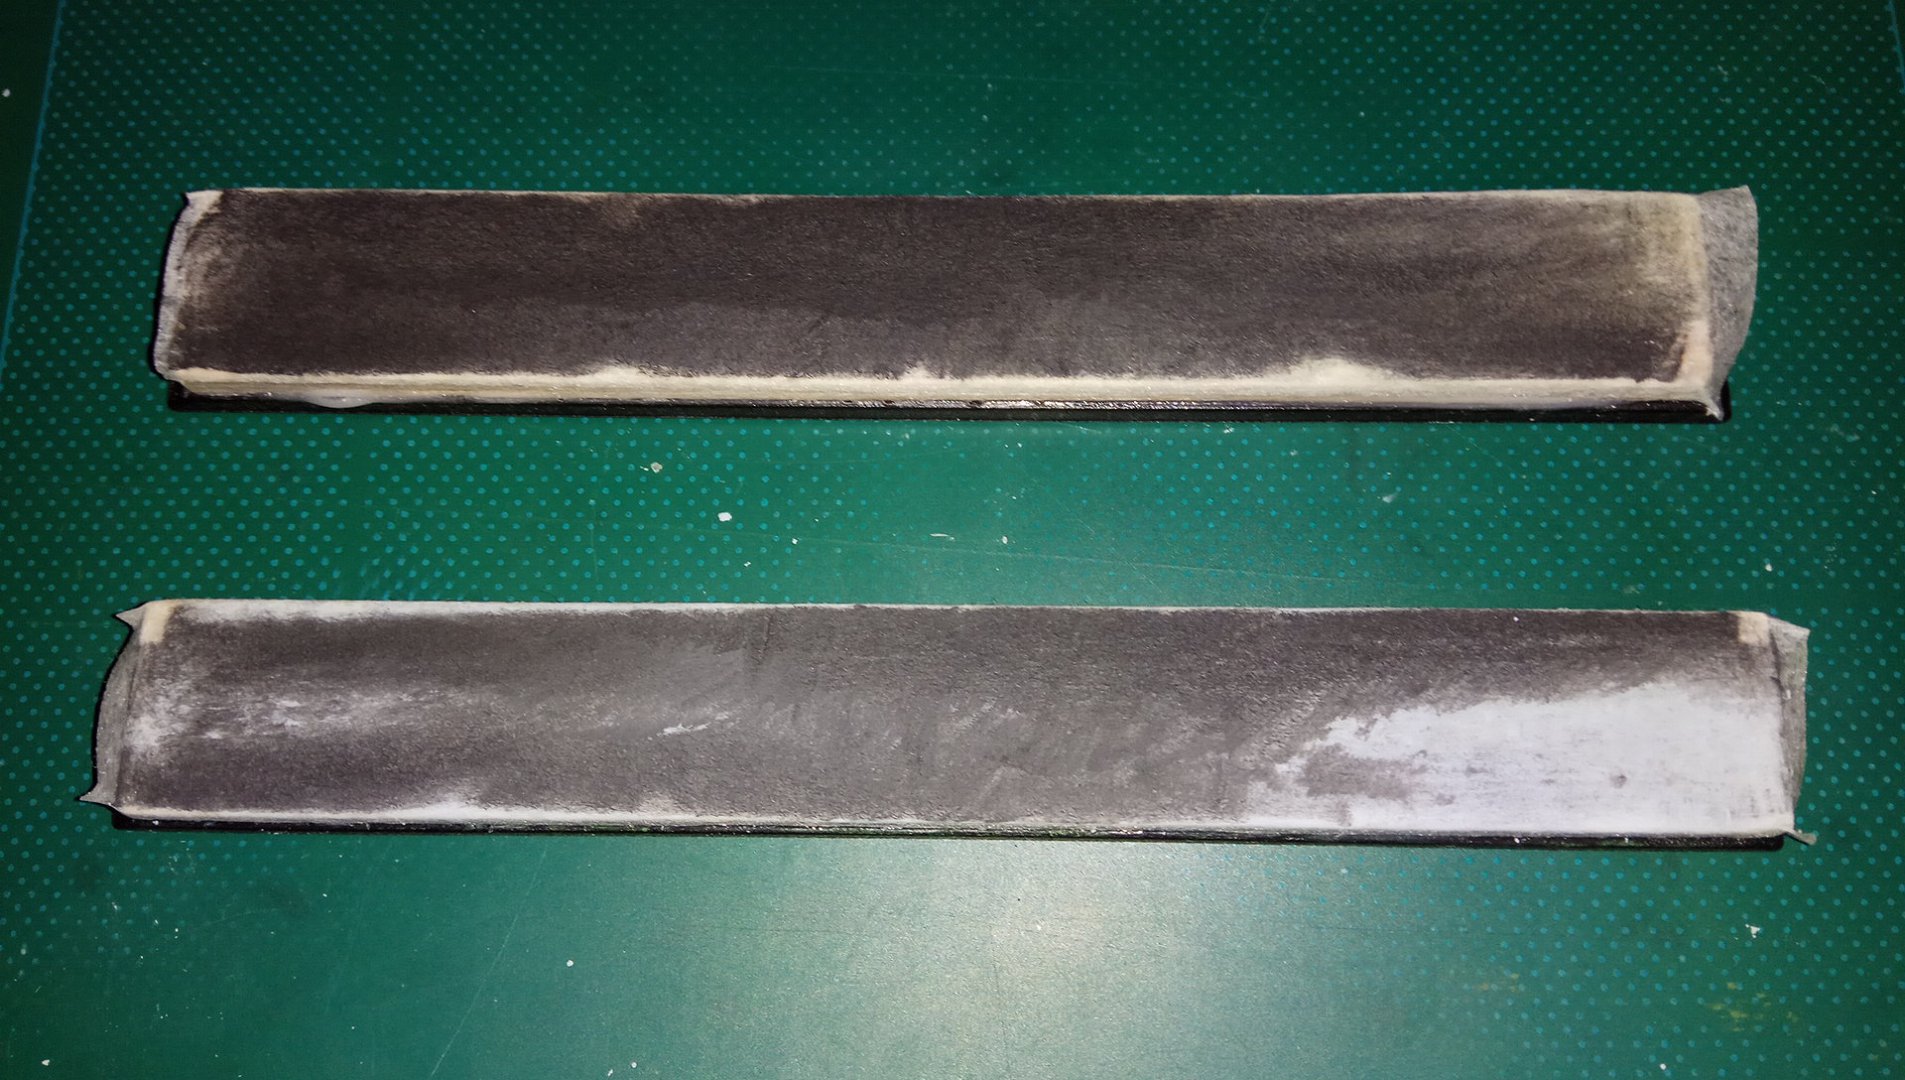
The following 7 pics document how the tape gets loaded with powderized knife steel. Depending on your wrist movement and pressure balance, a black pattern would form on the tape. After switching blade sides and also 180°-turning the "whetstone", the tape would become fully covered with the black stuff. The WHITE compound cuts very fast and produces a near-mirror polish after a few strokes. Micro-nicks, micro-chips are gone in no time:
Moving on to the BLUE compound. It also cuts very fast and leaves a mirror polish. The high concentration of abrasives (3micron? i dunno) makes the compound so fast-cutting:
The duo of WHITE plus BLUE compound costs 5EUR or so and is for polishing metals. But they are so fast-cutting, much faster than the CN diamond paste, that they have become my go-to standard method for finishing the sharpening of my knives (and also for resharpening, instead of going back to the 1000+ grit stones); only sometimes would i add a 3rd stropping step with the GREEN compound:
I heard that Jeweller's Rouge, for example the DIALUX RED compound is even finer than 0.3micron, wow! It is also a
solid block compound and usually a
pita to apply on leather strops and a
challenge to apply evenly on balsa wood direct since it is solid and
not liquid. I am going to buy and try this compound on my PT strop! As we know, the oil does the trick of "liquefying" the hard compound … by dissolving it.
Wax(s) + Oil(l) = Paste(s/l). What a neat chemical equation hehe.
Verdict: For sure, for me, the PTS method gives me a more perfect stropping result along the
entire edge, on
either blade side!, than when i try my best doing free-hand stropping where I always struggle with the rounded portions of the knife ("belly"). I was happy with my budget free-hand leather stropping and results before, but the PTS method took the sharpening results to a higher level. A real win and worth composing this time-consuming reference post.
What i also like about balsa wood as holder: Even though the material is soft and could be damaged/dented easily during non-careful handling, the wood stays smooth, flat, plane and does not get dented or compressed through the stropping action itself. Maybe that's because no pressure is needed during the paper tape stropping: the (generously loaded) paper tape does all the stropping work, acting like a mechanical shield, there is not much strain left on the balsa wood itself. I can tell you, stropping on balsa wood direct consumes the material, whereas paper tape stropping spares the wood material!
Guided stropping is highly effective resulting in hair-whittling sharpness, WickedEdge and EdgePro owners know it, and with this post I've shown how one can get there on a budget. The essential key was using
3M Micropore (this very product!)
on balsa wood, and not
loading a whole bunch of balsa strops with an entire set of forbiddingly expensive diamond sprays


blade is (2 different pic lighting source directions). This degree of accuracy, a transition-free border line, is imho impossible to achieve through manual stropping/polishing of the edge:
") , as you can see the transition (transitional area) between the polish and the satin is not a 2-D area but just a 1-D line, a straight line, very cleanly cut, defined:
, as you can see the transition (transitional area) between the polish and the satin is not a 2-D area but just a 1-D line, a straight line, very cleanly cut, defined:

") but I still don't see it , the seperated parts of the image all look the same , the most noticable thing is the spotlighting from the flashlight, but everything else is identical from all parts shown in the picture :/ Its ok if you're making a joke on me or I never understand
but I still don't see it , the seperated parts of the image all look the same , the most noticable thing is the spotlighting from the flashlight, but everything else is identical from all parts shown in the picture :/ Its ok if you're making a joke on me or I never understand 


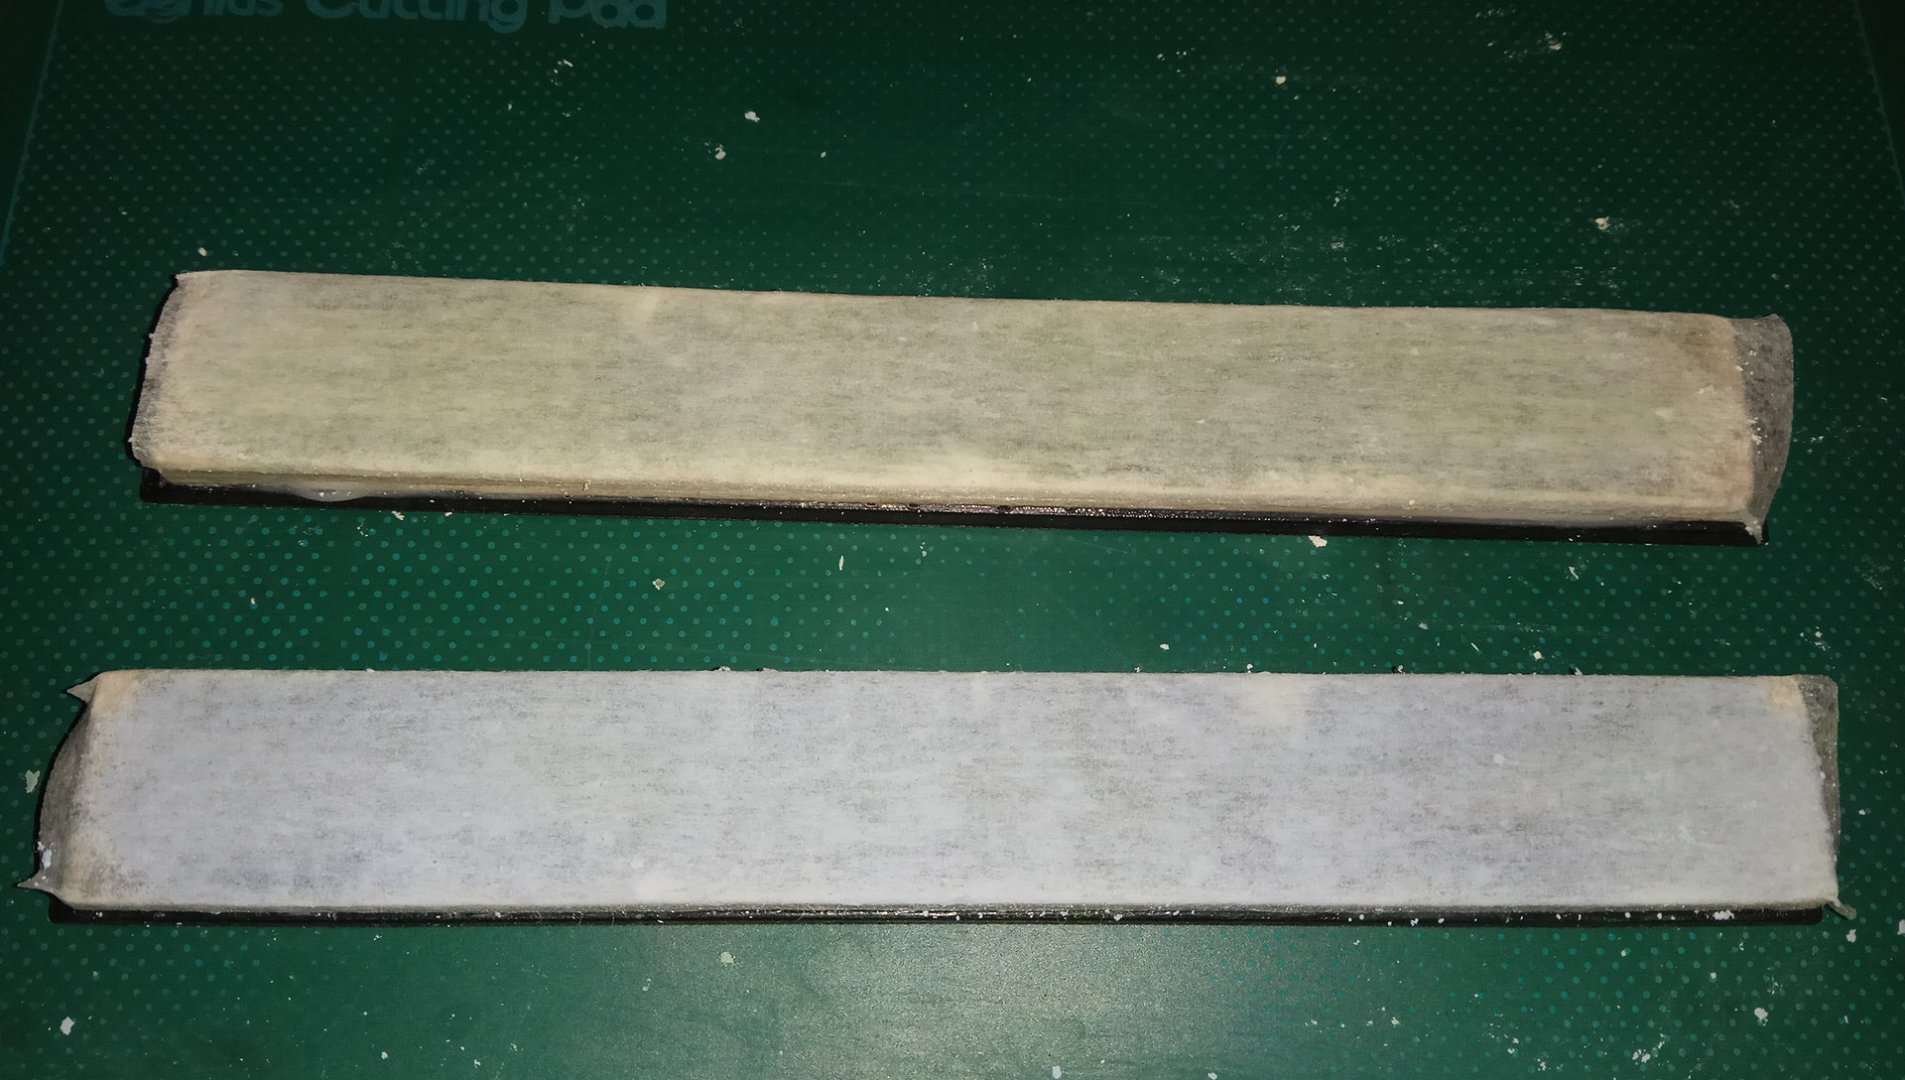
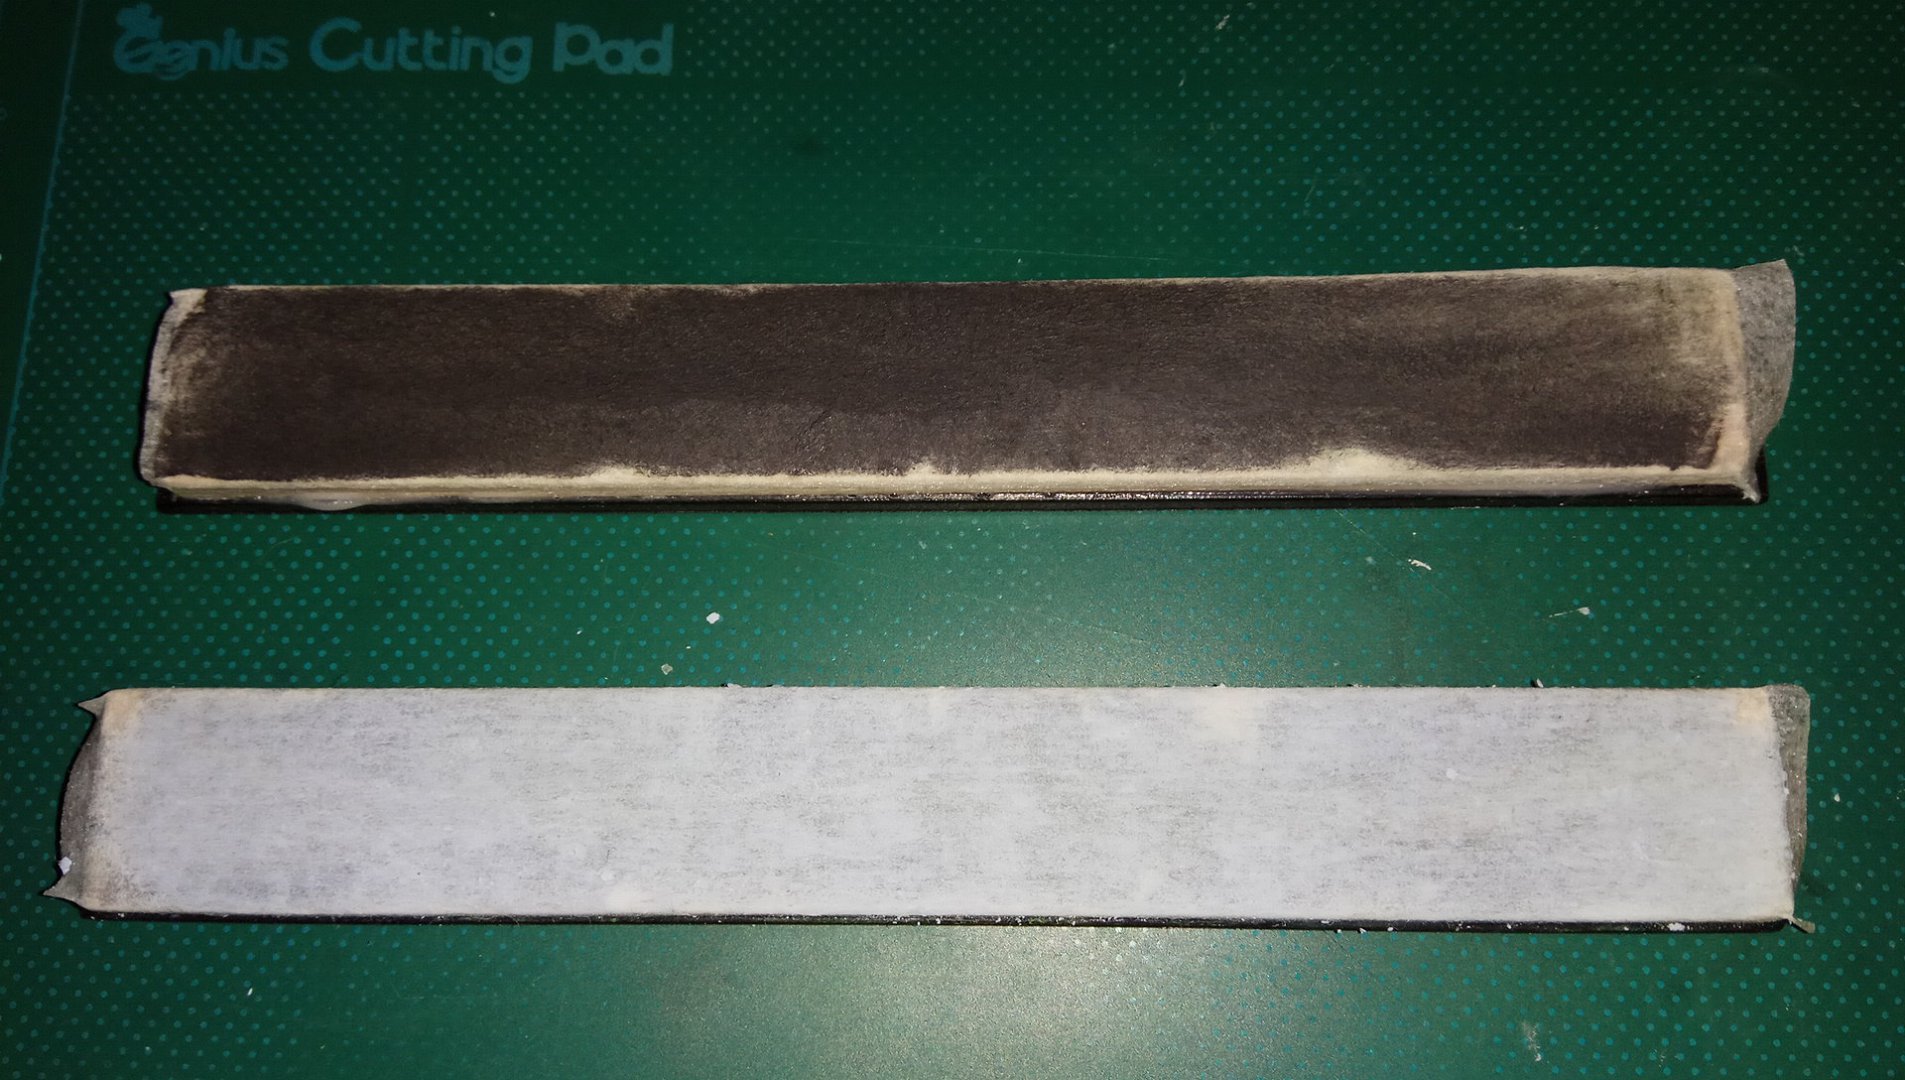
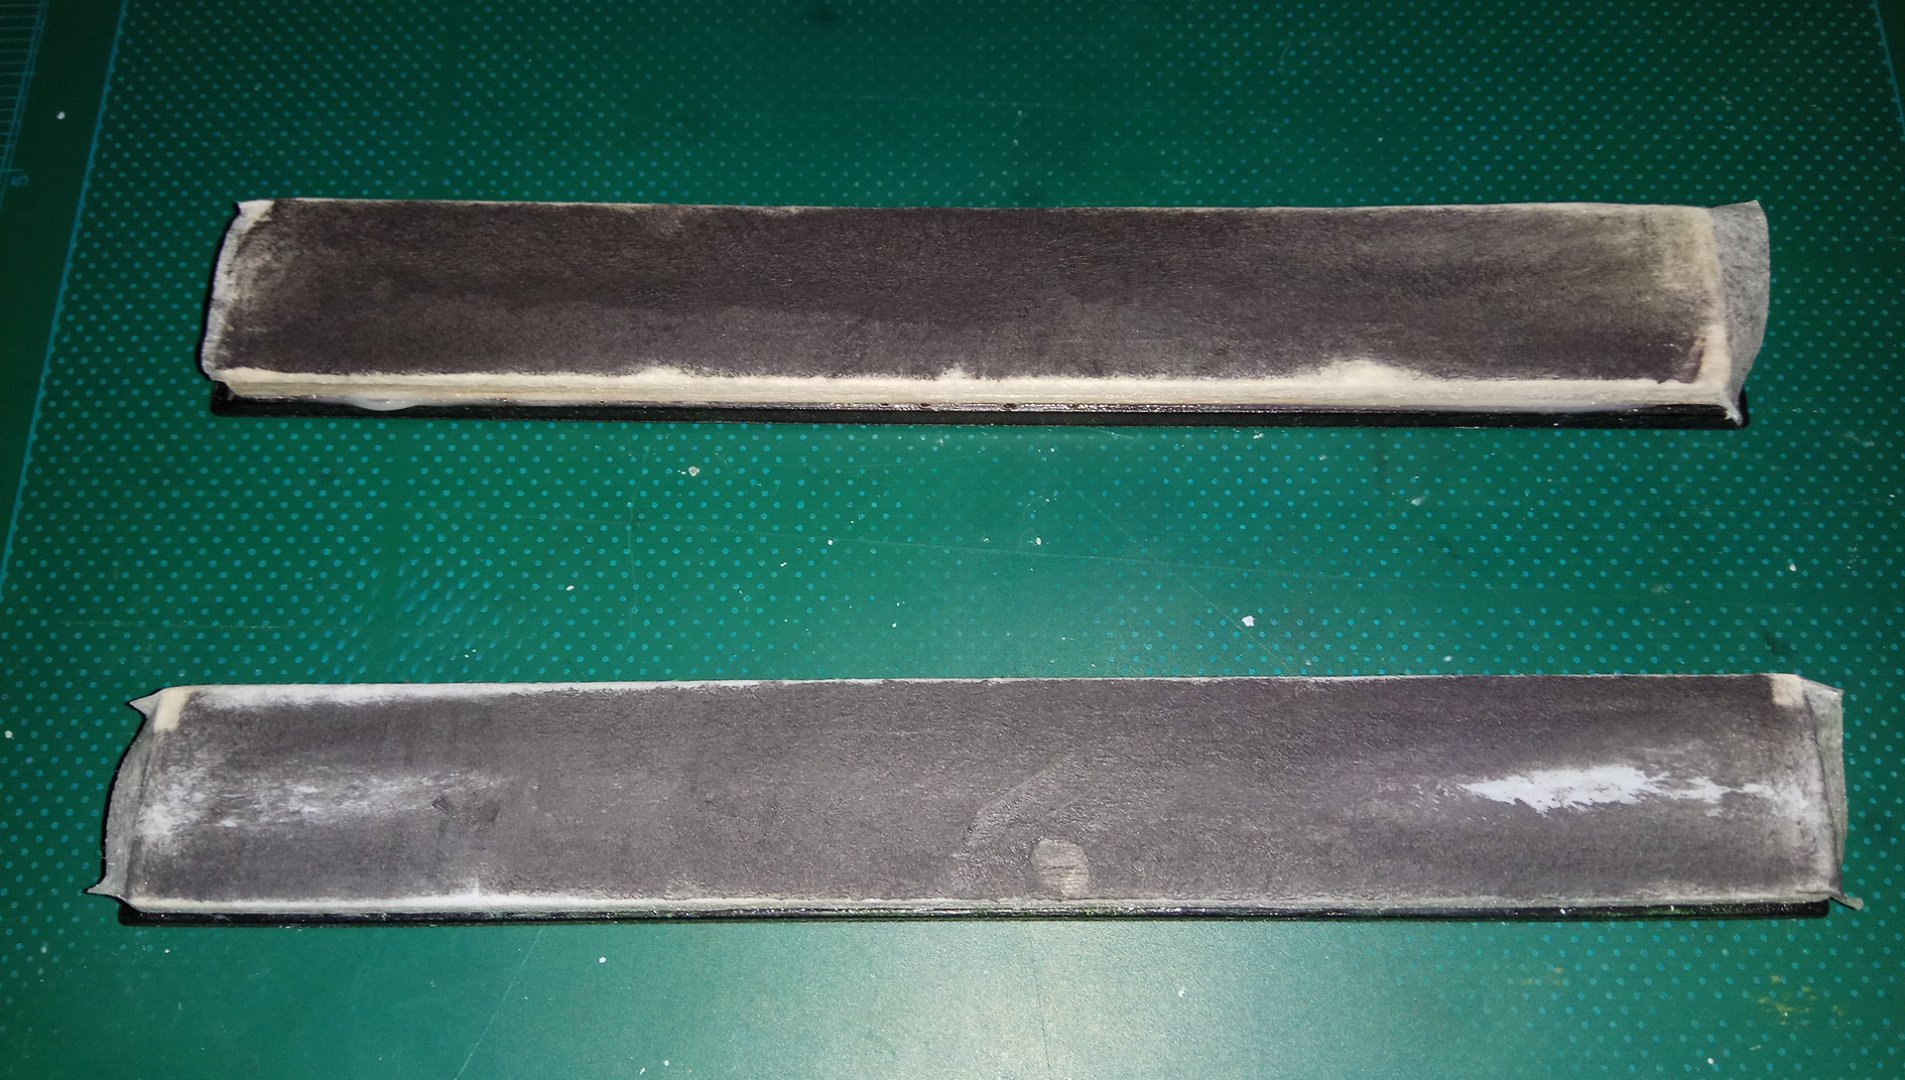
 Can you now see any difference between the 2 tapes? The left one might have minimal gloss to it:


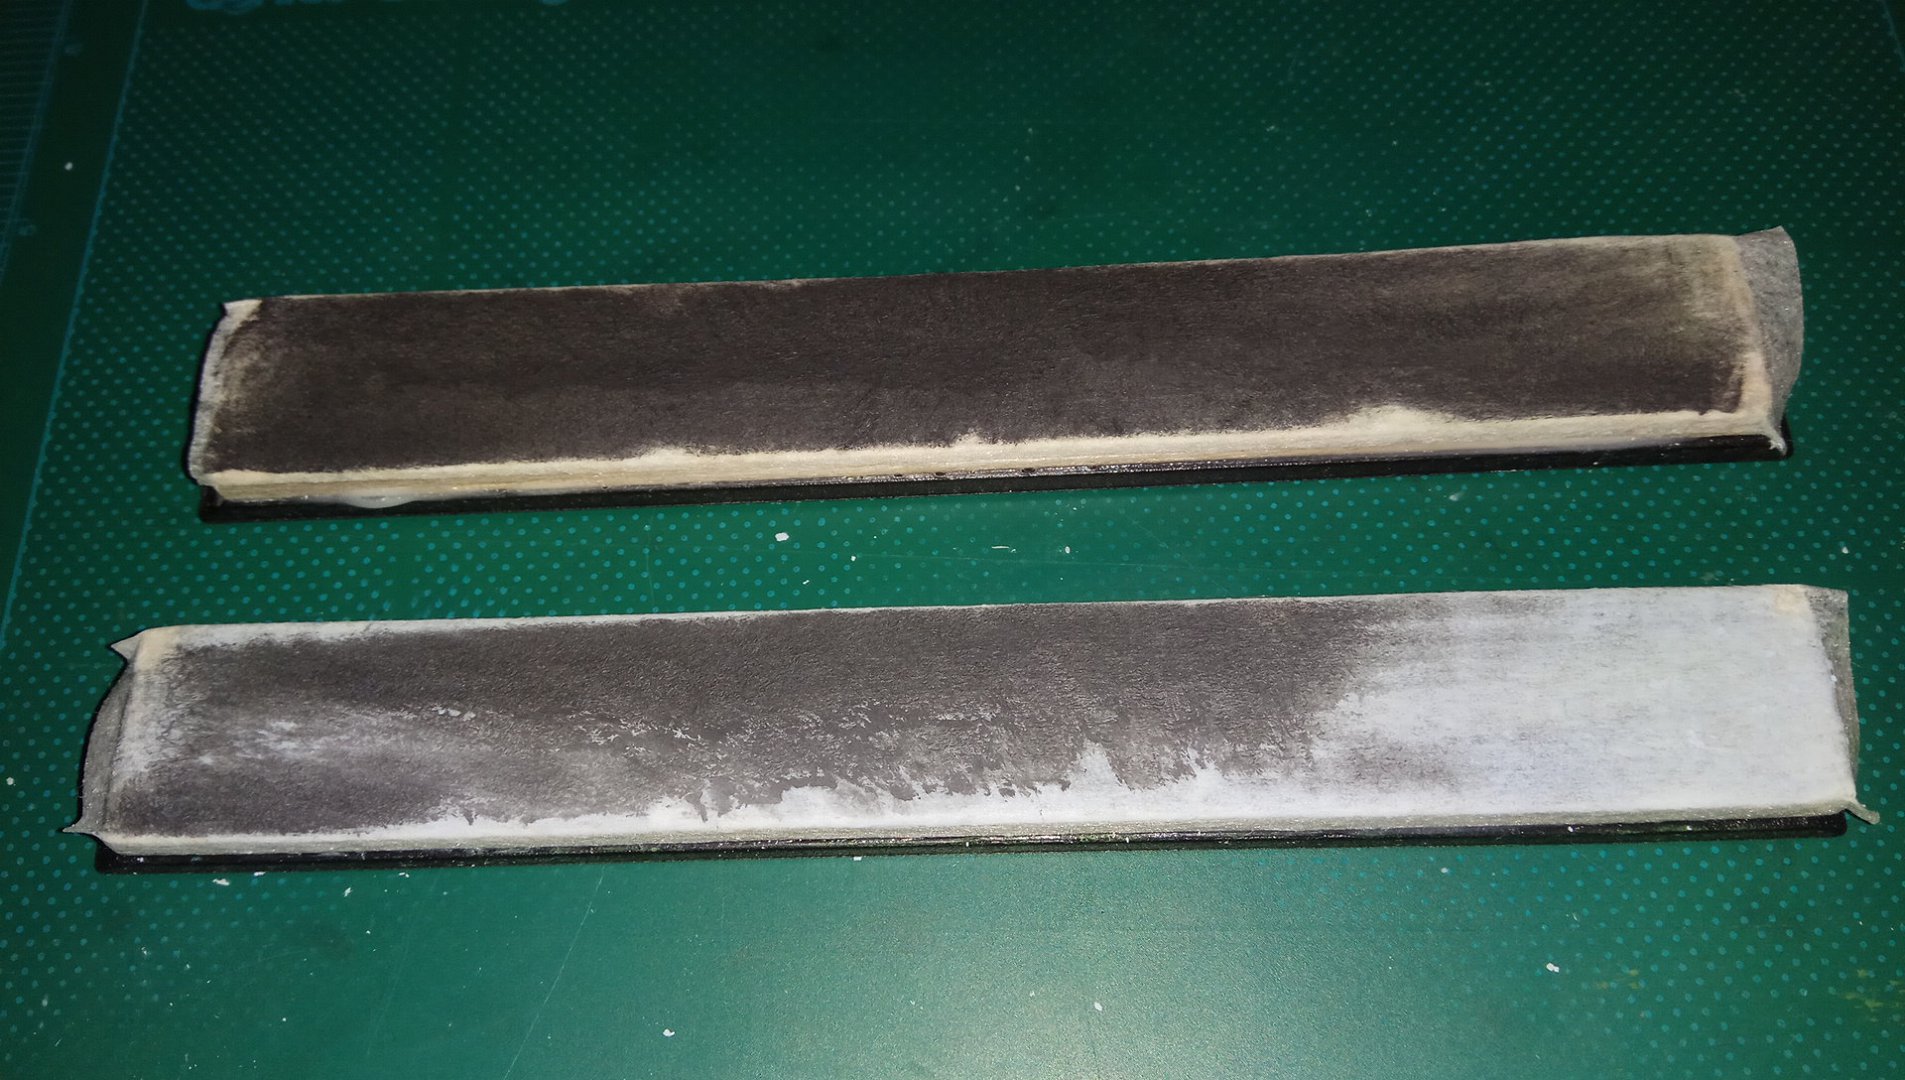
 . The lower section has more blue spots remaining: