This modding is not needed nor relevant and I myself find it only mildly interesting haha but I enjoy sharing, talking about the simple easy-to-explain stuffz which i have or do, so here we go, story time (and to be continued).
After i had acquired my big precious expensive (ger)man-made ruby benchstone, i was desperately looking for a seller of a rigid storage/carry/protection box or case for it, made out of wood or plastic material. My preference would have been, and still is, an identical plastic case as known from the Spyderco 302-seriez, but Spyderco does not sell the 302-seriez cases separately or as spare/guarantee part nor were they willing to disclose the contracted U.S. company who actually manufactures the ceramic stones, which is also where the plastic cases get packaged to the retail blister end product. The Spyderco plastic case has several serious advantages:
 )
)
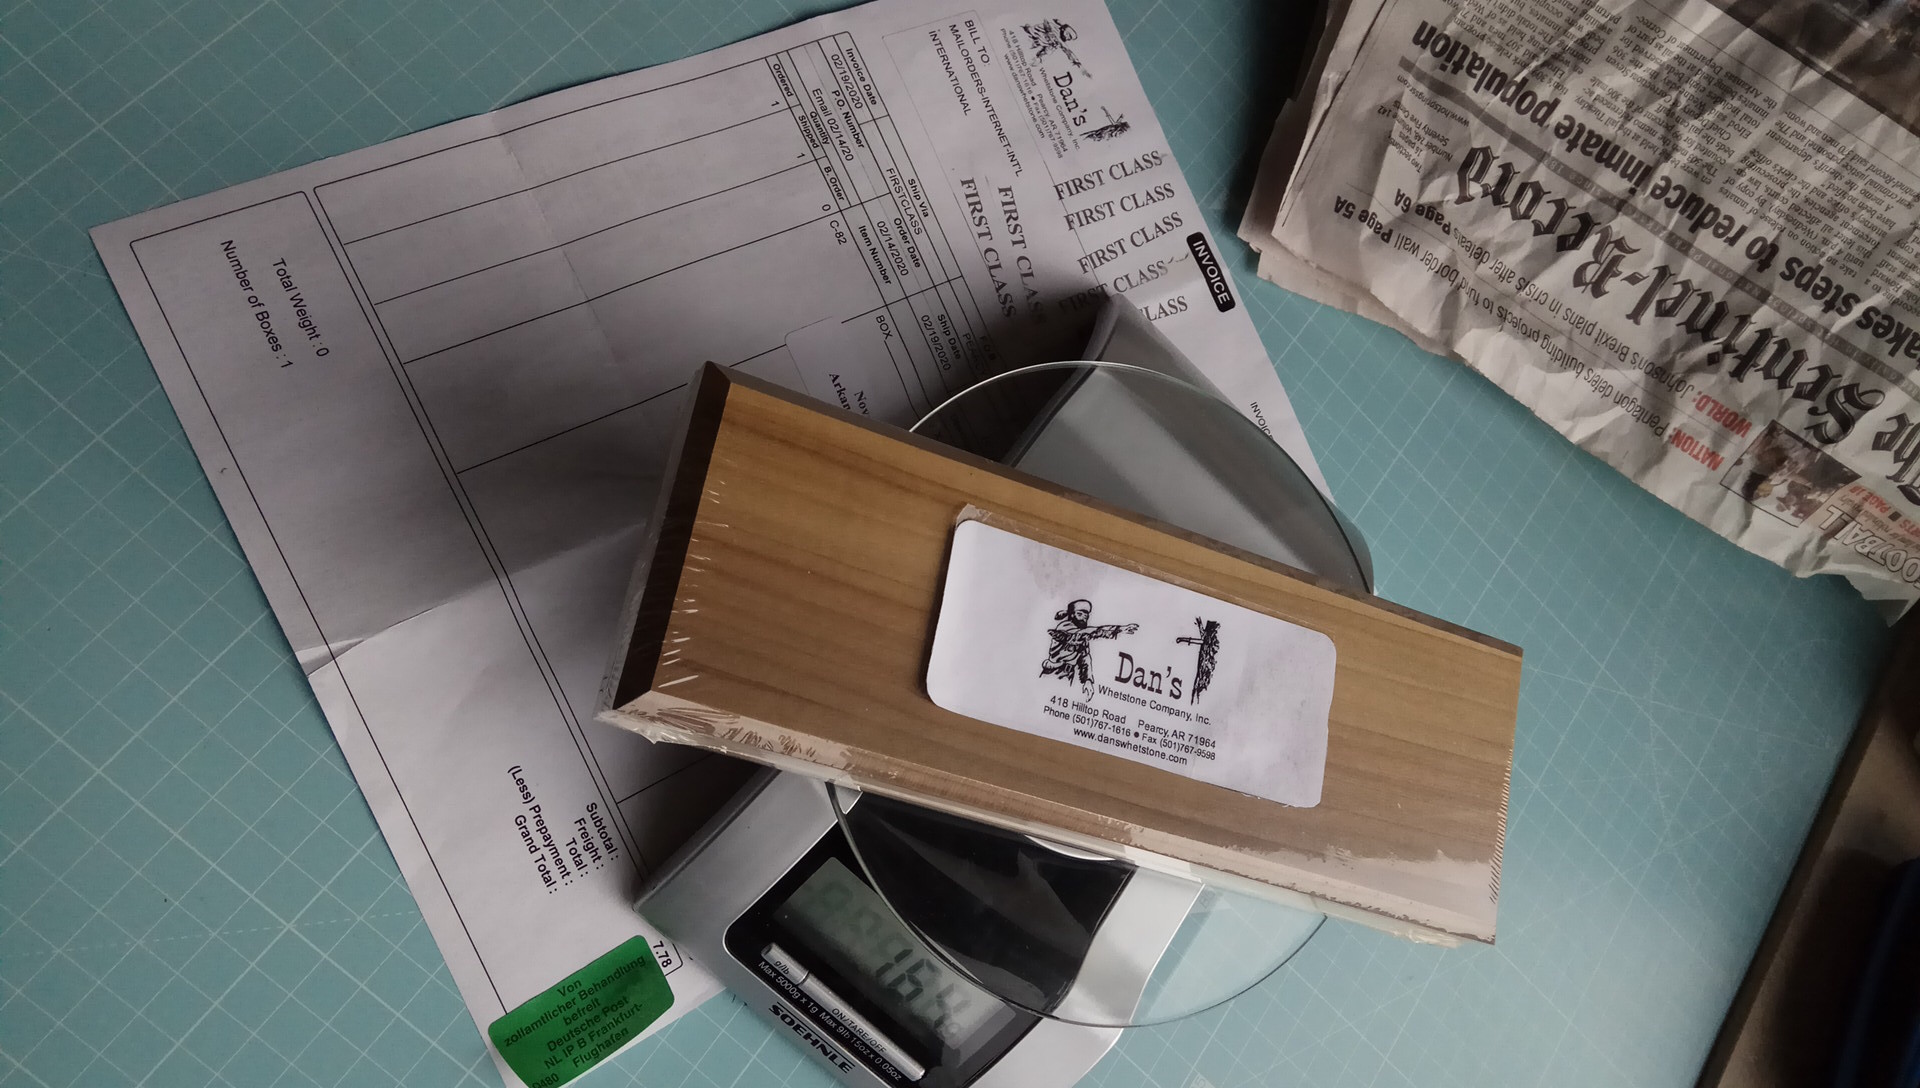
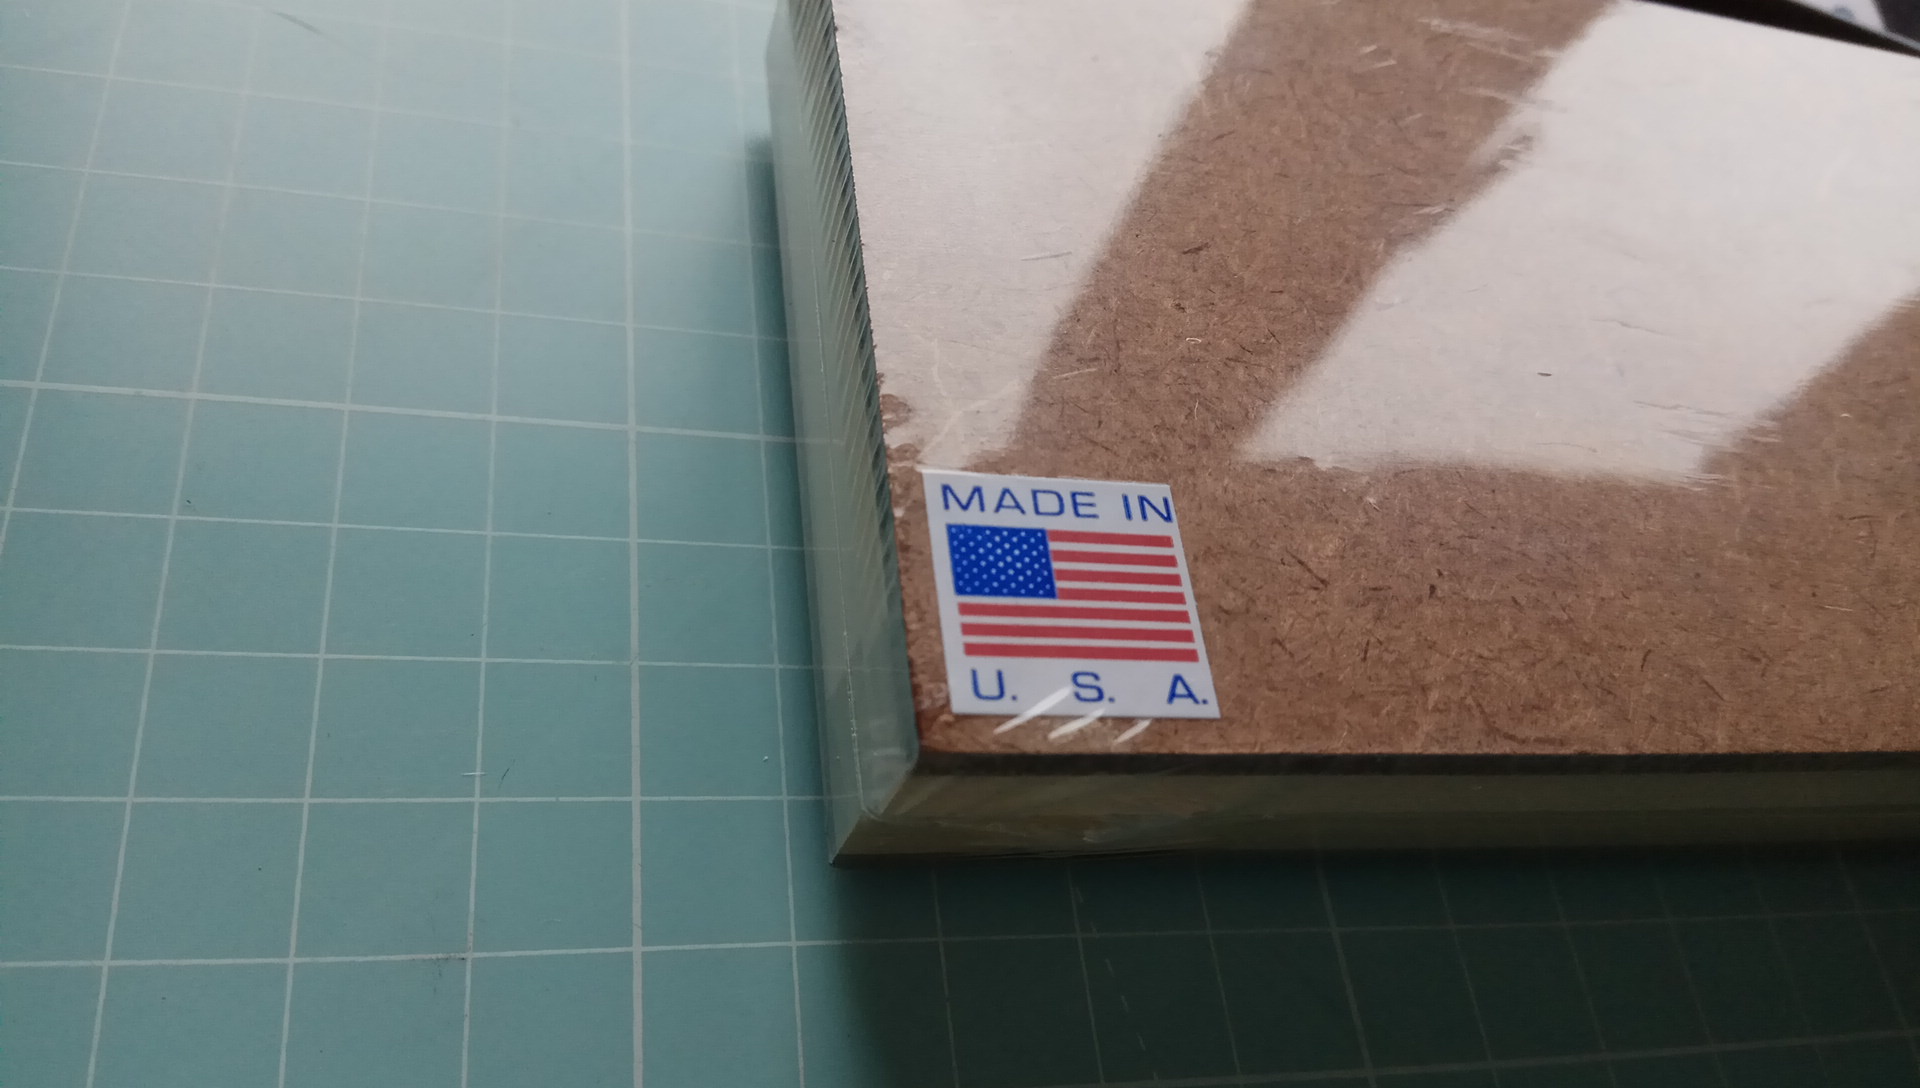
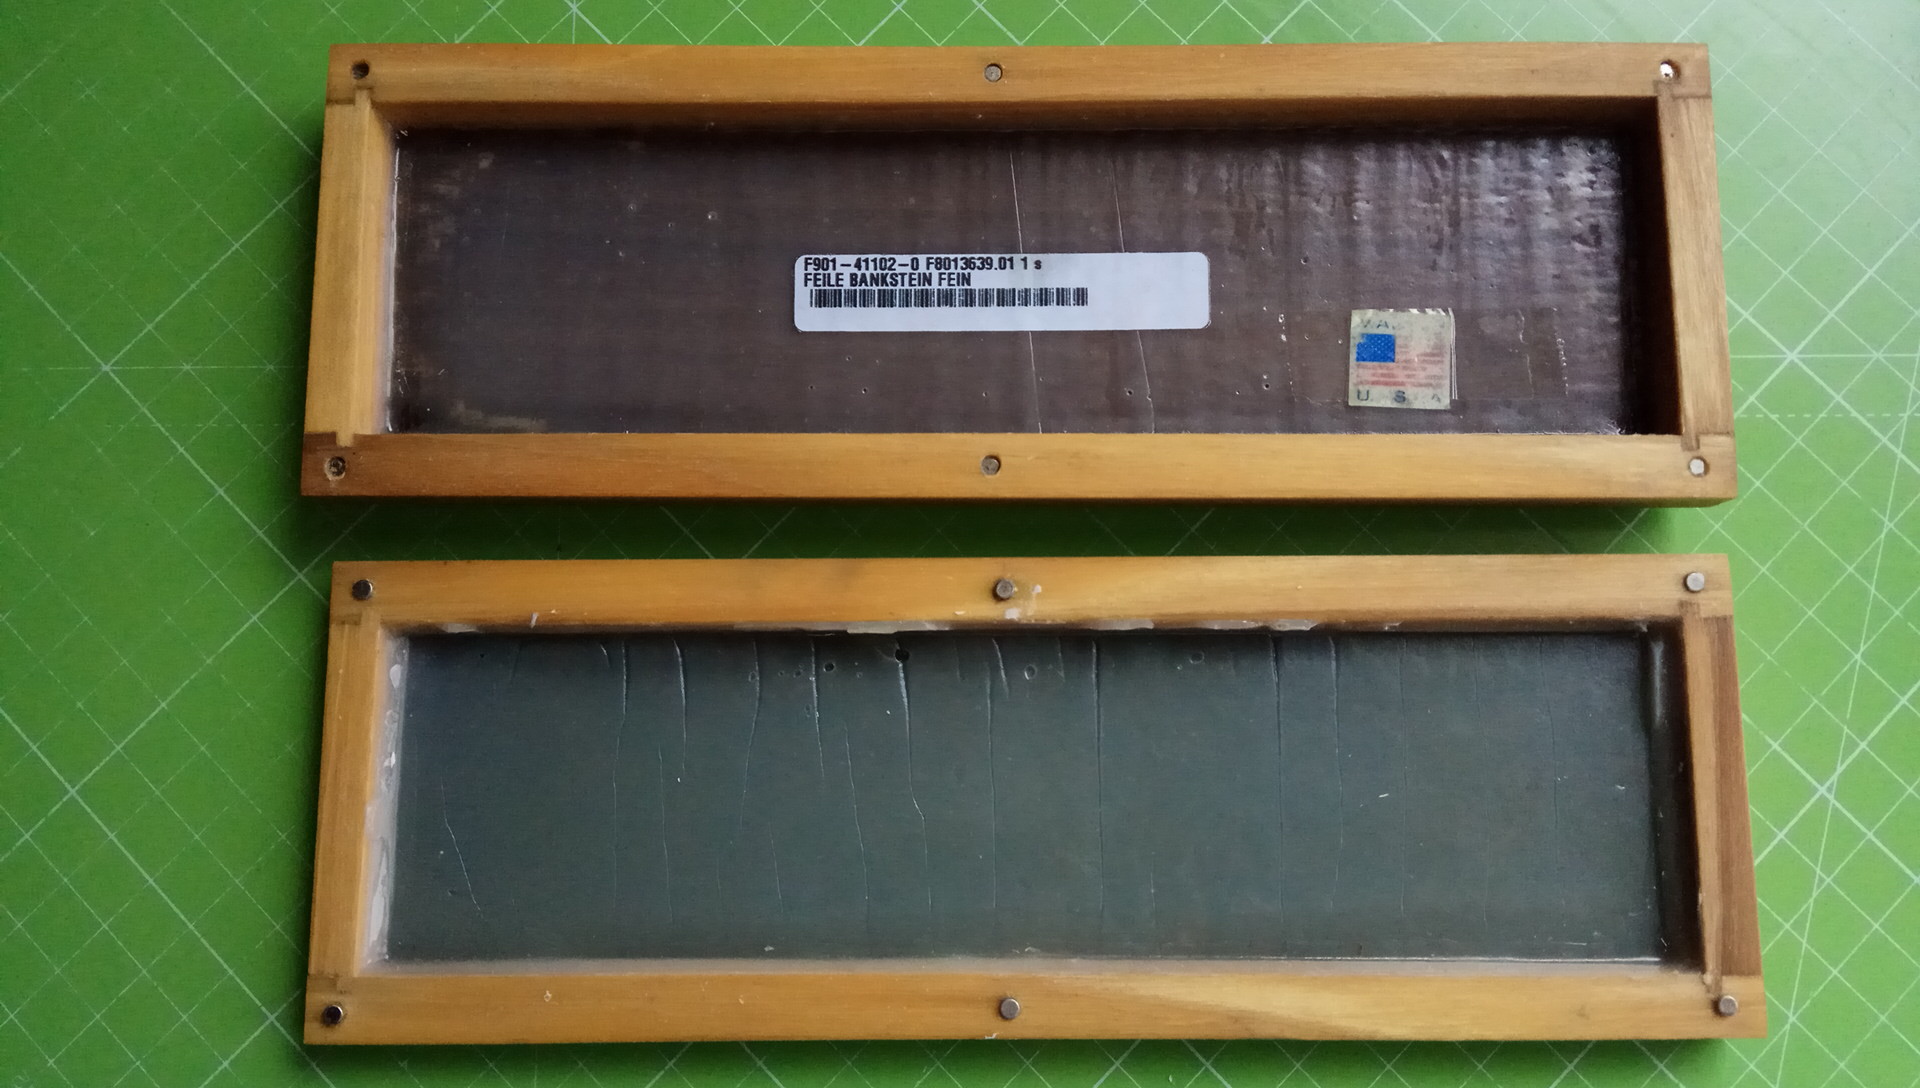
I was pleasantly surprised to learn that the product was made in the States, especially at the low price offered:
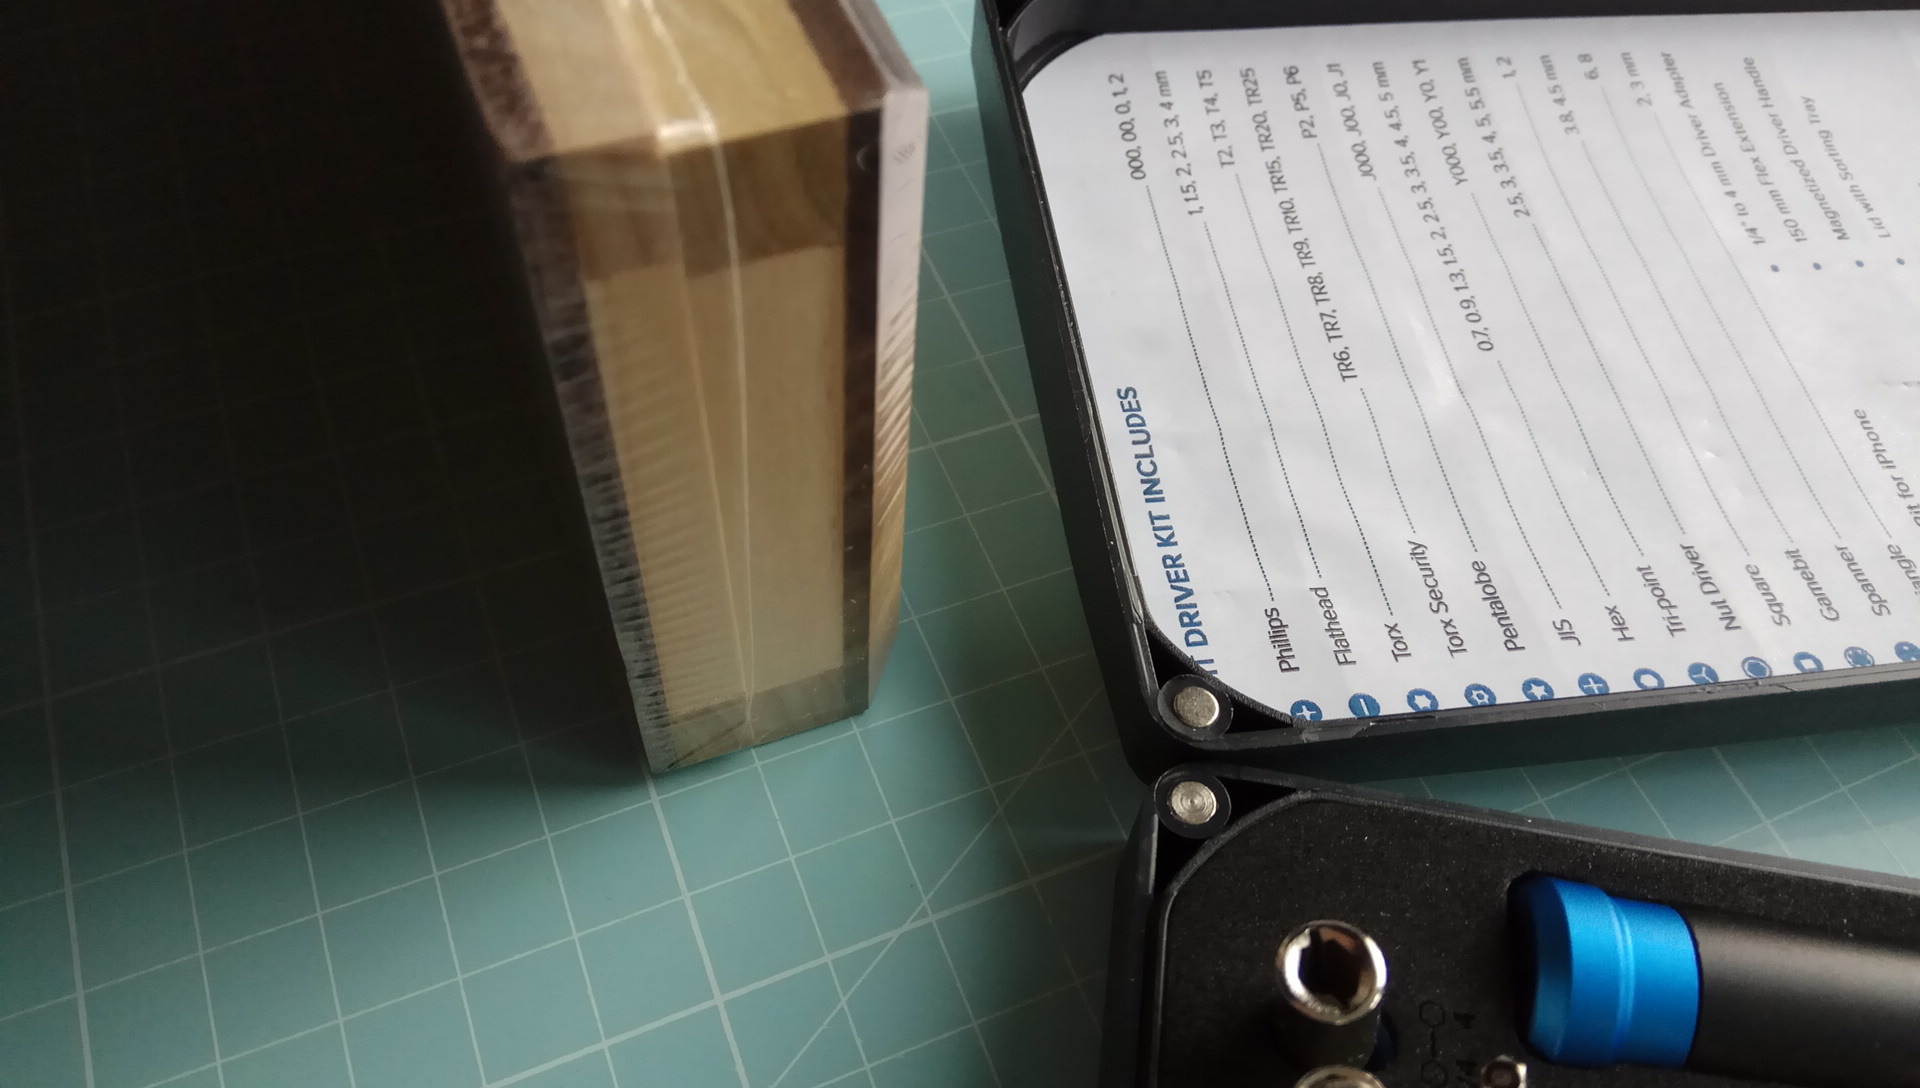
Since the box halves are loose (no "plug" connection), they'd shift around even in the tight shrink-wrap. I was reminded of the magnetic connection of my iFixit screwdriver set which uses Ø4.0×?mm neodymium magnets:
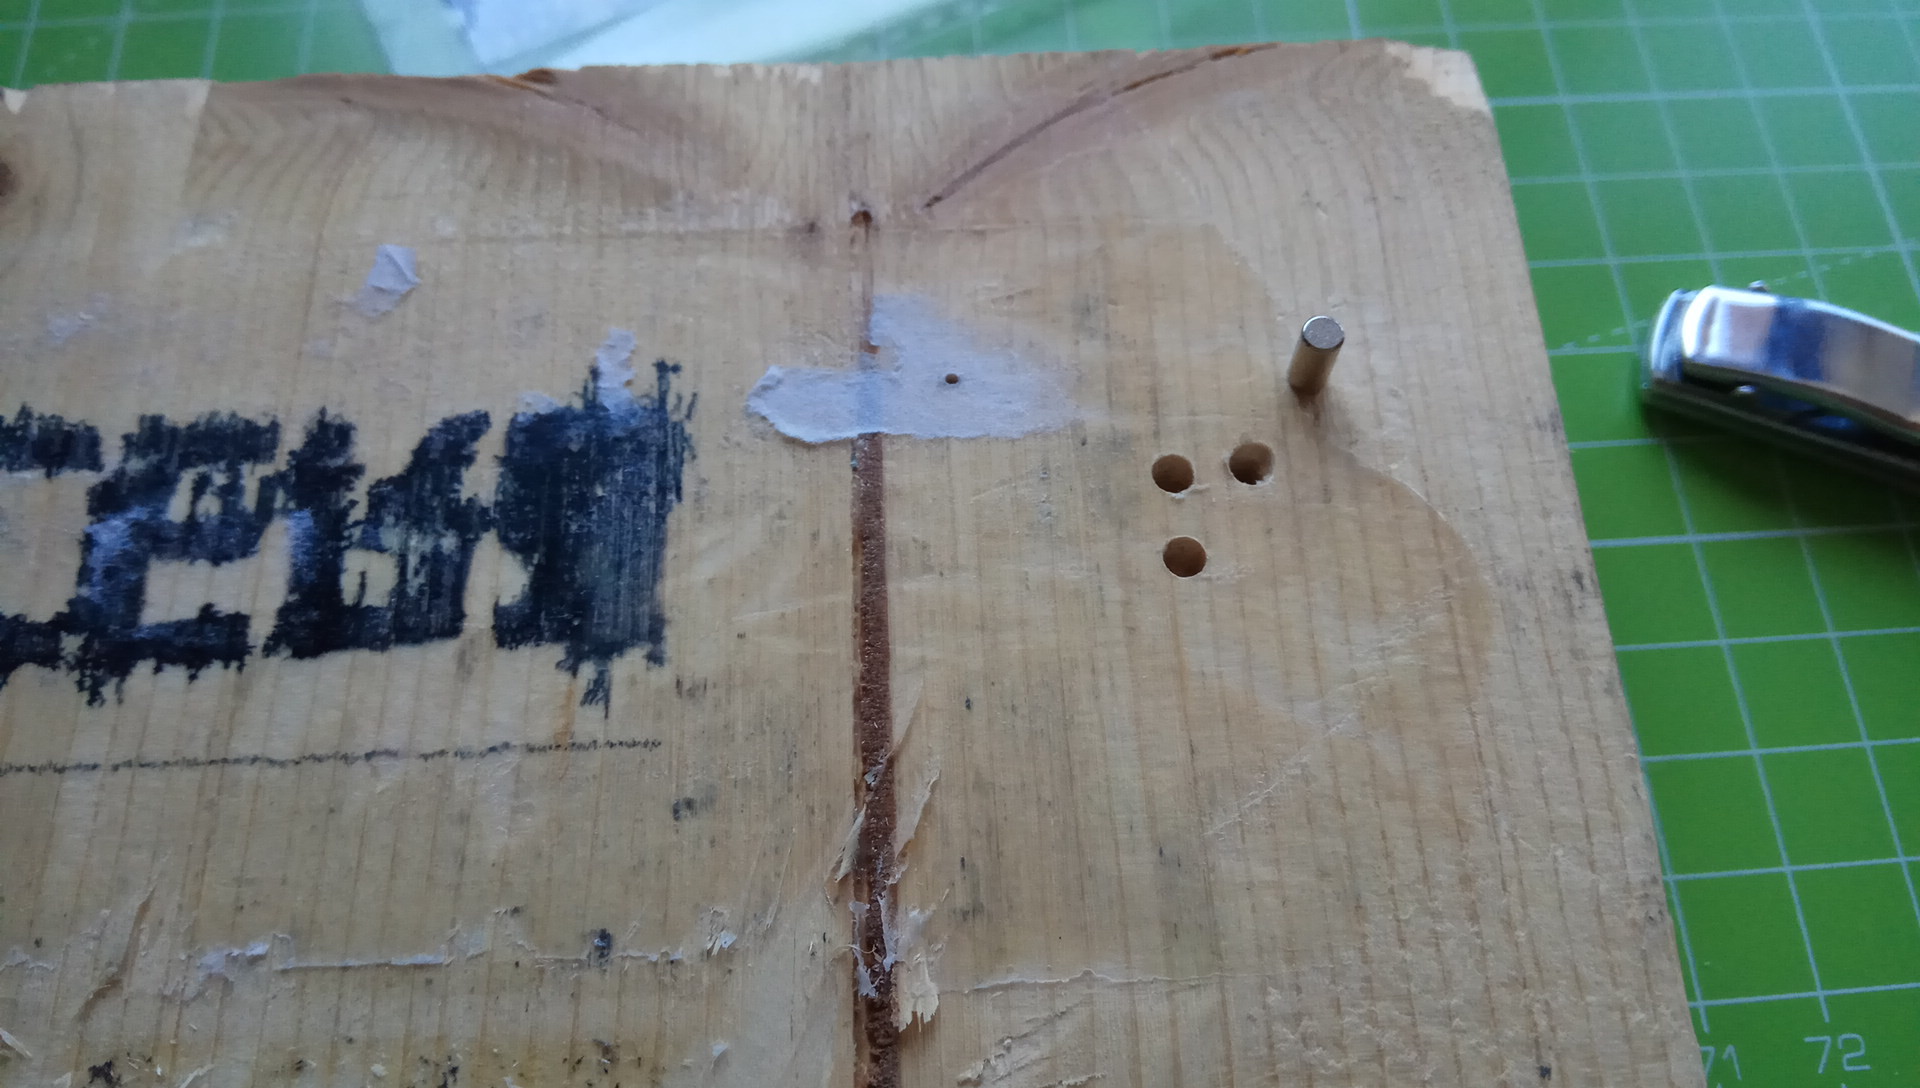
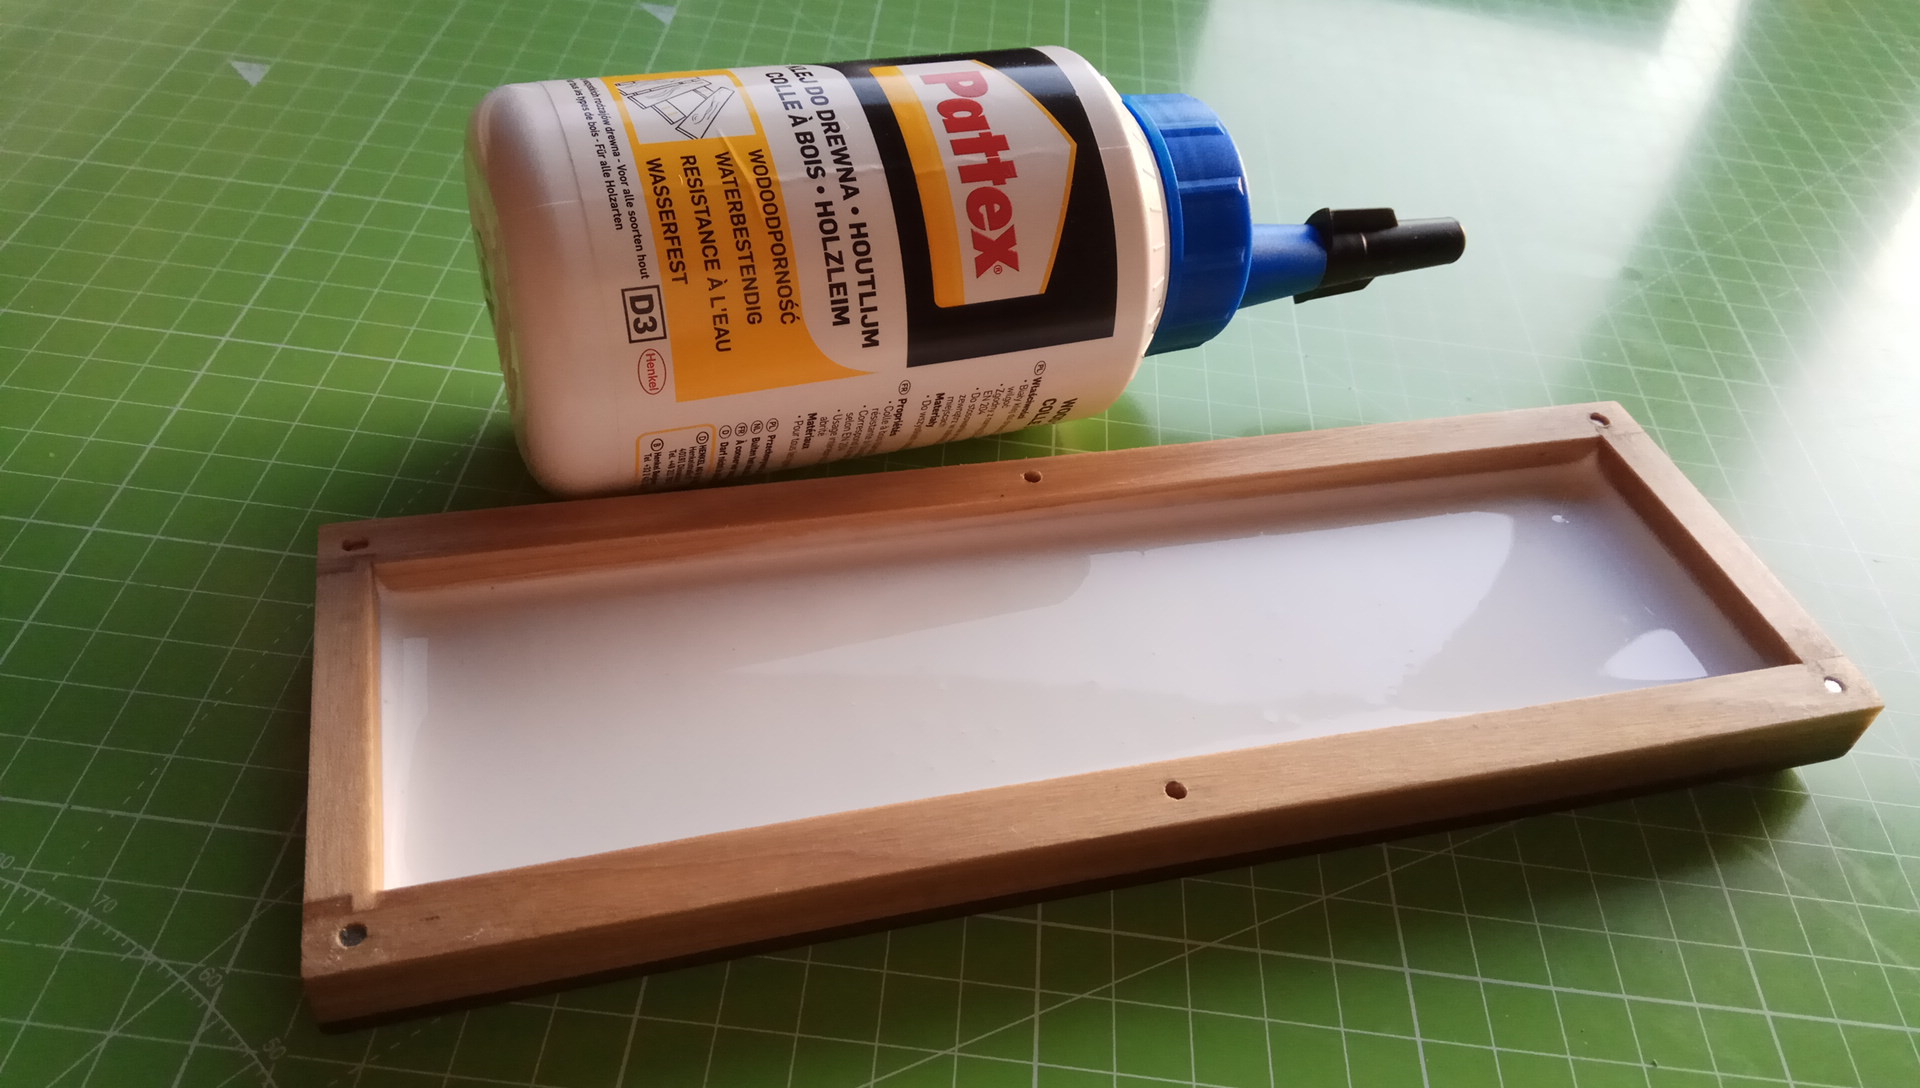
I would call this a well-constructed well-made nice quality product with tight tolerances in the dimensions. The side walls are made out of a lighter wood material with a minimum thickness of 7.0mm. I ordered 10pcs of Ø3.0×6mm neodymium magnets from a geman ebayer (3.49€ shipped but in the end FREE for me due to ebay coupon), hopefully they'll do the trick (the smaller the magnet diameter, the more challenging to get the centering/alignment right in practice, marking&drilling):

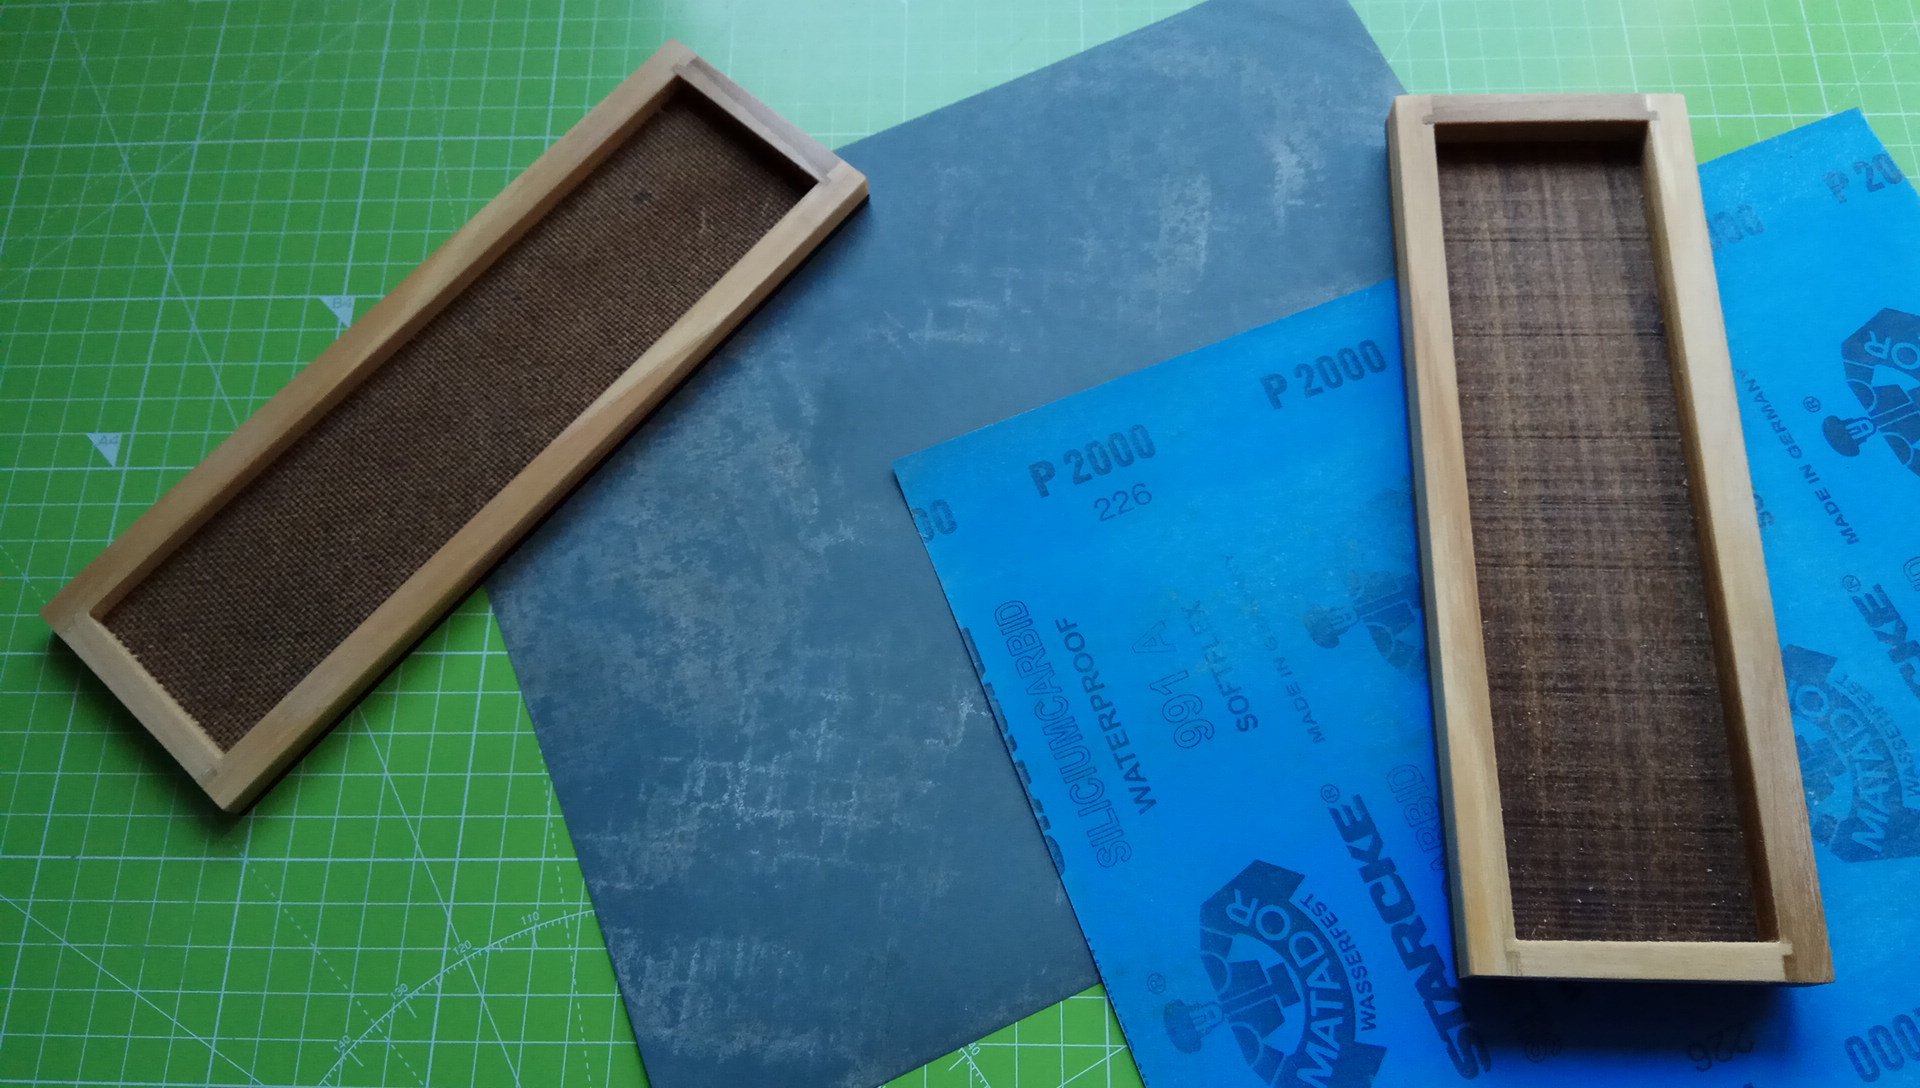
The finish of the junction seam was fine but not super fine. With my broken-in geman MATADOR wetordry sandpapers P1000 and P2000 i made the seam dead flat and super fine finished. I am new to woodworking tbh, so this manual refining process was a fun experience thanks. Note the three different wood materials in the product composition; top cover is thick hard massive wood, bottom layer is erh brown wood plaster stuff:

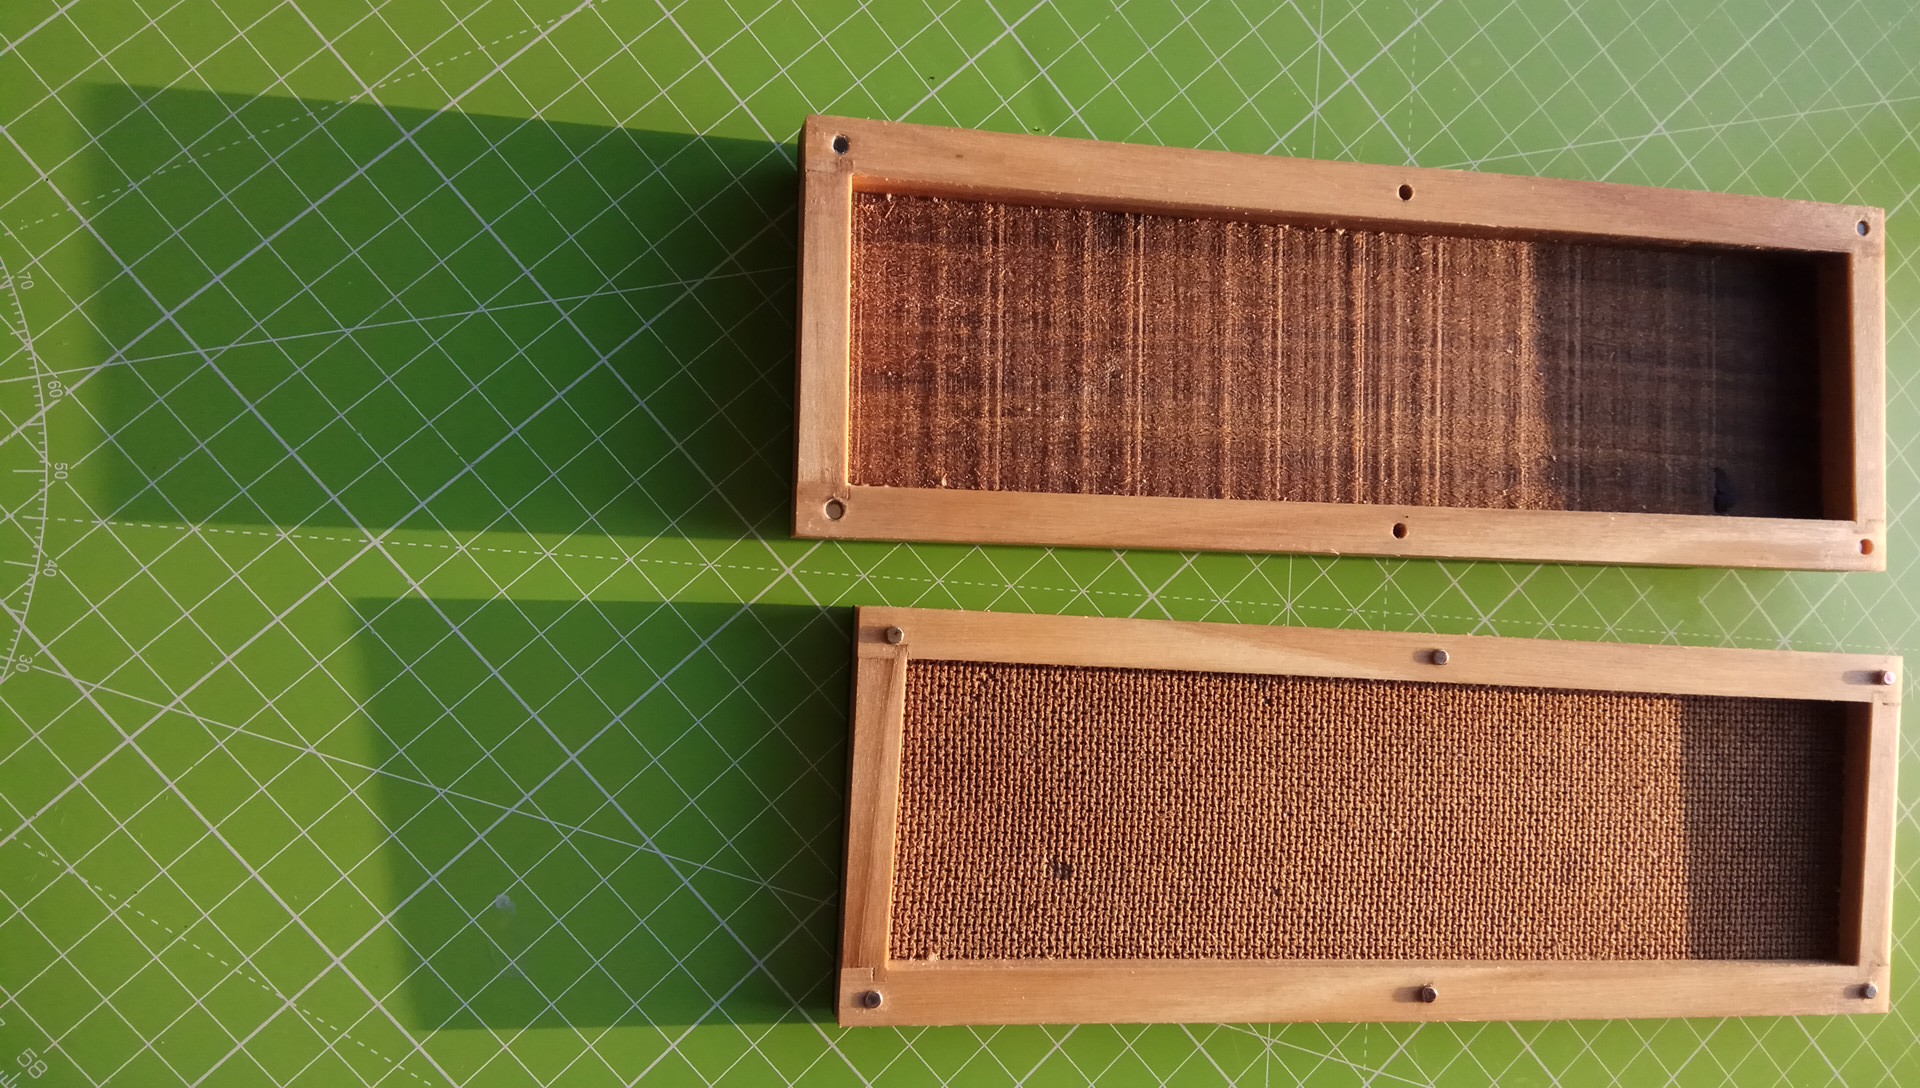
Youtubers use olive oil, linseed oil, walnut oil, tung oil (wtf is that??) and whatnot oil to treat wood. The oil is supposed to harden in the wood structure ("polymerization" lol) after a couple of weeks and then protect it against humidity and other external detrimental influences. I remember having seen Opinel users fry the wood knife handles in hot oil baths. Treating wood with oil seems to be a science but i prefer to tread lightly") , so i took whatever i found in the kitchen (in this case: discounter's budget walnut oil made in California) and soaked all wood faces with it:
, so i took whatever i found in the kitchen (in this case: discounter's budget walnut oil made in California) and soaked all wood faces with it:

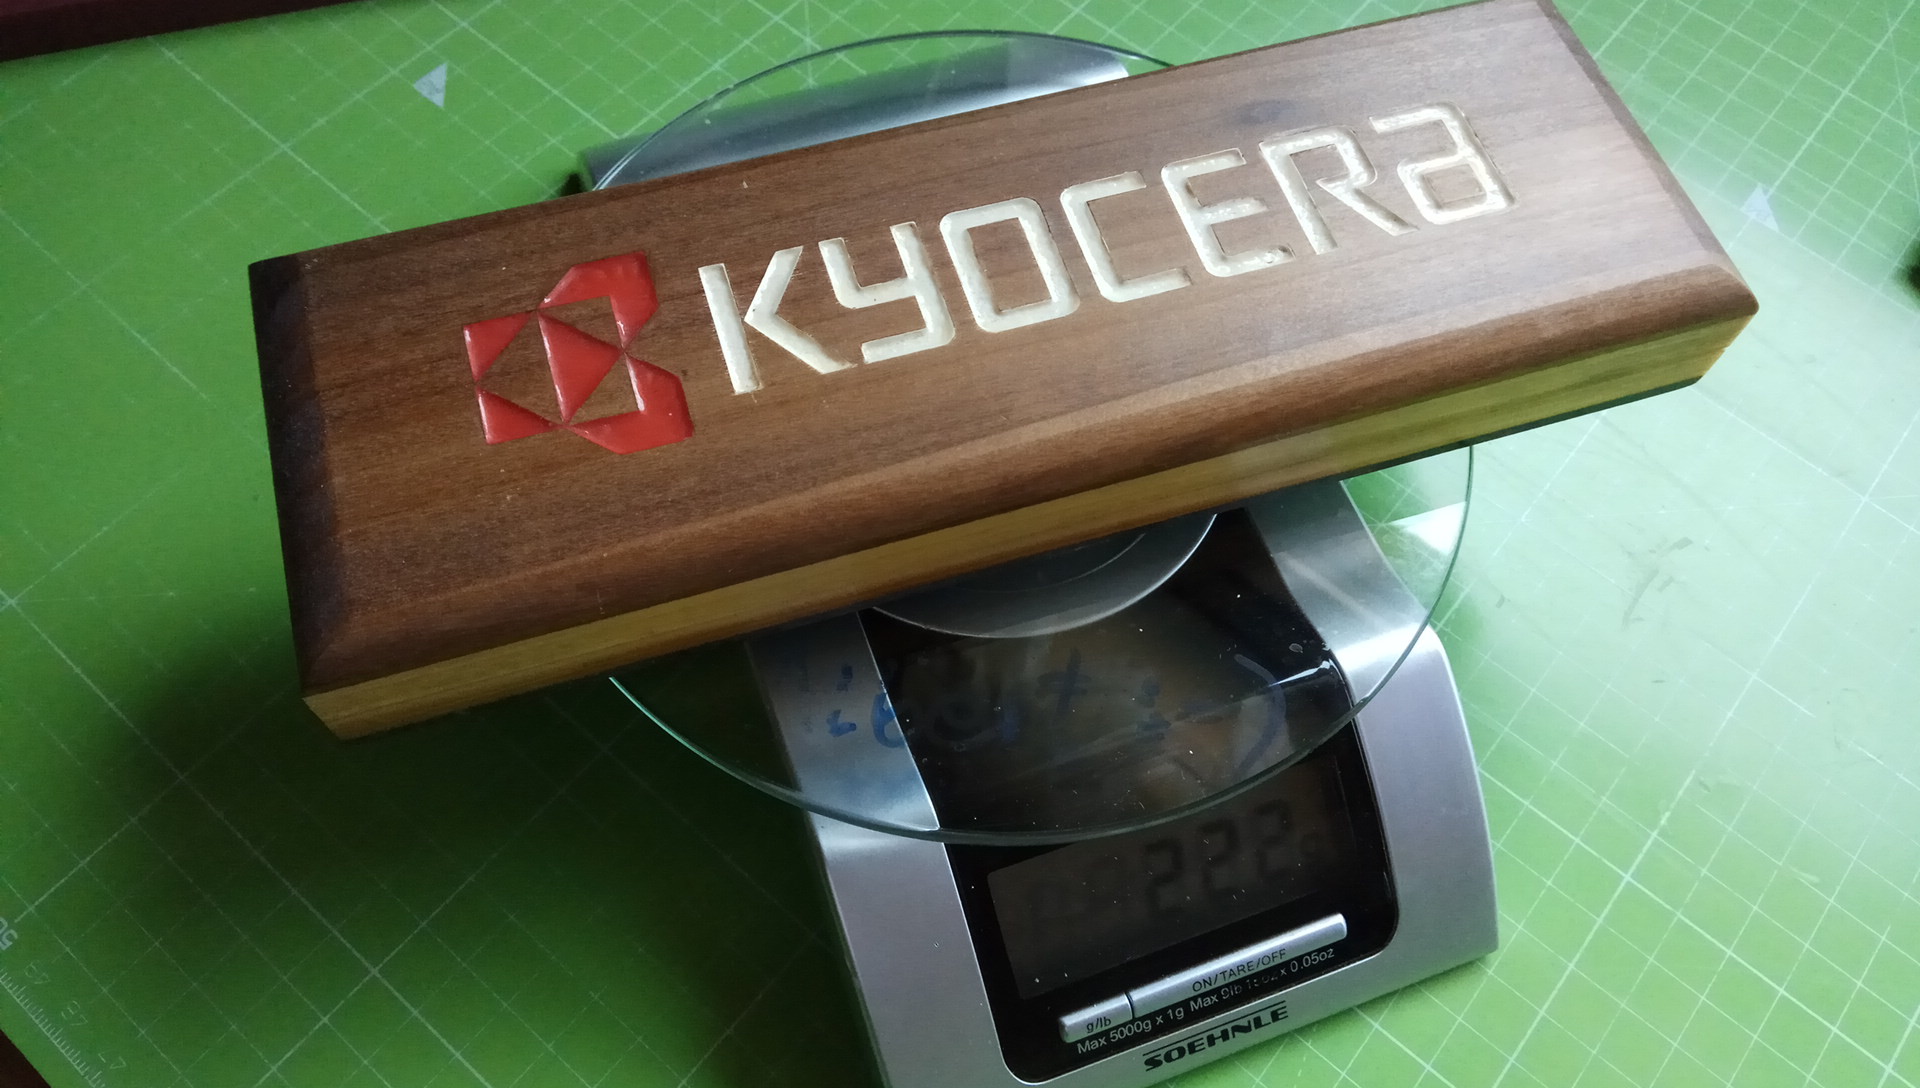
I kinda overdid it with the oil. Now the total weight of the box is 184g lol. I am wondering how many weeks this walnut oil-soaked box needs in order to be fully polymerized, or how i could speed up the drying/hardening process. Anyway, this story is far from over. Further modding steps are:


After i had acquired my big precious expensive (ger)man-made ruby benchstone, i was desperately looking for a seller of a rigid storage/carry/protection box or case for it, made out of wood or plastic material. My preference would have been, and still is, an identical plastic case as known from the Spyderco 302-seriez, but Spyderco does not sell the 302-seriez cases separately or as spare/guarantee part nor were they willing to disclose the contracted U.S. company who actually manufactures the ceramic stones, which is also where the plastic cases get packaged to the retail blister end product. The Spyderco plastic case has several serious advantages:
- super compact form factor: slim, thin, narrow; also light-weight
- the two case halves have a male-female "plug" fitment connection, they are not loose
- the material does not get indented/poked/damaged/cut by hard point sharp objects
- the material does not absorb water, oil, dirt, humidity
- the material doesn't get dirty, i.e. it is easy to clean
- the case has four rubber feet for improved slip resistance
- availability (SharpeningSupplies.com, etc)
- low price, 7-9US$ (depending on dimensions and seller)
- beautiful looks (if brand-new)
- customizable (painting, labeling, modding)
)
I was pleasantly surprised to learn that the product was made in the States, especially at the low price offered:
Since the box halves are loose (no "plug" connection), they'd shift around even in the tight shrink-wrap. I was reminded of the magnetic connection of my iFixit screwdriver set which uses Ø4.0×?mm neodymium magnets:
I would call this a well-constructed well-made nice quality product with tight tolerances in the dimensions. The side walls are made out of a lighter wood material with a minimum thickness of 7.0mm. I ordered 10pcs of Ø3.0×6mm neodymium magnets from a geman ebayer (3.49€ shipped but in the end FREE for me due to ebay coupon), hopefully they'll do the trick (the smaller the magnet diameter, the more challenging to get the centering/alignment right in practice, marking&drilling):
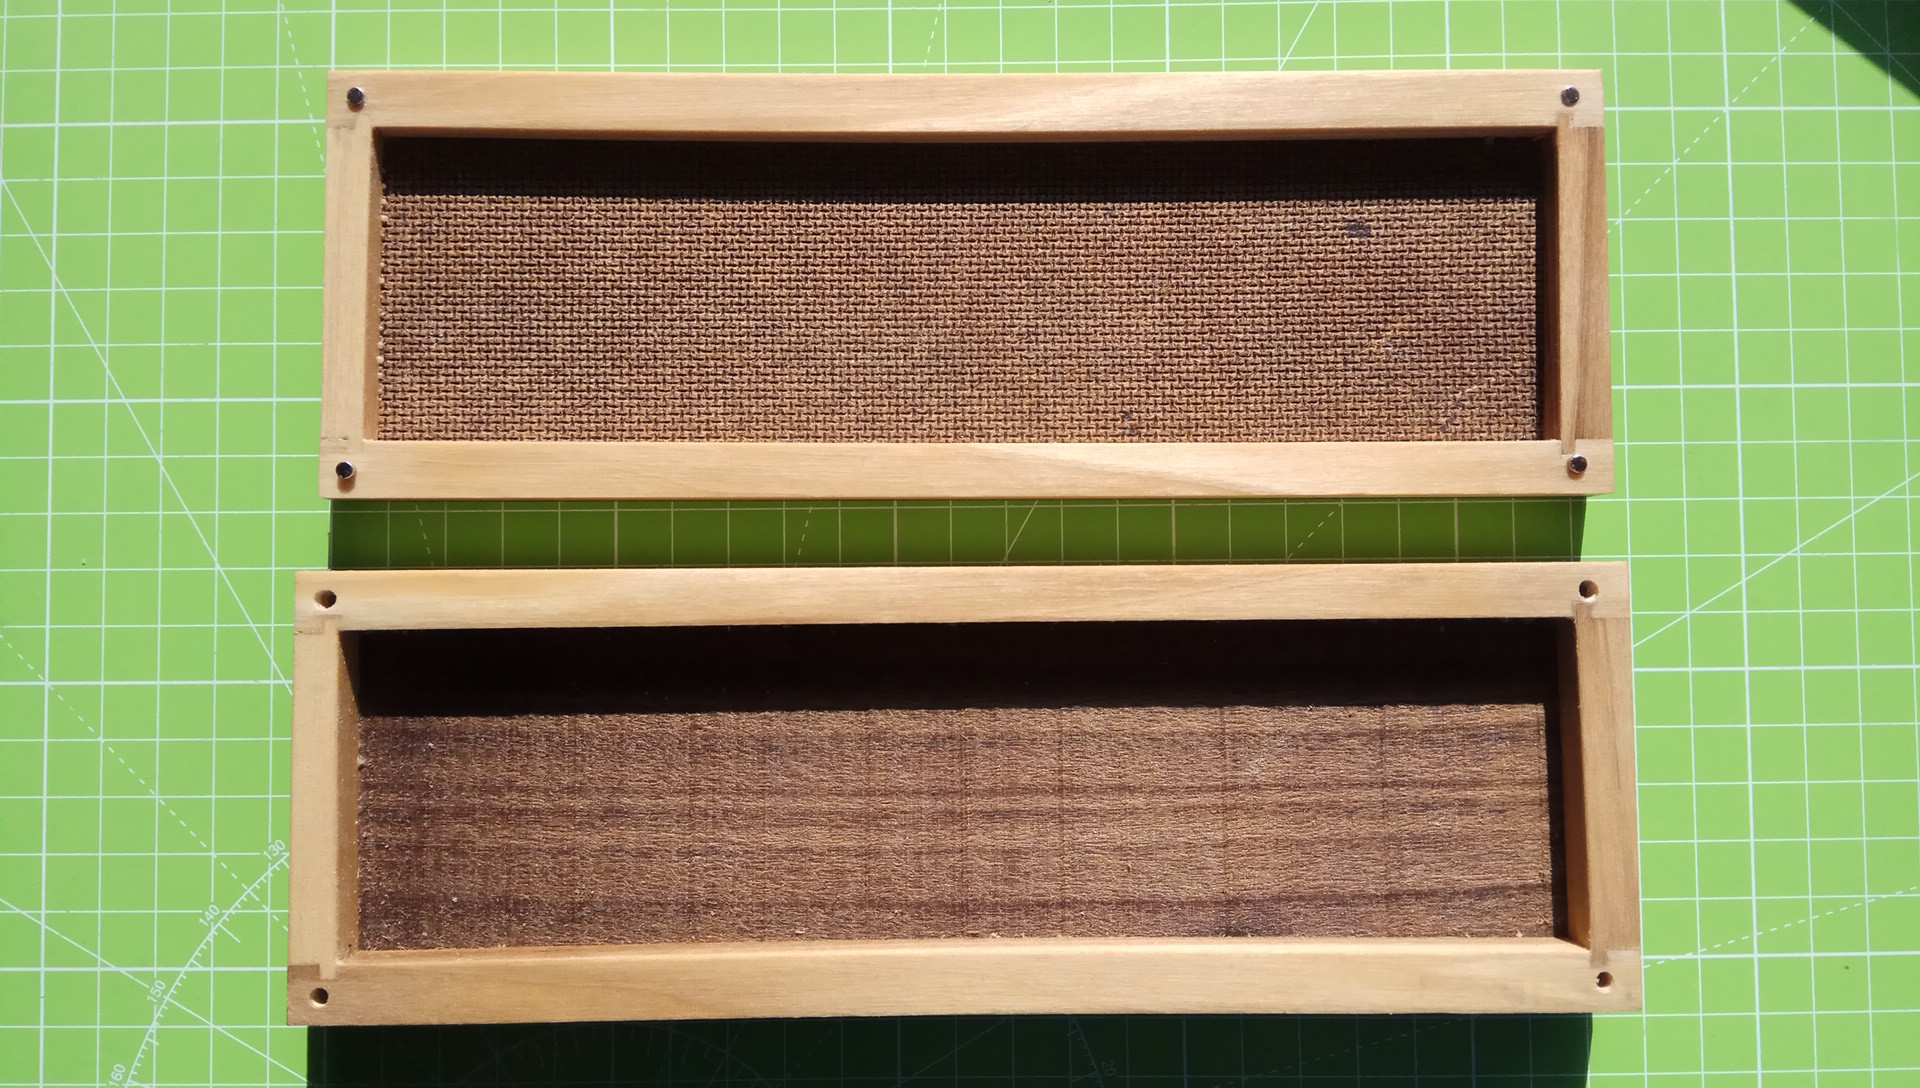
The finish of the junction seam was fine but not super fine. With my broken-in geman MATADOR wetordry sandpapers P1000 and P2000 i made the seam dead flat and super fine finished. I am new to woodworking tbh, so this manual refining process was a fun experience thanks. Note the three different wood materials in the product composition; top cover is thick hard massive wood, bottom layer is erh brown wood plaster stuff:
Youtubers use olive oil, linseed oil, walnut oil, tung oil (wtf is that??) and whatnot oil to treat wood. The oil is supposed to harden in the wood structure ("polymerization" lol) after a couple of weeks and then protect it against humidity and other external detrimental influences. I remember having seen Opinel users fry the wood knife handles in hot oil baths. Treating wood with oil seems to be a science but i prefer to tread lightly
, so i took whatever i found in the kitchen (in this case: discounter's budget walnut oil made in California) and soaked all wood faces with it:
I kinda overdid it with the oil. Now the total weight of the box is 184g lol. I am wondering how many weeks this walnut oil-soaked box needs in order to be fully polymerized, or how i could speed up the drying/hardening process. Anyway, this story is far from over. Further modding steps are:
- receiving the magnets (next week!)
- drying/hardening of the wood material (walnut oil is said to be the slowest!)
- coating the external bottom face with paint or glue such that four 3M rubber feet would adhere to that face; maybe this won't work out since the bottom layer is soaked with oil, so paint or glue would have a hard time sticking to it, we'll see
- precision-drilling eight holes (Ø3.0mm, depth 6mm) for the magnets insertion; problem is the precision-positioning of the small holes, fingers crossed!
- water-tight painting the inner chamber faces, so liquid or humidity could escape only at the (closed) seam not through the walls or top/bottom covers
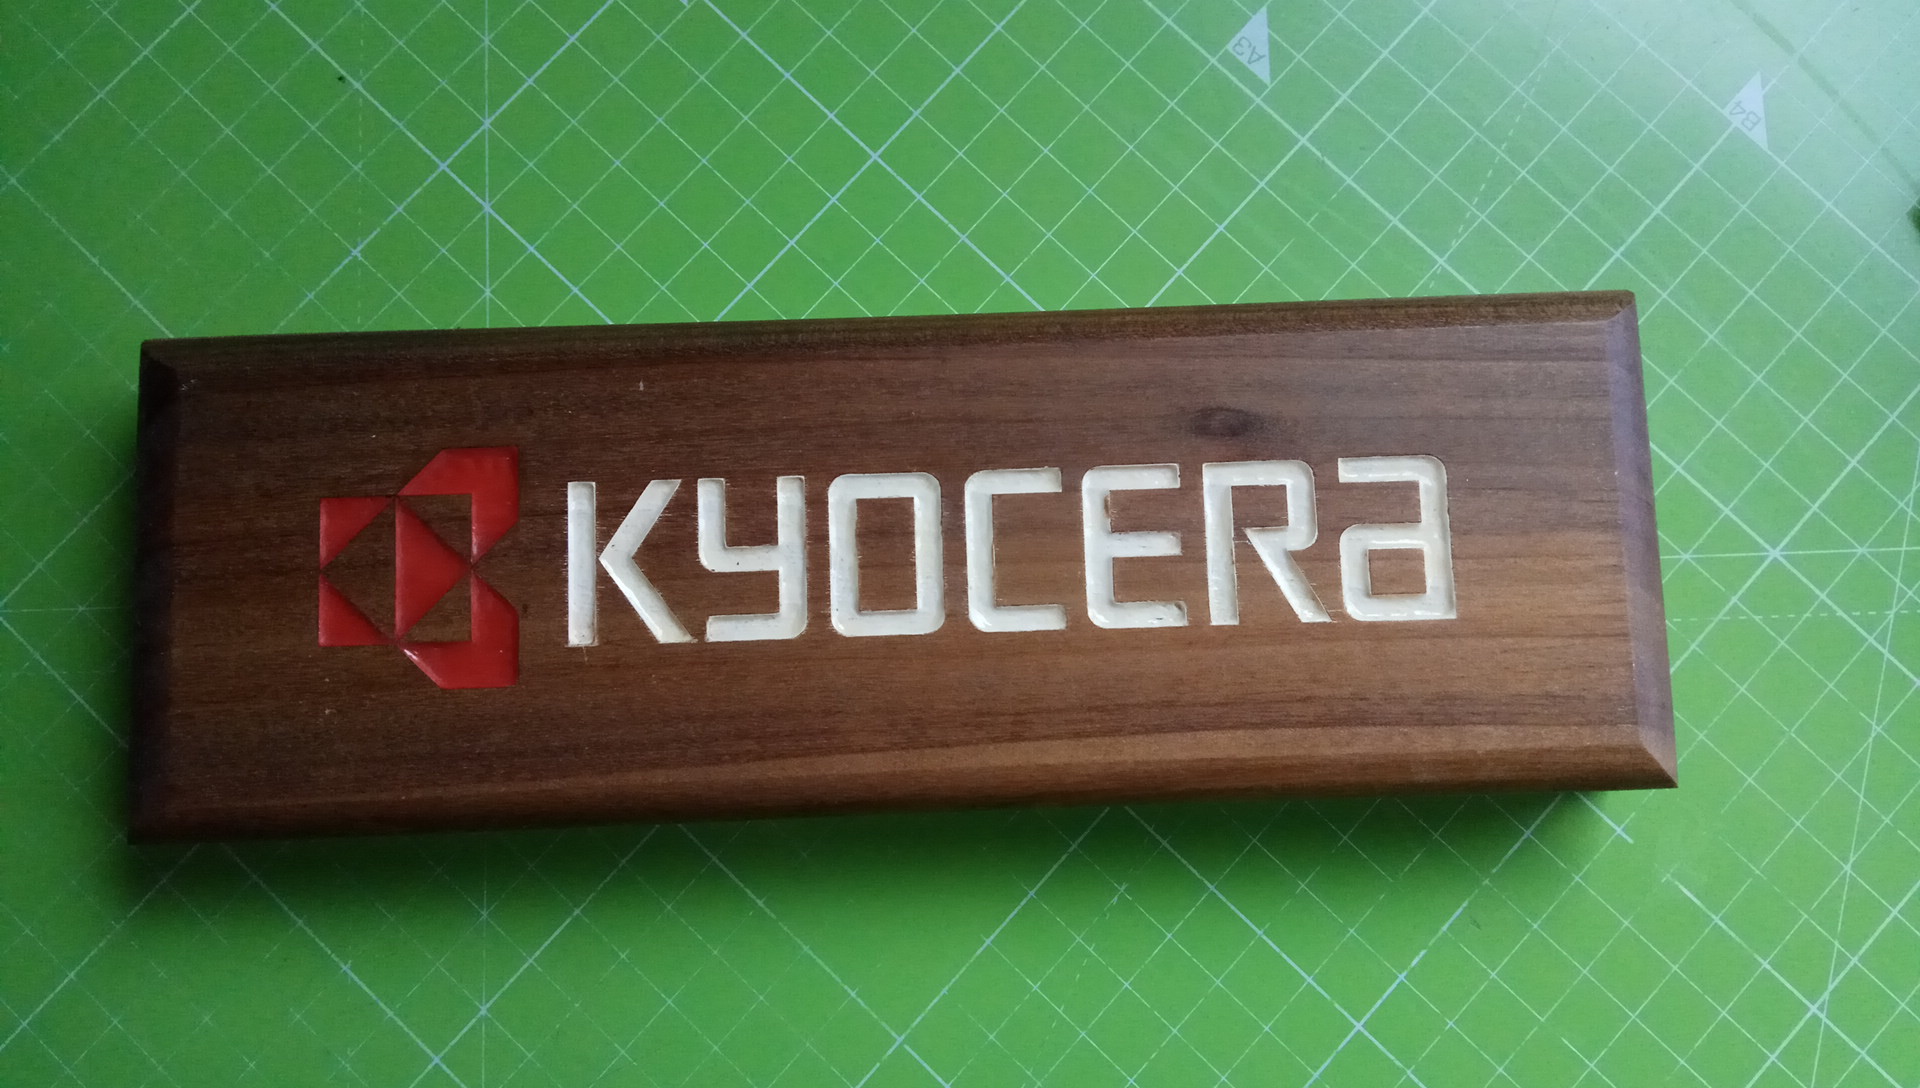
- professionally labeling the box thru laser printing/sticker lol/spray paint/engraving/burning techniques/Sharpie/image transfer/…
- making some inlay and loose padding out of felt/foam/fatever to reduce play and protect the stone against shocks during carry. the stone thickness is 12.00mm
 , the internal chamber height is 17mm (if i measured correctly).
Last edited:


 .
. 

") Box looks good. And yes, precision alignments can definitely be time consuming, especially if you don't work with them every day.
Box looks good. And yes, precision alignments can definitely be time consuming, especially if you don't work with them every day.


 :
: