Project: Shintogo Kunimitsu Tanto Build

CPE_Knives

Knifemaker / Craftsman / Service Provider
Joined
Oct 29, 2012
Messages
1,524
I've always wanted to build traditional Japanese knives and after the last few projects with all the copper work and fittings I felt like I had the skills to take one of these on.

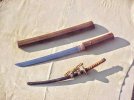
I decided to try and recreate a tanto made by Shintogo Kunimitsu around the year 1300. I was able to get a kata and drawing of the original that is in the Tokyo National Museum.

I started the pictures just before heat treat and as I write this the only steps left are the ito wrap and a final polish.
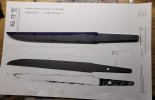
20240129_153648.jpg20240129_153532.jpg
 
Last edited:
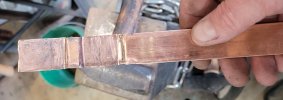
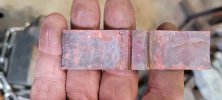
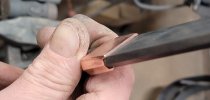
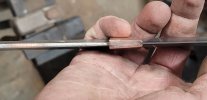
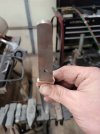
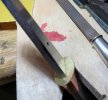
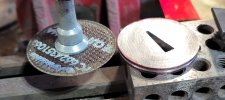
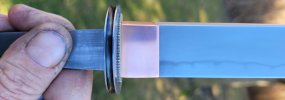
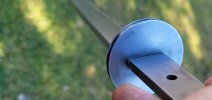
Making the habaki. i actually had to do this twice. The first time I got the finished shape wrong. The habaki has to taper in two directions to function properly with the handle and the saya.

I've seen a few different build techniques but I decided that it was best to do it the traditional way a forge the shape with a thick central ridge.

There was still some final fitting needed after these steps so everything flowed together correctly

20240207_124344.jpg20240207_125751.jpg20240207_125754.jpg20240207_143719.jpg20240207_172741.jpg20240207_172715.jpg20240207_172731.jpg
 
Beautiful. I really look forward to seeing this.

Here's a tanto in shirasaya from the Shinto or Shin-Shinto period I purchased from a master smith years ago who was a collector of historical Japanese pieces, and which I have since gifted to another knife maker friend of mine who is of Japanese ancestry.

Thought you might enjoy seeing it. I used to stare at it for hours. The steel alone was fascinating to study.

tanto.jpg
 
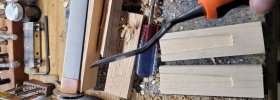
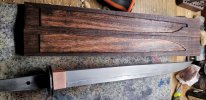
Starting the wood parts tsuka and saya. I am saving the fuchi or bottom spacer for after the handle is fit. It will provide the offset so that the mekugi peg drives the handle forward securing everything. Poplar was used for these parts.

To make these parts I needed some saya nomi chisels. I ended up just getting some regular chisels from the hardware store and reshaping them. I clamped the cutting edge of the chisel between aluminium plates when I heated it up to preserve the heat treat. They ended up working very well but I think I will forge some from scratch later on just so I have an authentic set.

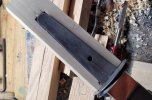
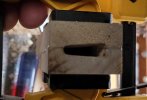
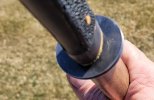
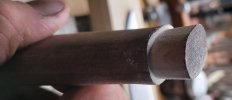
To do it properly the tang and blade are not seated in the center of the wood pieces. One side is carved deeper so that the entire metal parts sits down into the carved area keeping the pressure off of the glue joint. I have a photo of the handle opening to show how much deeper it is carved on one side. The little notch at the blade tip in the saya is to collect an extra oil that may be on the blade.

20240214_120810.jpg20240214_121046.jpg20240214_121613.jpg20240214_184420.jpg20240215_074846.jpg20240215_110833.jpg
 
Beautiful. I really look forward to seeing this.

Here's a tanto in shirasaya from the Shinto or Shin-Shinto period I purchased from a master smith years ago who was a collector of historical Japanese pieces, and which I have since gifted to another knife maker friend of mine who is of Japanese ancestry.

Thought you might enjoy seeing it. I used to stare at it for hours. The steel alone was fascinating to study.

View attachment 2504573
Thats awsome. I really like that style where it looks like a seamless piece of wood. I am going to try that out in the future.
 
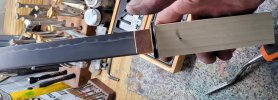
I forgot to take pictures making the copper pieces for the tsuka and saya. They are all made from brazed copper treated with liver of sulpher for the dark patina. The tube for the ito wrap on the tskua end cap is built into the cap I messed around with the removable pieces and decided that I liked a permanently brazed tube more.

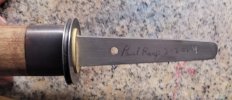
I read that the Japanese sword smiths always sign and date the tang so I did that as well and put my makers mark under the tsuba.

At this point the ray skin is on and all that is left is to wrap the handle and menuki. I should be able to get to that by the weekend and will get an update posted with it finished.


20240216_100732.jpg20240216_122304.jpg20240219_153811.jpg20240221_094336.jpg20240221_103058.jpg20240221_103103.jpg
 
Wonderful, Paul.

Is the tang pin visible / going through the ray skin for disassembly purposes ? Meaning this is take-apart ?
Thank you. Yes it is a bamboo pin called a mekugi. There is a 1/16" offset so the pin pushes the handle tight into position. If you knock the pin out everything can come apart down to the bare blade. The guard or tsuba is fit so tight that it takes a little persuasion with a rubber mallet to get it off. The traditional Japanese blades were maintained and kept for hundreds of years sometimes and it was not uncommon for them to be remounted multiple times.

There will be a silk ito wrap over the handle before its done

It was a different crafstman that would create all the fittings and sheath and not the bladesmith.
 
Your diversity with styles and craftsmanship are truly awesome. Thank you for sharing WIP photos and story.
Thank you. All the different things to learn and try have kept me interested in blade making all these years. These Japanese styles are the most fun I have had in a long time. I have a couple tantos in magnacut following this that I will post then I think a wakizashi in this style is in my future. I hope to work my way to full sized katana eventually. I will need some additional equipment for pieces that large.
 
Paul: much like why my wife doesn't want to breed dogs: If I'd be a maker like you, I could never sell a knife, I would keep them all :)
When I got started I really thought I would have a hard time letting go of my favorite builds but I have found it to be the opposite. It is very rewarding sending them out especially when people really like and use them. There is also something very cool about my work being all around the world I feel like its a bit of a legacy I leave. I wonder sometimes if a couple hundred years from now someone will see my makers mark and think about the person that made it. With some of these modern stainless steels and composite handles the knives could be around a long time.

Now if I breed dogs I am sure that wouldn't work out. I would end up getting attached to all of them.
 
Back
Top