Straight razor sharpening and my Edge Pro - Pic intensive

Joined
Jan 17, 2011
Messages
75
I posted this on Straightrazorplace.com and figured that I should post here as I started all my EP research from here.

Straight razor sharpening and my Edge Pro

Just a brief reader’s digest history... I have been collecting knives and sharpening them with an Edge Pro Apex for a while (120 grit - 6k grit). I have read the Edge Pro posts on this site and in no way do I want to start a "flame war". I wanted to see if I could use the Edge Pro because I have invested time in money in this system with my knives.

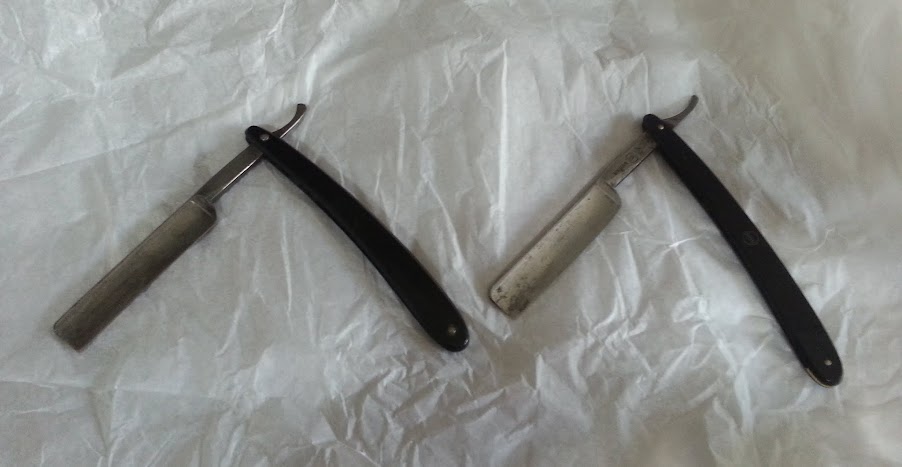
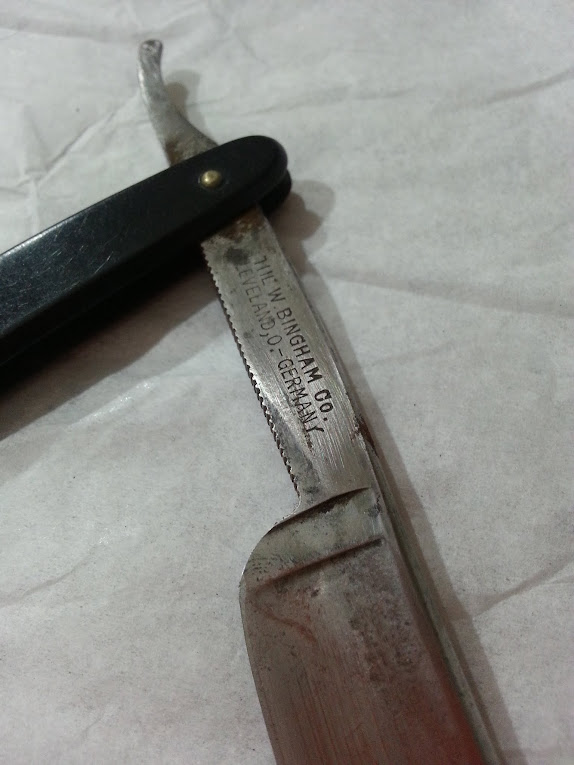
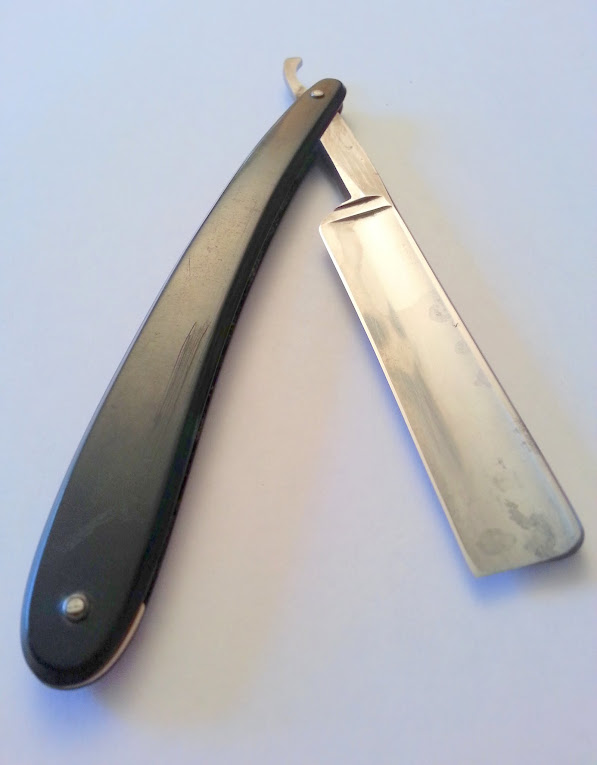
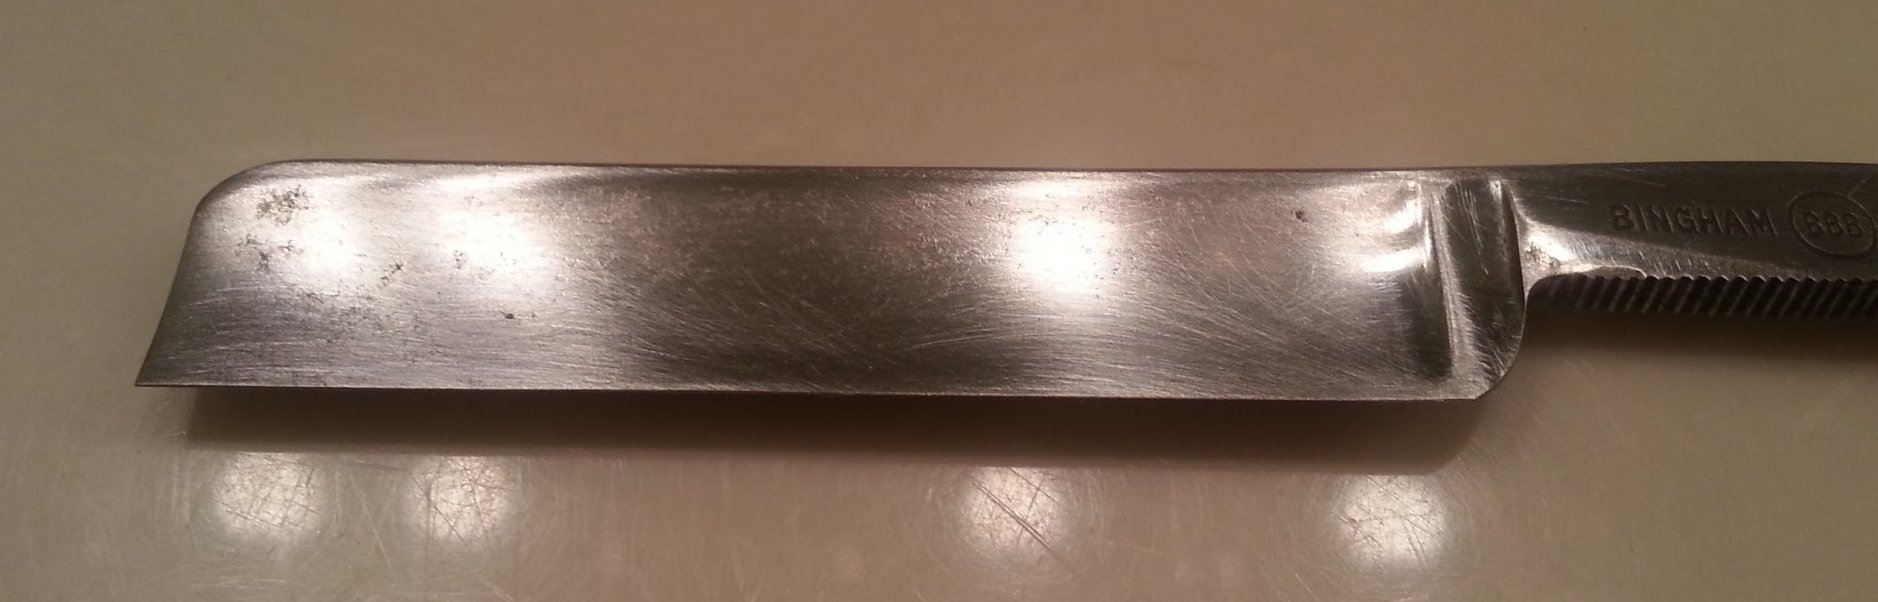
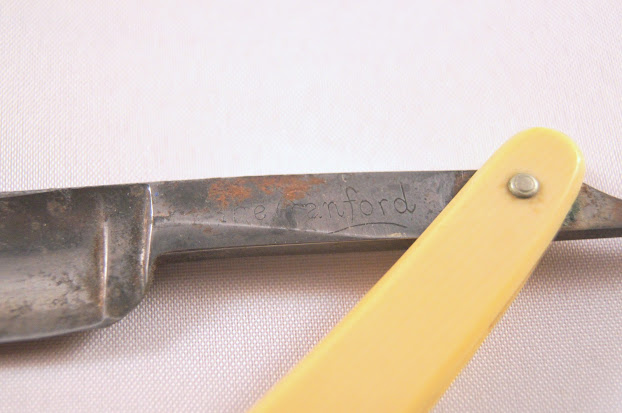
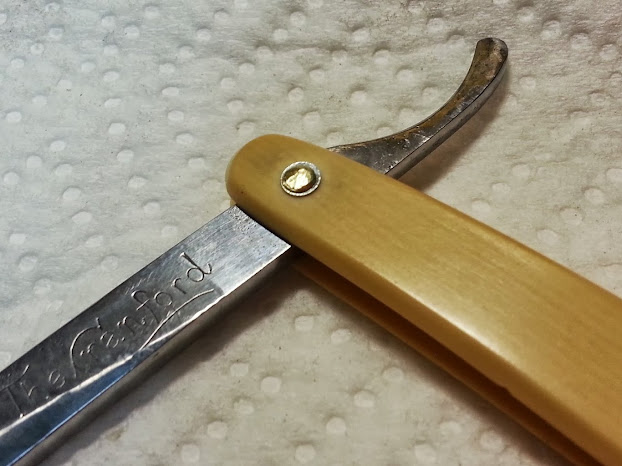
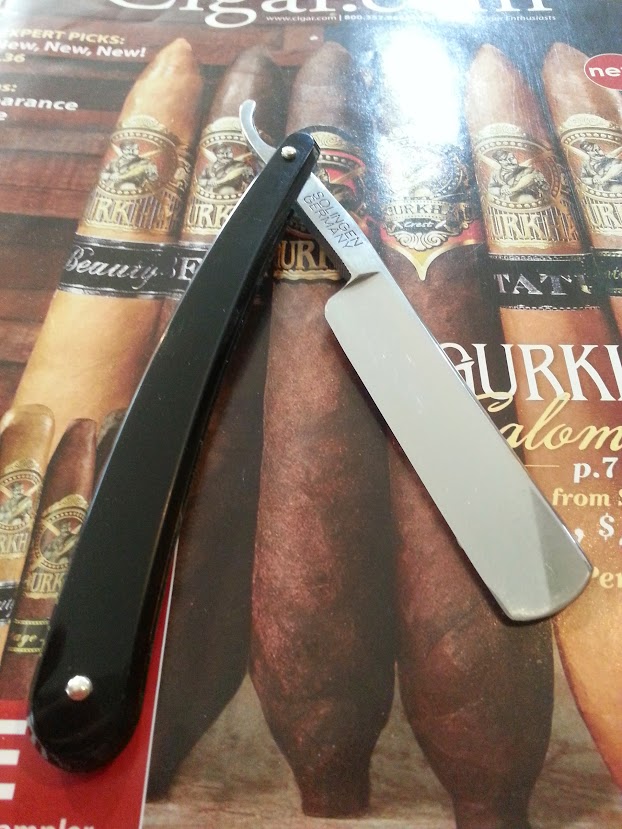
First off, I am very new to wet shaving and using a straight razor. I started using a Parker SR1 and could not resist the urge to buy a real straight razor. After visiting a local antique shop (and reading the beginners wiki) page I bought 2 razors: Bingham Quality and Giensen Forsthoff razor. I could have bought another 2 razors but I decided to stop myself.

20130420_140102.jpg


20130420_141555.jpg


20130420_141603.jpg


20130420_141629.jpg


20130420_141639.jpg


20130420_144125.jpg


20130420_144130.jpg


20130420_144137.jpg


20130420_144205.jpg


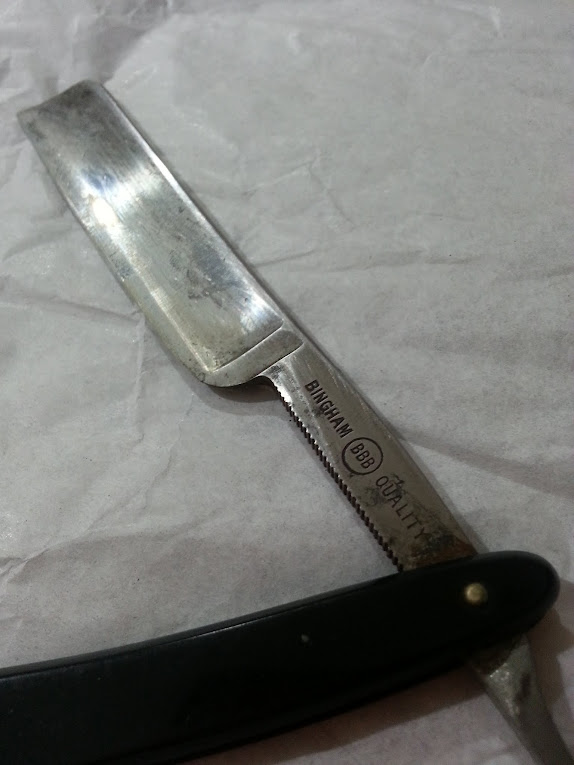
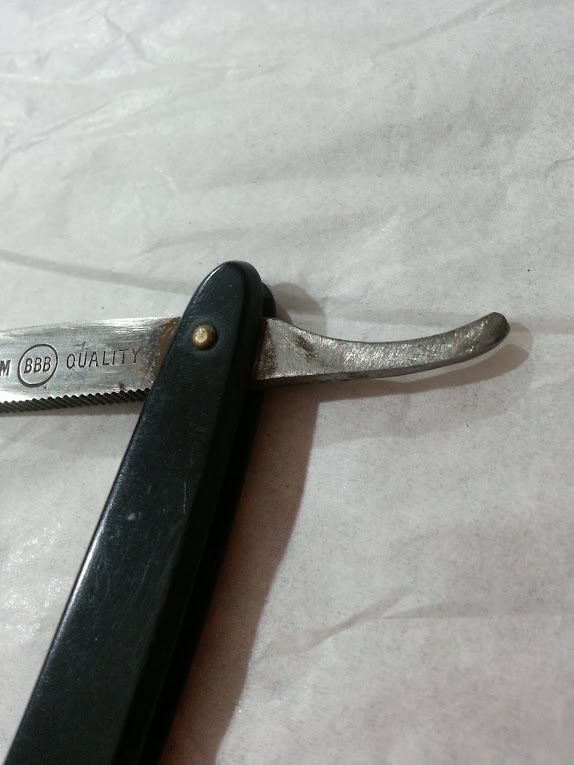
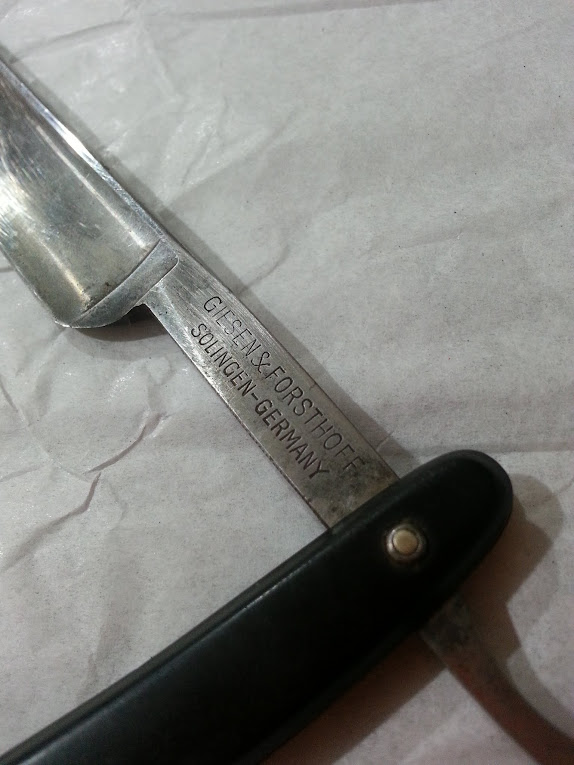
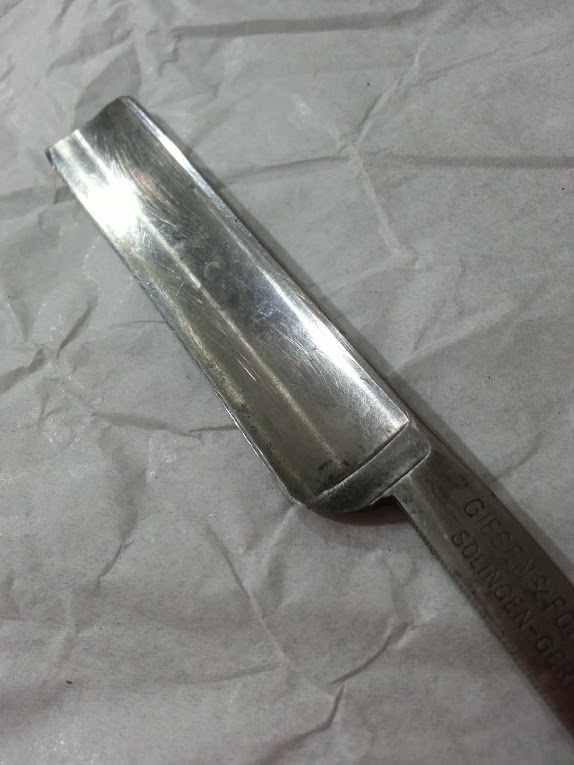
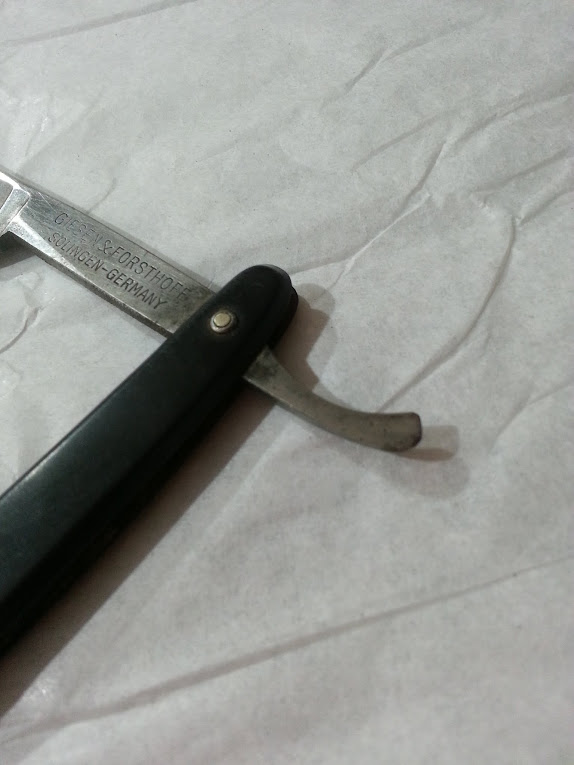
After looking at the edges with a 10x eye loupe I deemed them serviceable. By serviceable, I did not see any chipping or damage. I ran the blade on my thumbnail to check to any edge issues as well as running a cotton ball perpendicular to the edge to feel for issues on the edges. I started cleaning the Giesen Forsthoff with some polishing paste and a rag and some brasso. This was a first pass cleaning as I do not currently have any wet sanding paper.

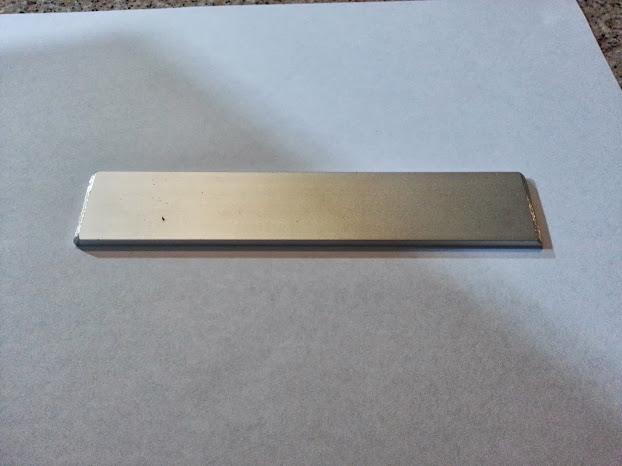
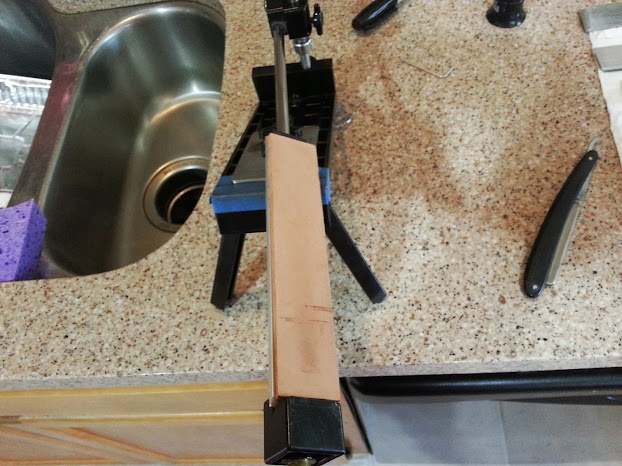
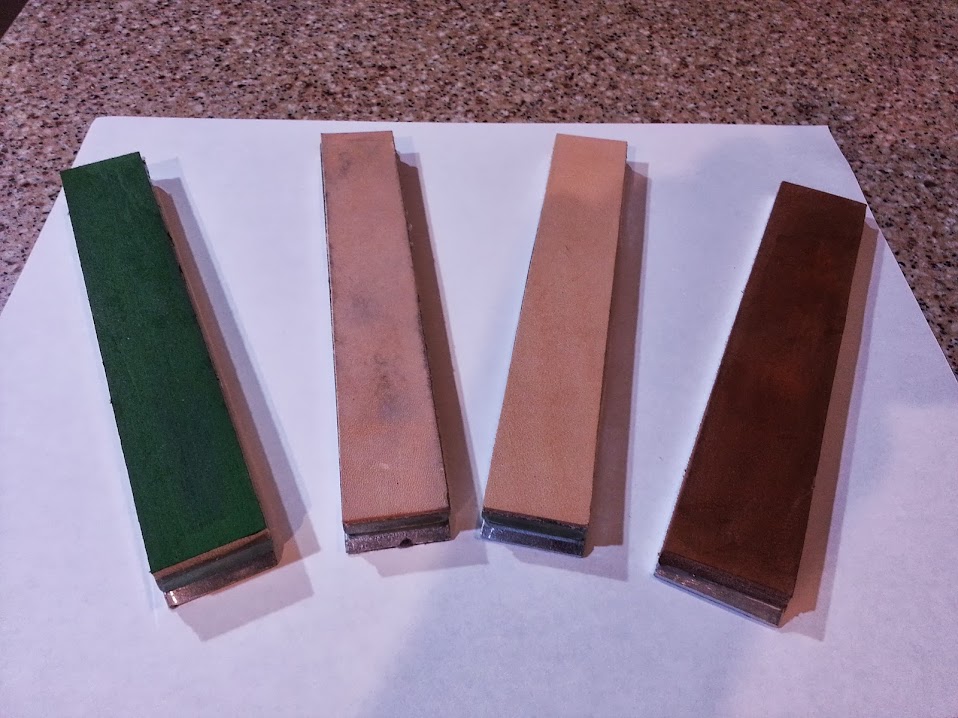
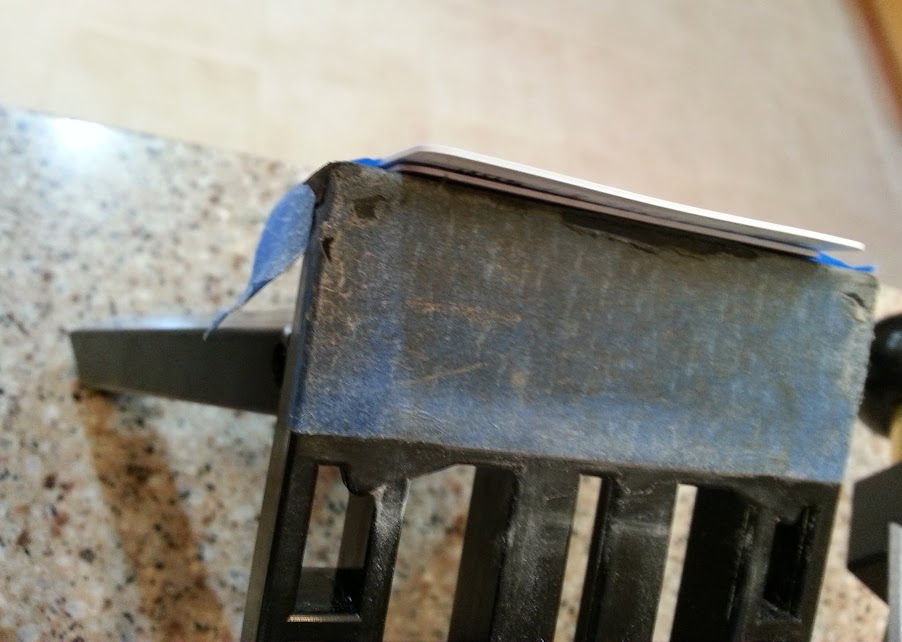
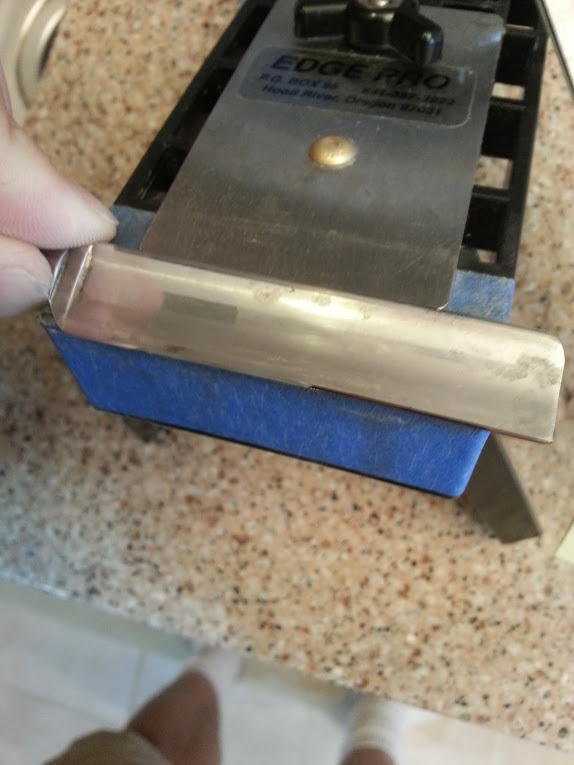
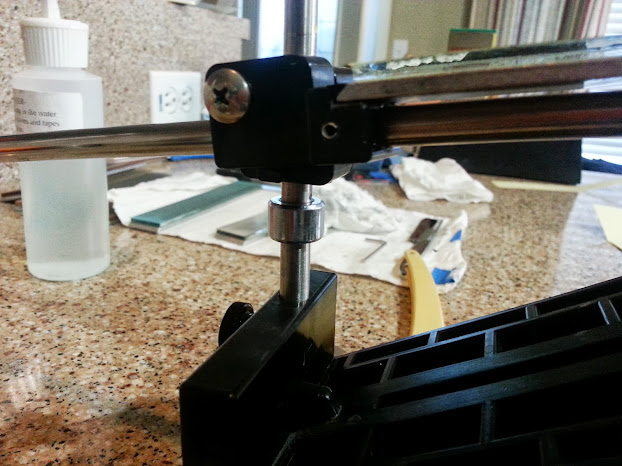
Here is my EP setup.
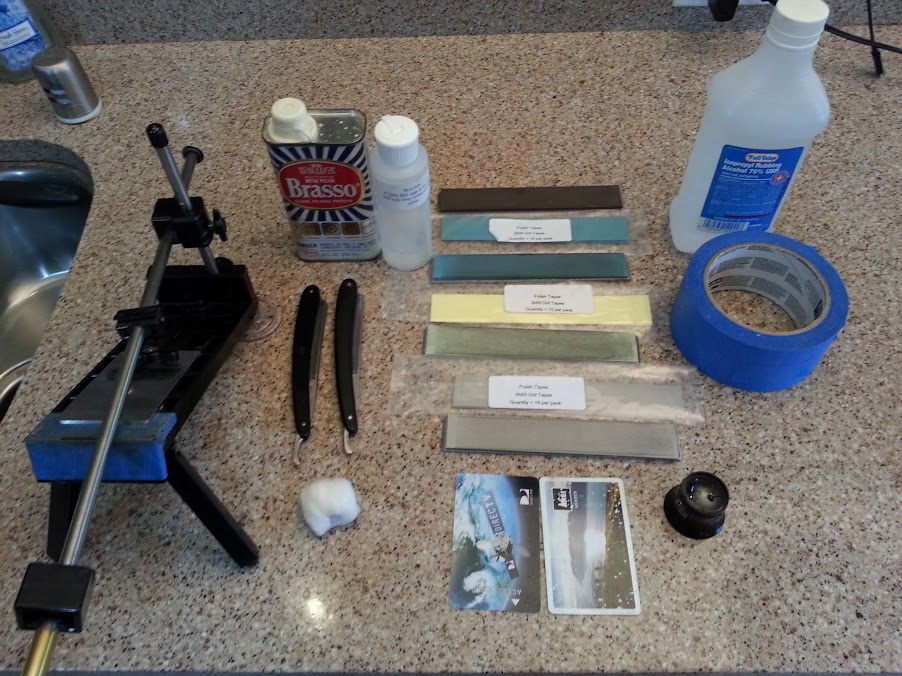
20130421_102741.jpg


EP table setup

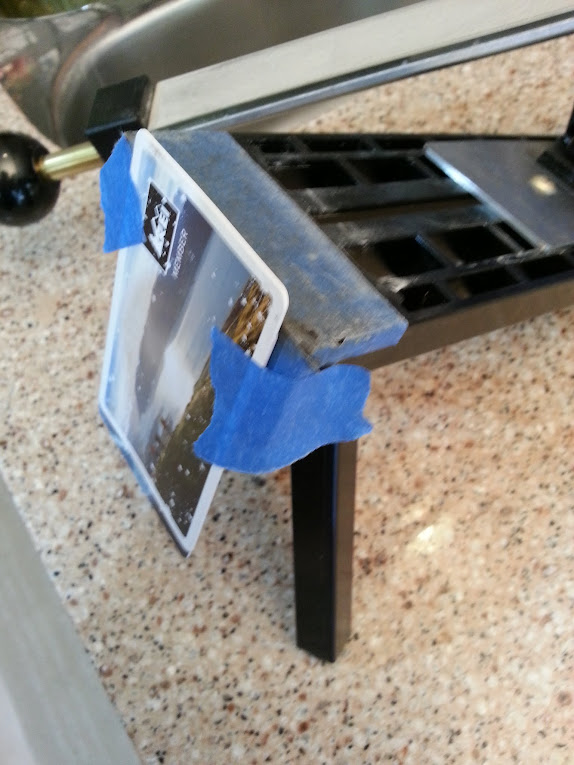
Understanding that the razor is a very thin edge blade, I thought about how to set the EP up so that the razor did not get bent/distorted and came up with the plastic card shim. The shim allows for a small section of the blade to hang off the EP platform. The second card is to provide a stop for the razor's edge so it can be placed on the EP consistently.
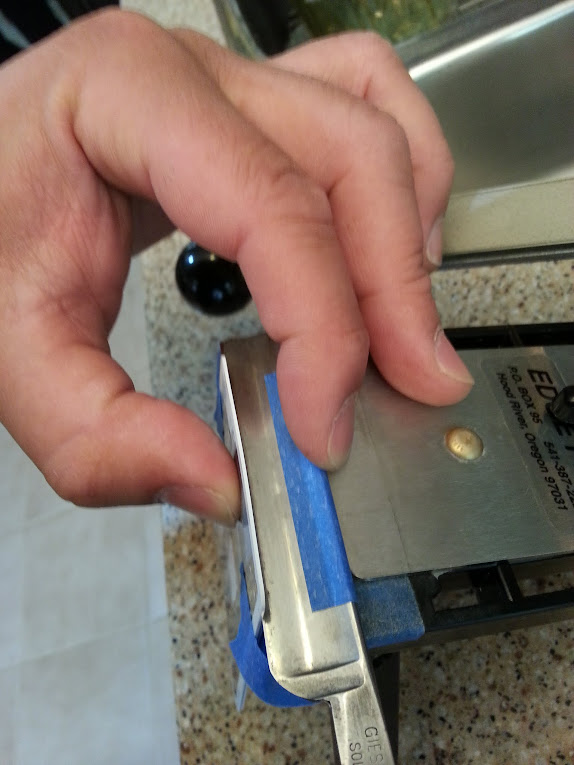
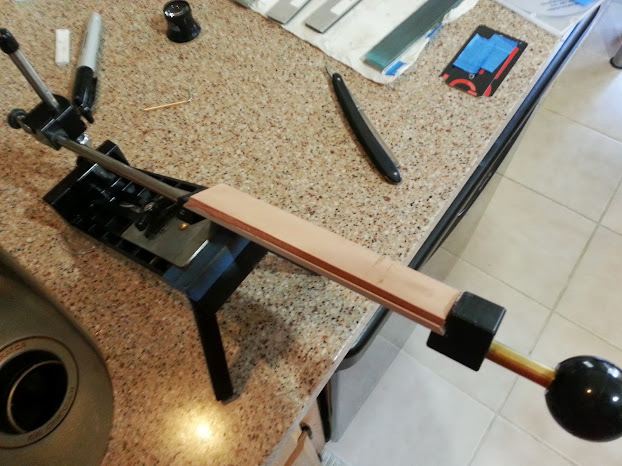
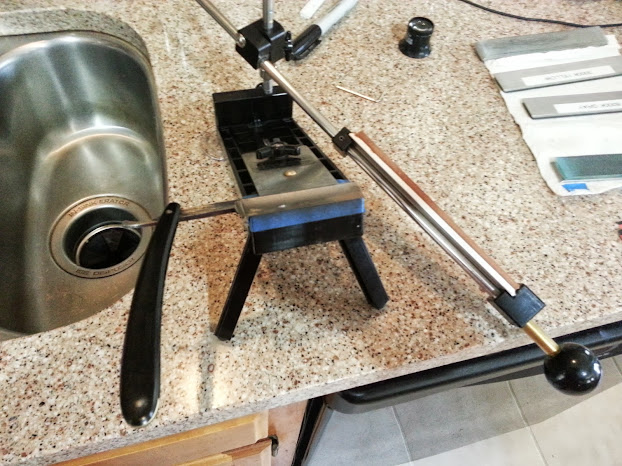
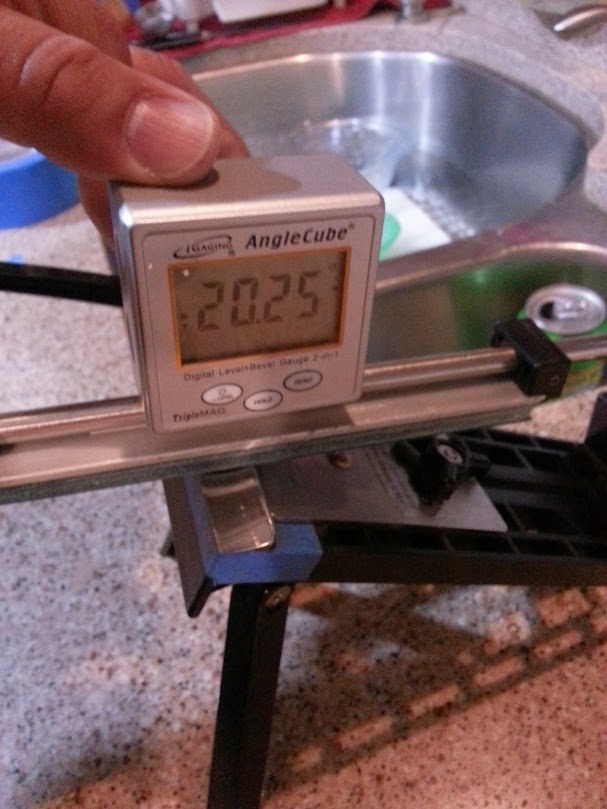
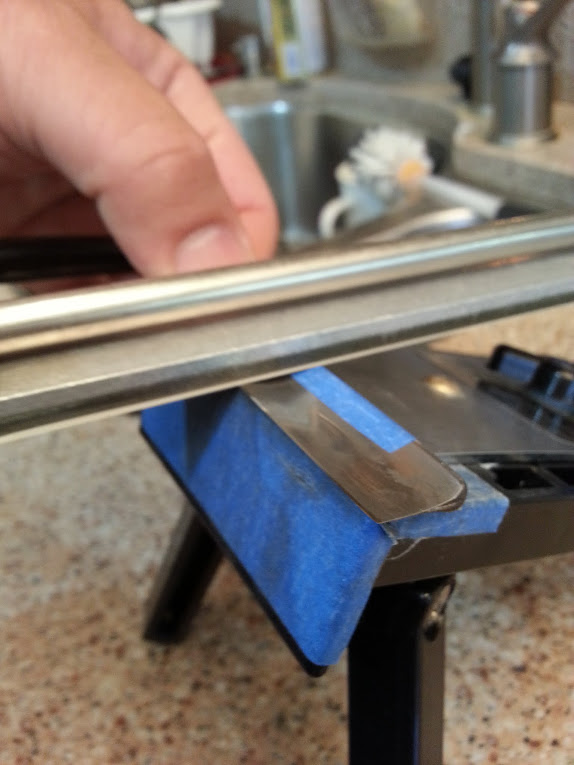
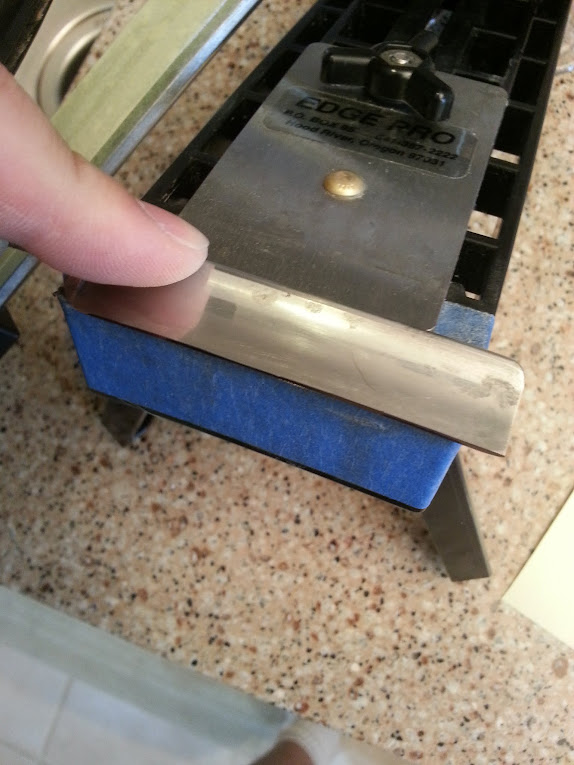
20130421_101302.jpg


20130421_101308.jpg


20130421_101435.jpg


EP arm setup

Ben Dale from Edge Pro suggested I keep the EP arm as close to the cutting edge of the razor as well as the spine without touching the spine. From the videos I have watched, the spine acts as a guide when drawing the razor across a strop or stone. To remedy this, I placed some painters tape on the spine of the razor and then placed the arm in a position where the cutting edge and the spine were in contact.

20130421_101521.jpg


After the arm was set I removed the tape and went to the sharpening. As previously mentioned in other posts, I use the sharpie method. I cover the cutting edge with sharpie and then slide the stone/polish tape over the edge to see if the media is cutting the edge properly.

20130420_155145.jpg


20130420_155237.jpg


I verified that the spine was not getting touched by the tape by marking the spine and cutting edge again with sharpie.

20130421_105454.jpg


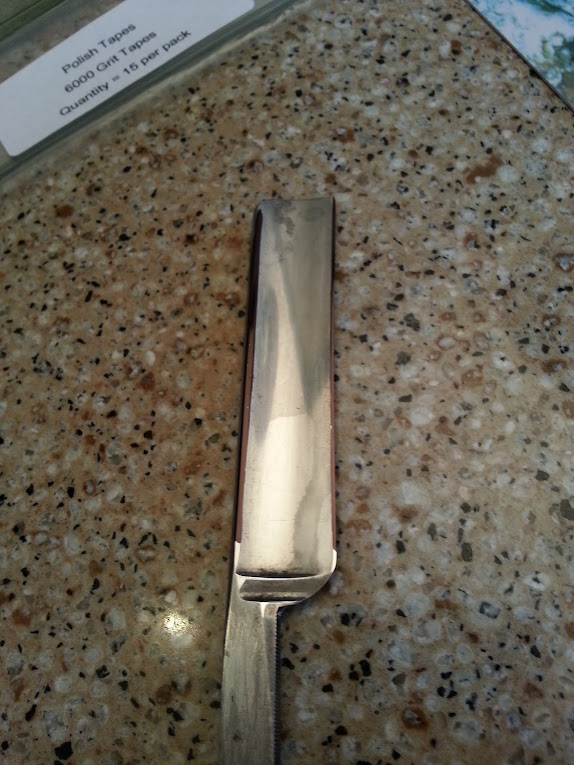
Sharpening procedure

I first thougt of starting at my 1k stone but decided to start using my 2k polishing tape. I first tested the razor with the arm shave test to see how it performed. The blade was sharp but did not shave. Now the fun begins...

I sectioned the blade in two when I started drawing the tape over the edge. From the point to the middle of the blade and from the shoulder to the middle of the blade. After that I would pas the tape over the middle section. The tape would be lubricated with a water and dish soap mix between passes.

Here are the tape progressions Pass pattern 20, 15, 10, 5:

2k tape: 20 passes (front to back stroke = 1 stroke) - point to middle
20 passes - shoulder to middle
20 passes -middle area
Flip razor and repeat

15 passes - point to midle
15 passes - shoulder to middle
15 passes - middle area
Flip razor and repeat

All the way down to 5 passes.
3k tape: Same as above
6k tape: Stopped at 20 passes.

I stopped at 20 because I had to run some errands and I had to test the blade on my face.

All that I did for face prep was a splash of water and some Target shaving gel that I had left over (no time to make lather as I was running late). I wiped the blade down with some isobroply alcohol and shaved my cheek. I was very happy with the results. The blade cut smoothly and easily. I do need to make a point about what my interpretation of smooth is. My sample size of straight razor shaves is all of 6. I have been using a shavette with Shark blades. So the experience I have may be on the lower end of the shave scale due to my initial setup. I am going to run the 6k tape through the full progression before I shave with it again.

I also plan on buying wet sanding paper to clean up the blade itself.. As for a strop, I am not sure as of yet, not enough data against or for the EP...yet.
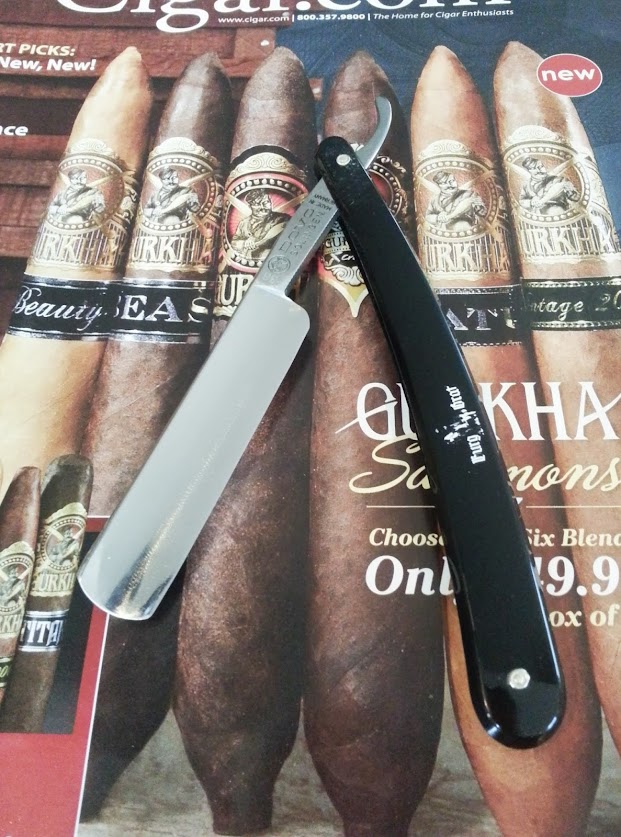
*Update*

I finished the blade with the 6k tape progression. Now to shave with it…

20130421_120049.jpg


m-
 
Hard to tell from the pics, but that blade looks to have some frown to its edge. Its best to work the frown out. Also, what is your logic behind taping the spine? Was the angle a bit too shallow? It doesn't appear to have much hone wear. The long term affect of taping is you gradually increase the edge angle as you hone over time.

Also, where are you located in NorCal? If you're close by me I would love to get together and check out the edge you get. Also, I have one kamisori I am having a hell of a time with on stones and film, that I would be open to trying on an EP.


-Xander
 
Xander-

I am in Brentwood. That is a hop skip and jump away from Stockton. As for your questions:

There is a frown on the razor I sharpened. I did not check the geometry when I got the razor. I was too excited and jumped right into sharpening.

I taped the spine with painters tape to set the arm of the EP so that I did not wear down the spine. That was per Ben Dale's recommendation. I am open to other suggestions. I can set the arm so that it contacts the bevel as well as the spine.

m-
 
Well, generally tape is used to correct edge geometry issues or to protect fancy fileworked and goldwashed spines. I have had some that just shaved better with a layer or two of tape. With one layer of painters tape I doubt you increased the angle much at all as most honemeisters who tape use electrical tape since it is thicker.

I would suggest you take the frown out, but don't do it by just holding the razor at 90* to a stone (aka bread knifing), usually a 45* angle on a coarse stone like a norton 320 or something will bring that back to a flat edge. Then start your edge bevel setting at 800-1200 grit with a fast cutting medium. Start your pyramid from there. Th frown doesn't look terrible, neither does the spine wear. I think with a litle work you can have that razor really tuned up and shaving great!

Overall I think you got excellent results from your EP.


-Xander
 
Thanks for the 45* angle suggestion. I did this last night on the other razor that I am working on. It nicely removed the smile from the razor.

Before:
20130420_141555.jpg


After:
20130425_221535.jpg


I have started the hand sanding process on this one. I will remove the frown on the other razor this weekend. It will sting a little having to remove that nice polished edge...

m-
 
Last edited:
Cool, looks good. A smiling razor is nowhere near as bad as a frowning one. It just requires a different technique to hone with traditional gear.

Get a strop, it will maintain your edge quicker and eaiser than setting up your EP every time you want to shave. Also, by setting your EP to hone both spine and edge you will be working the edge apex correctly on the strop. Larry at "thewhippeddog" has some great deals on beginner strops. I recommend linen and leather. Study up on proper razor stropping technique so you don't dull your edge accidentally. I prefer bench/paddle strops to hanging ones, but that's just me.


-Xander
 
*UPDATE*

After emailing Ben Dale,Jende Industries and fast14riot I had to go back an go through the tape progressions again because I was not using the tapes long enough to remove the scratches from the previous tape. My razors were doing their job nicely, but I had a suspicion that there was more performance to be had from the razor with some technique adjustment.

Here is my previous tape progression

2k - 20 strokes back and forth, 10, 5, 1
3k - 20 strokes back and forth, 10, 5, 1
6k - 20 strokes back and forth, 10, 5, 1

New progression
2k - Scrubbing technique. To cover the full blade, there were 5 back and forth movements. I repeated this scrub technique 20 times on each side. I was keeping a close eye on the bevel and scratches. I have 10x eye loupe and I hope that is enough magnification. After the scrubbing I went back to 20 strokes, 10, 5, 1 (each stroke was one pass through the blade).

3k- Same as above
6k- Same as above.

The shave with this was excellent.

Fast forward to 5/20. I was able to buy some PSA lapping film that was being clearanced at a the local WoodCraft shop this past Friday but have not been able to use it until the evening of 5/20. The film was by Pinnacle. I cut the 2 5/8" x 8" sheet into 1x6 strips and mounted it on an EP glass blank. The film is 0.3 micron according to the Pinnacle packaging. I did the same scrub technique and 20,10,5,1 count. I did a test shave and I was very impressed. The 6k shave was nice, but the 0.3 micron shave was "butter" smooth.

I intend to get a nanocloth strop and a kangroo strop from Jende Industries to fill in the gap from 1micron to .3 micron. I am looking to get the CBN spray at .5 micron for the nanocloth strop and finish off with some light passes on the kangaroo strop. Until then, the shave I get with only the addition of the 0.3 micron film is pretty fantastic.

In addition to the upgraded technique, I plan on using moving to the collar stop method vs. the sharpie method. To me, there is something more precise with the collar than the sharpie. Don't get me wrong, I have been using the sharpie method since day one with wonderful results on my knives. I am looking for that extra level of precision for the straight razor. I think I can get more precision using the collar method an in turn get a bit more performance out of the razor.

BTW, sorry no pics this time around.

m-
 
Last edited:
Mario glad you realized an improvement in edge quality after going to the lapping film! All this work is fine and dandy, but once you get a small collection of vintage razors, you will find you need to adjust technique for each one, due to differences in hardness, steel type and edge shape. All this effort is good to see, but don't forget the only thing that matters is how it shaves!

Good work!

-X
 
*UPDATE*

A lot of good things have happened since my last EP update. The 2 "changes" that stand out are the following:

1. Collar stop
2. Trailing edge strokes (Another idea "borrowed" Tom @ Jende Industries)

The collar stop on the Edge Pro makes stone changes and Sharpie verification a thing of the past. I purchased my collar stop kit from Harbor Freight. Here is the collar installed:

20130526_175949.jpg


To better explain how this works, the following youtube video does a good job. In summary, the collar is locked to an angle based on the height of the stone. The reference point is the collar stop. When the stone is changed (the height of the stone also changes - due to wear) the collar stop will maintain the relative angle when used as a reference point.

[video=youtube_share;WDsFi5os1LI]http://youtu.be/WDsFi5os1LI[/video]

The second change was from scrubbing to trailing edge strokes in an x-pattern. In the picture above, the razor with the yellow handle was a Cranford that I brought back from the "dead".

Before
DSC06464.JPG


After
20130526_133450.jpg


That razor was sharpened using the scrub technique followed by trailing edge stroke from the stabilizer to the point. That razor was very sharp and shaved nicely.

The new razor that I cleaned up and sharpened is for a local barber. This razor had a bit of surface rust and no edge. Now she is ready to go.
20130531_104258.jpg


20130531_104141.jpg

The progression I did using the EP is as follows:

400 stone - 60 passes trailing edge (stabilizer - point) - 60 passes trailing edge (point to stabilizer) - repeat on right side
600 stone - 60 passes trailing edge (stabilizer - point) - 60 passes trailing edge (point to stabilizer) - repeat on right side
1k stone - 80 passes trailing edge (stabilizer - point) - 80 passes trailing edge (point to stabilizer) - repeat on right side

Cork - I passed the razor through a cork to help remove the wire burr. The razor was drawn point to stabilizer and then stabilizer to point.

2k tape - 80 passes trailing edge (stabilizer - point) - 80 passes trailing edge (point to stabilizer) - repeat on right side
3k tape - 80 passes trailing edge (stabilizer - point) - 80 passes trailing edge (point to stabilizer) - repeat on right side
6k tape - 80 passes trailing edge (stabilizer - point) - 80 passes trailing edge (point to stabilizer) - repeat on right side
0.3 micron tape - 70 passes trailing edge (stabilizer - point) - 70 passes trailing edge (point to stabilizer) - repeat on right side
Stropped on glossy paper (guess what glossy paper was used) - 20 passes
Stropped on homemade weight lifting leather strop - 20 pass

The test shave was amazing. The pre-shave prep was:

Warm water rinse
Warm lather applied with AOS badger brush

When I applied that styptic pencil I had no "wow" moment. Next stop, either Shapton stones and/or kangaroo strops. :)

m-
 
Great work Mario

Personally, I would skip the Shaptons and go for some strops. Either 'Roo or horse are great, but cow works just fine. I use cow myself.

Maybe try the edge trailing strokes only when you get to the refinement stage, say about your 3k or 6k step. This can save time. Also, why build up the burr on this one? Was the edge gone for the most part? I usually only get a burr when starting from the beginning and setting a whole new edge. Not somthing needed for a light restore, and deffinetly not needed for just a honing.

-Xander
 
Great work Mario
Also, why build up the burr on this one? Was the edge gone for the most part? I usually only get a burr when starting from the beginning and setting a whole new edge. Not somthing needed for a light restore, and deffinetly not needed for just a honing.

-Xander

You hit the nail square on the head sir! This light restore needed a bevel set. I was trying to figure out why it had no edge. I'll play with trailing edge strokes from the 3k and onward and reintroduce the "scrub" techinque at the lower grits if used.

Thanks again.

m-
 
Well, a video is worth a thousand words. Interesting, as the reason I decided to learn more about sharpening is because my daughter plays the oboe.

thanks,
Brett
 
It is time for another *UPDATE*!

While I wait for some strops that I ordered, I decided to make my own.

1. I made 6 aluminum blanks using 2 old IKEA racks.
20130614_180303.jpg


2. I cut the remaining leather I had left from an old weight lifting belt. After marking out the shape using the blank as a template.
20130614_180314.jpg


20130614_180333.jpg


3. My wife glued the leather onto the blank using a glue called Glossy Accents.
4. I clamped the leather and blank in my bench vise for about 1.5 hours to let the glue cure.
5. After I removed the completed strop from the vise I sanded the strop on 1200 grit paper to get a level surface.

20130614_195900.jpg


The homemade leather strop works like a champ! Right now the leather is "raw" after I sanded it down. I am considering putting some leather conditioner on it this evening when I get home.

20130616_120534.jpg


20130616_120542.jpg


The 2 magnets that I put on my EP to a fine job of holding the razor in place. I still hold the razor when I use the EP but the magnets sure do help.

20130616_120612.jpg


I have some Chromium Oxide (0.5micron) and diamond spray (0.25micron) to play with as well.

m-
 
*Teaser update*

More strops and other goodies are here for straight razor experimentation.

Bark Leather strops:
20130618_210056.jpg


Balsa strops:
20130618_210039.jpg


More to come soon.
 
*UPDATE*

The angle cube... Where to start. This little box will make my sharpening take much longer than what it takes now. This is simply because of fine adjustments needed to get the hundredths position set correctly. So here are some observations from my sharpening this evening.

Strops lined up:
20130625_210049.jpg


1. The stop collar technique will work nicely with hard stones and tapes.
2 The stop collar will not work with strops due to compression. I was concerned about this and sure enough it was validated.
3. Getting the angle set correctly to the hundredths is a test in patience.

As seen in the pictures, I was able to get 20.25 degrees (relative to the EP table) on each strop and polish tape. Here was my progression for this evening. All strokes were trailing edge:

@ 20.25 degrees
Blue tape
10 strokes stabilizer to point
10 strokes point to stablizer

20130625_211535.jpg


@ 20.25 degrees
Balsa strop with chom-ox
10 strokes stabilizer to point
10 strokes point to stablizer

20130625_211941.jpg


@ 20.25 degrees
Bark leather strop with 0.25 diamond spray
10 strokes stabilizer to point
10 strokes point to stabilizer

20130625_212315.jpg


@ 20.25 degrees
Homemade leather strop sanded with 1.2k grit and leather conditioner
10 strokes stabilizer to point
10 strokes point to stabilizer

20130625_213840.jpg


After going the progression and trying the hanging hair test, the cut felt smoother. I will test shave with it tomorrow and see how it goes.
 
middle section looks like a frown to me...but maybe not if aimed downward on a table....if this is the case to remove a frown your easiest bet is to "breadknife" it..try on a 250 grit synthetic stone..just wondering why dont u have a 1k or 800k bevel setting option?...2k isnt bad but the lower the grit the easier to set and create an edge...nice set of sharpening tools though ;=-)
 
The razor has a frown. I have not removed it on this blade simply because I don't have to. My sharpening stones are able to make contact to the whole blade. So the frown has no impact on my ability to sharpen. The razor shaves very nicely as well.

As for the grit scale, the tapes are not 2k grit. They are named that way which can be confusing.

As quoted from the EdgePro site:

Note - 2000-9 micron, 3000-3 micron and 6000-1 micron tapes are 20,000--25,000 and 30,000 Japanese. I spent many months and countless hours on these comparisons so I think they are as close as anything you will find.

I would like to get some Chosera stones for my EdgePro in the future, but as it stands now, the setup I am using has been producing some excellent results.
 
Back
Top