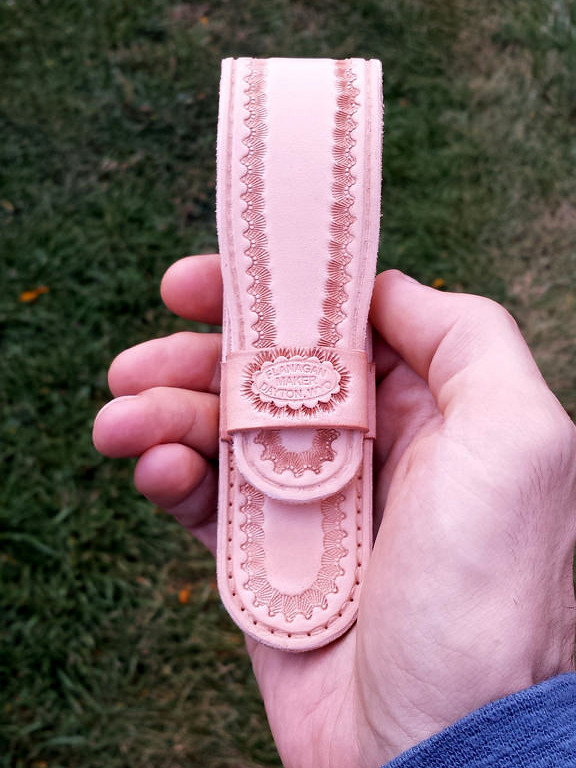
wow, i am really impressed with the quality of your craftsmanship. and even though this is a sheath forum, i for one am always happy to something completely different. the holes look like they are not completely punched through on the flap, do you drill them?
Thank you, I appreciate the kind words! Good eye. Yeah, here is what I have been doing - I cut my track with the groover, lightly wet the track and run my stitch wheel over it. This one happens to be 5 SPI. I then go back (which is what you're seeing) and lightly tap a hole (but not all the way through) with a blunt needle and mallet where each of the stitch holes will go. I do this because it makes it much easier to see exactly where the needle should go when I use my drill press (not running) to punch the holes.
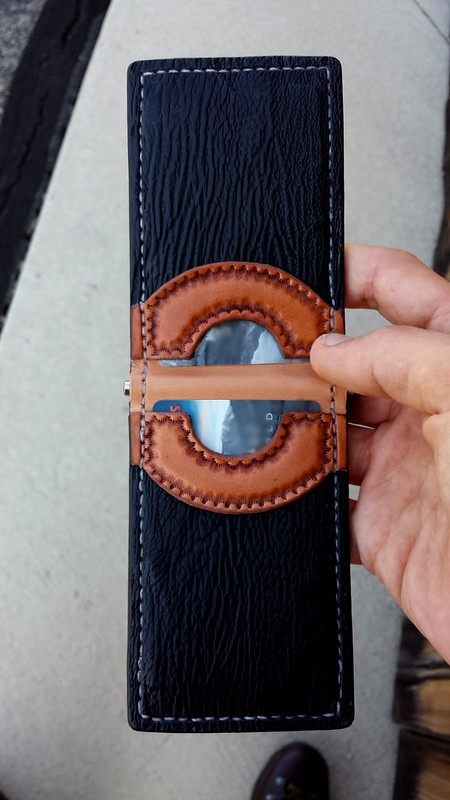
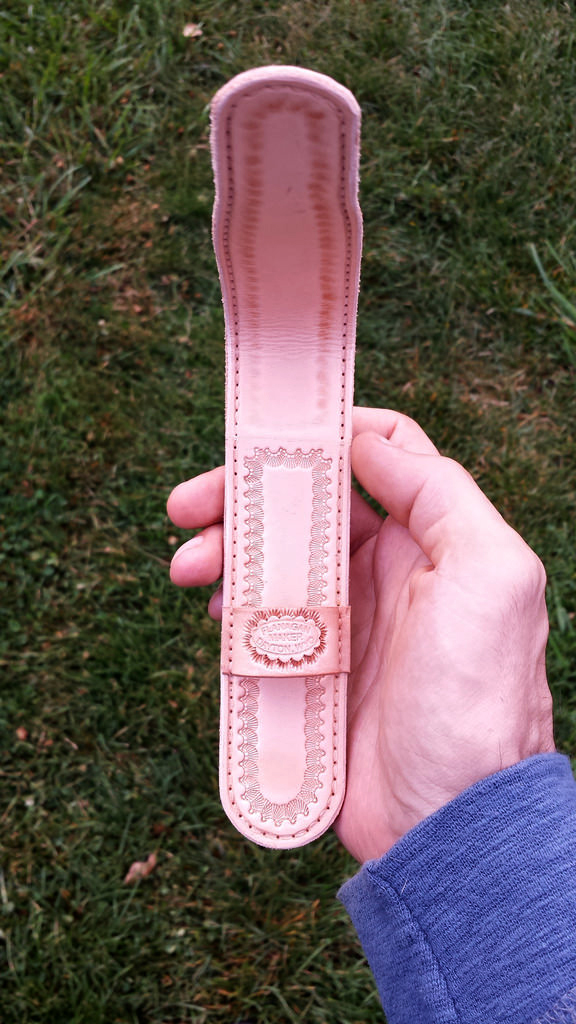
Very nice. Did ya wet form that loop? Make sure to keep us posted on that project as it goes along. I really like the shape of the flap. Cutting those can be an exercise in frustration.
Thanks Dave! I did lightly wet form the loop but because I got the length of it just about right, it kind of forms itself when the flap is stuck in there. I made a template out of cardboard for the case and flap and it was close but not precise. To get it better, I was able to work the leather on my belt sander a bit and get both sides even. Likely more luck than skill
")
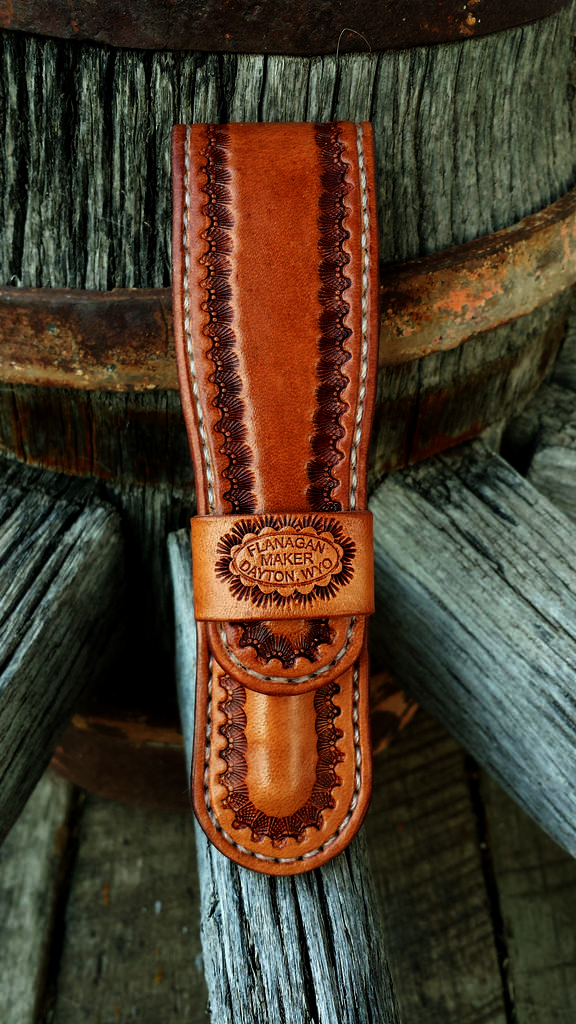
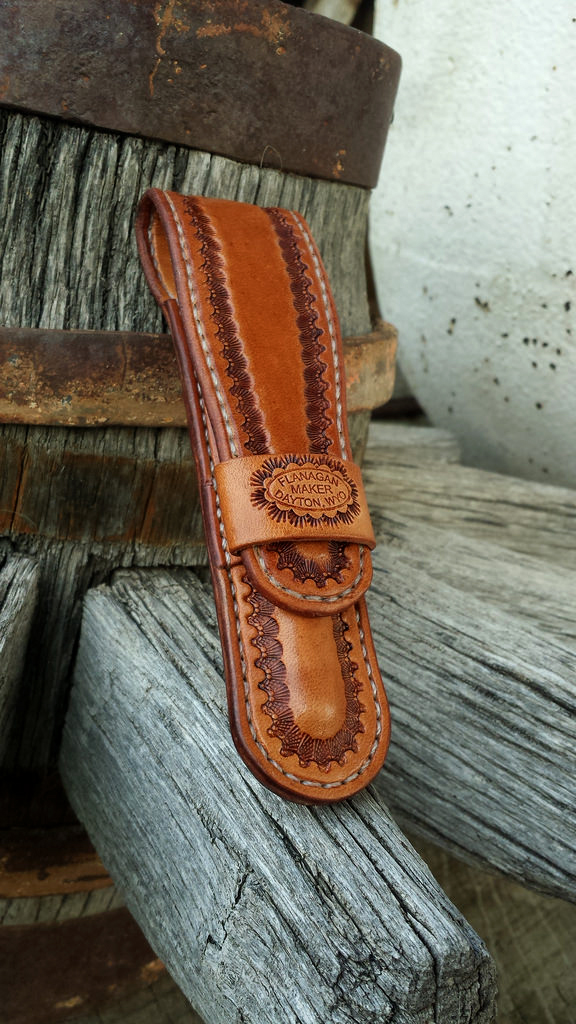
. You'll see a couple finished photos of this project below. Came out quite nice.
edit: I just found post #14..., that finish looks great!
I like the finished color on that wallet. How did you finish it?
Terence
Thank you Terrence! I used several coats of neetsfoot oil and then antiqued the stamping. If you look at one of my posts toward the beginning of this thread, I explained the process.
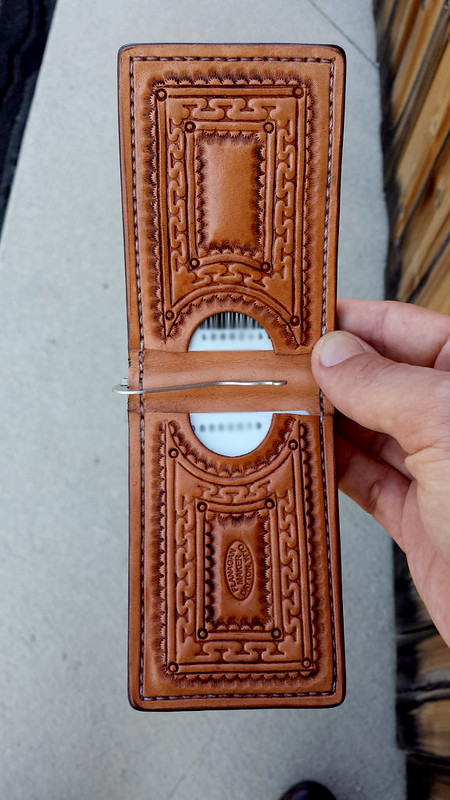
Alright, on the finished photos of the pen case. Turned out nice, I am pretty darn happy.
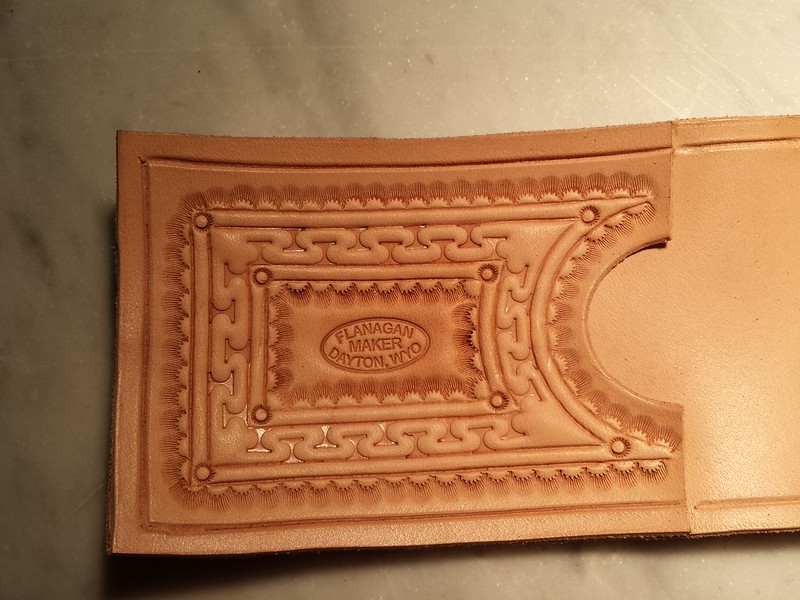
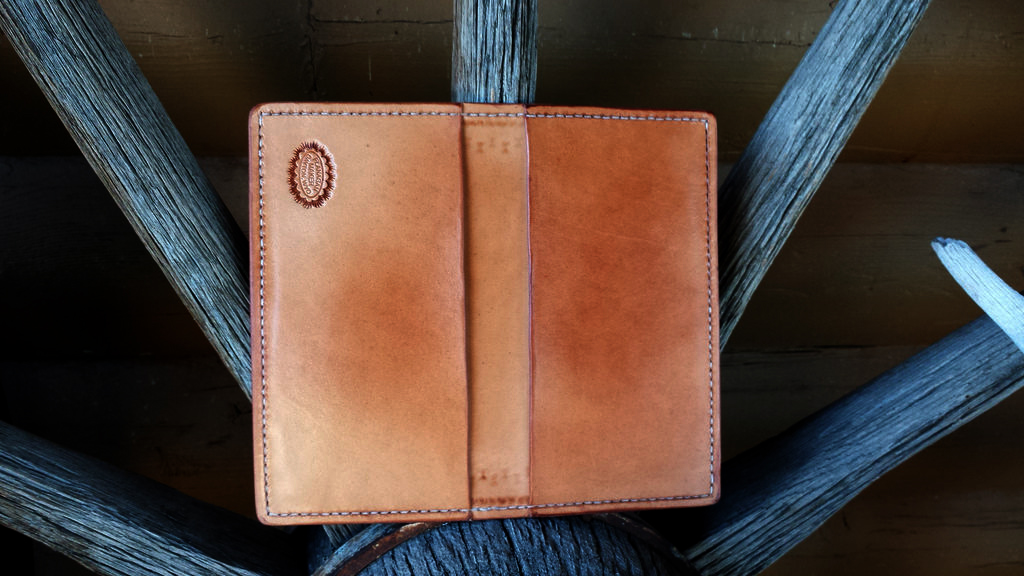
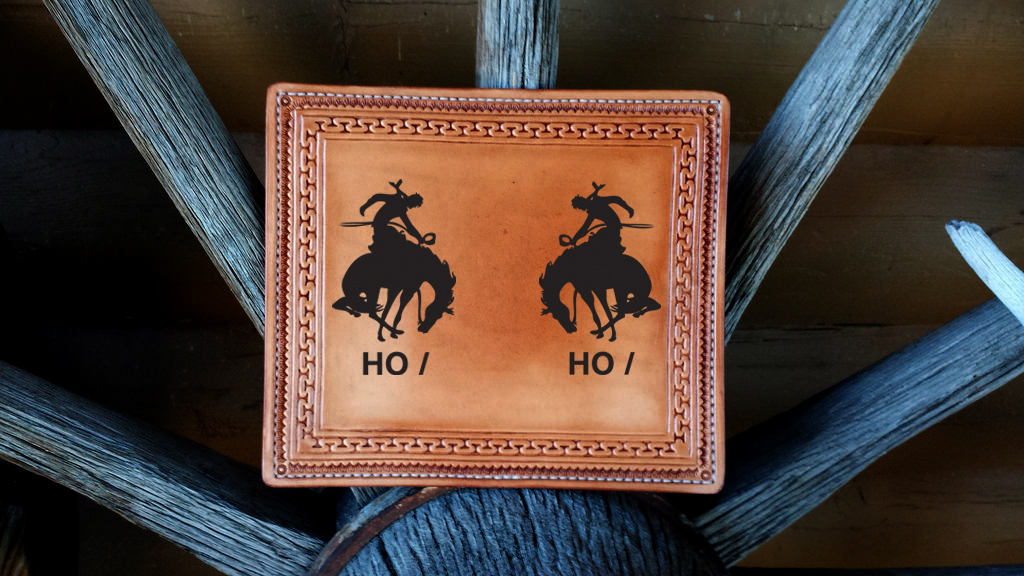
and one more project from the weekend. Now here is a bit of a story, and I would like your input. One of my good friends has a 4th generation cattle ranch here in Wyoming. He's been very supportive of my leather hobby, letting me borrow tools, use leather, etc. from his deceased Grandfather's leather shop. I figured I needed to do something nice for him so I decided a nicely stamped checkbook cover was in order. Anyway, this was a pretty special project, I used his late Grandfather's tools to make this for him, I am also going to have my friend laser engrave the ranch's bucking bronc and their brand on the checkbook. Pretty cool eh? Anyway, the first photo (sorry it's blurry, I took them in a rush before work this morning. It looks 10X better in person) is of the checkbook cover as it sits right now, unengraved. The second is a photoshop mockup of the bronc and brand.
Here is my question to you guys: Should I have that laser engraved on just one side of the outer checkbook or both (please realize it hasn't been folded in half yet)? Do you like the size or should it be smaller? Should there be a border of some sort around the bronc? These are all questions I am playing with. Please let me know what your thoughts are. Thanks!
As of now:
Photoshop mockup of the laser image to be engraved: