Osprey Knife & Tool
Moderator
- Joined
- Jun 4, 2014
- Messages
- 2,469
Here is an update to what I am working on this is not everything just what I had my hands on today and happen to take a picture of.
Its cooled down a bit, but the humidity is on the rise, so that means afternoon thunderstorms.
 Hosted on Fotki
Here I have a Batch of 27 +/- a few scribed and ready for drilling. I start them in larger batches then break them down into smaller groups as I progress further in the process.
 Hosted on Fotki
Here I am laying them out according to thickness to mark the grind lines for the bevels and tapered tangs.
 Hosted on Fotki
Measuring the thickness of the blade so I can caculate how thick of an edge I want to leave for heat treat. I vary according to the thickness of the steel and the blade type.
 Hosted on Fotki
 Hosted on Fotki
This one measured out at 0.188. I want an edge thickness before heat treat of .025 so I subtract that and divide the number I get by by two
 Hosted on Fotki
 Hosted on Fotki
 Hosted on Fotki
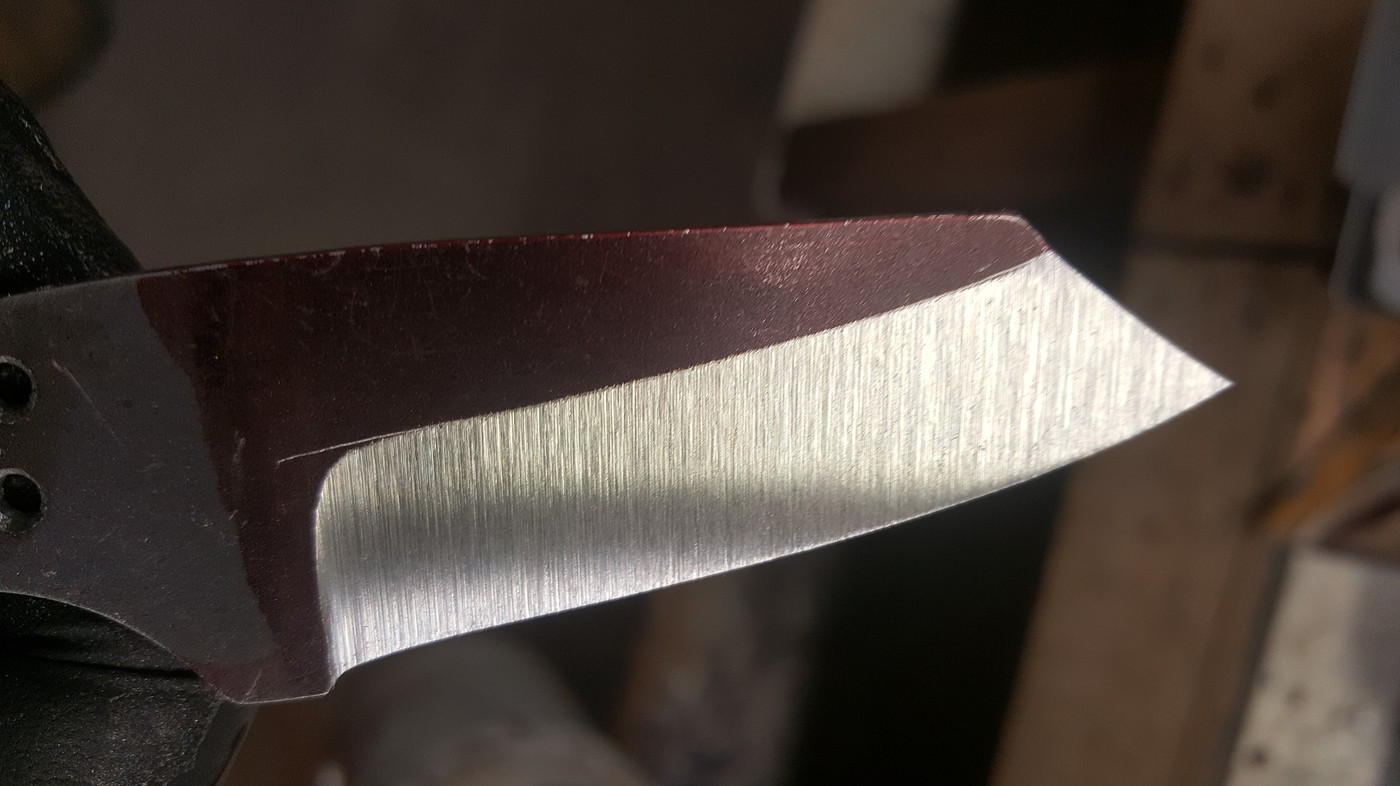
After I caculate my desired thickness I mark a test mark on the spine to see if it looks right.
 Hosted on Fotki
Here is what is looks like when I am done. I will grind all the way up to these lines before heat treating.
 Hosted on Fotki
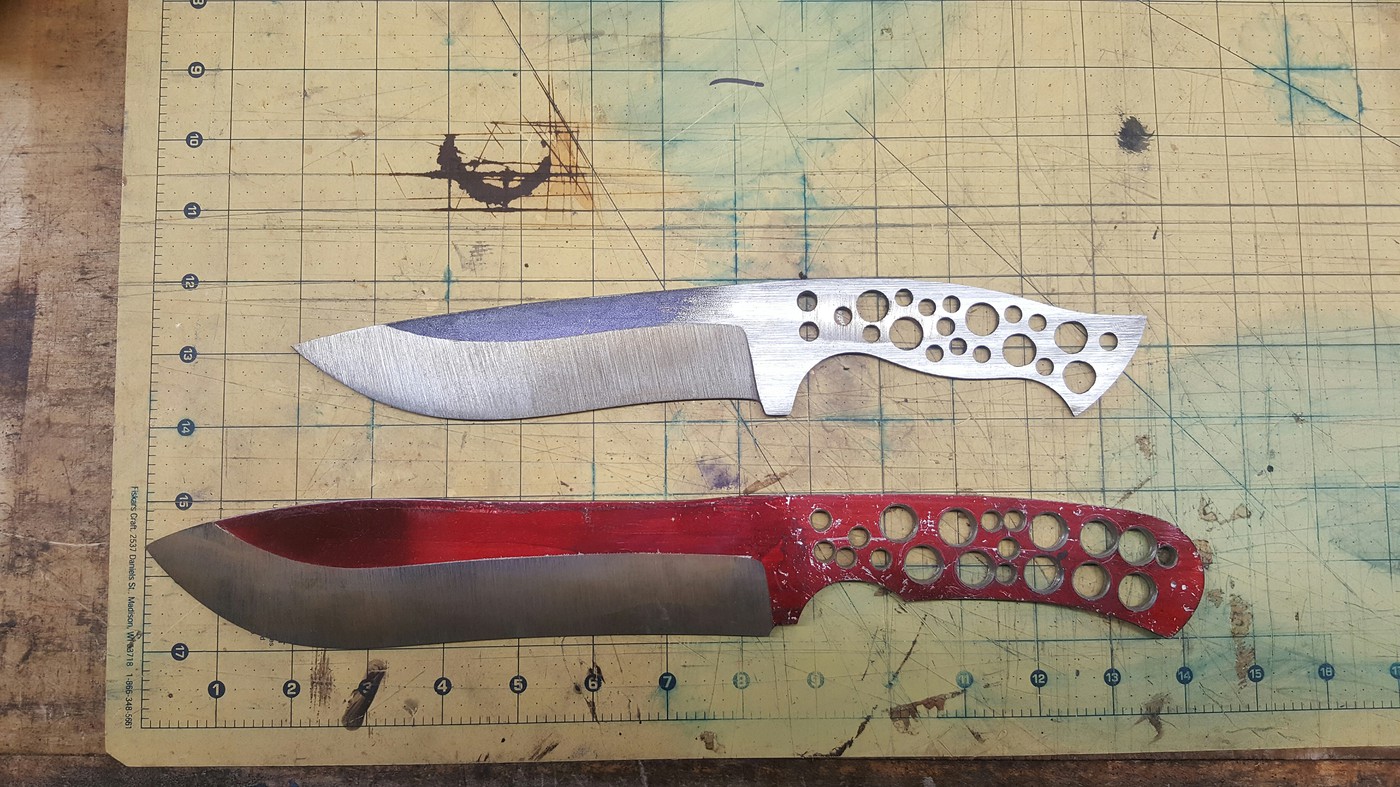
Last but not least meet the new addition to the Osprey family no name yet it is essentialy a big ole Warthog.
 Hosted on Fotki
Thanks for looking questions and comments welcome
Its cooled down a bit, but the humidity is on the rise, so that means afternoon thunderstorms.
Hosted on FotkiHere I have a Batch of 27 +/- a few scribed and ready for drilling. I start them in larger batches then break them down into smaller groups as I progress further in the process.
Hosted on FotkiHere I am laying them out according to thickness to mark the grind lines for the bevels and tapered tangs.
Hosted on FotkiMeasuring the thickness of the blade so I can caculate how thick of an edge I want to leave for heat treat. I vary according to the thickness of the steel and the blade type.
Hosted on FotkiHosted on FotkiThis one measured out at 0.188. I want an edge thickness before heat treat of .025 so I subtract that and divide the number I get by by two
Hosted on FotkiHosted on FotkiHosted on FotkiAfter I caculate my desired thickness I mark a test mark on the spine to see if it looks right.
Hosted on FotkiHere is what is looks like when I am done. I will grind all the way up to these lines before heat treating.
Hosted on FotkiLast but not least meet the new addition to the Osprey family no name yet it is essentialy a big ole Warthog.
Hosted on FotkiThanks for looking questions and comments welcome
Last edited:
")