- Joined
- Oct 4, 2017
- Messages
- 528
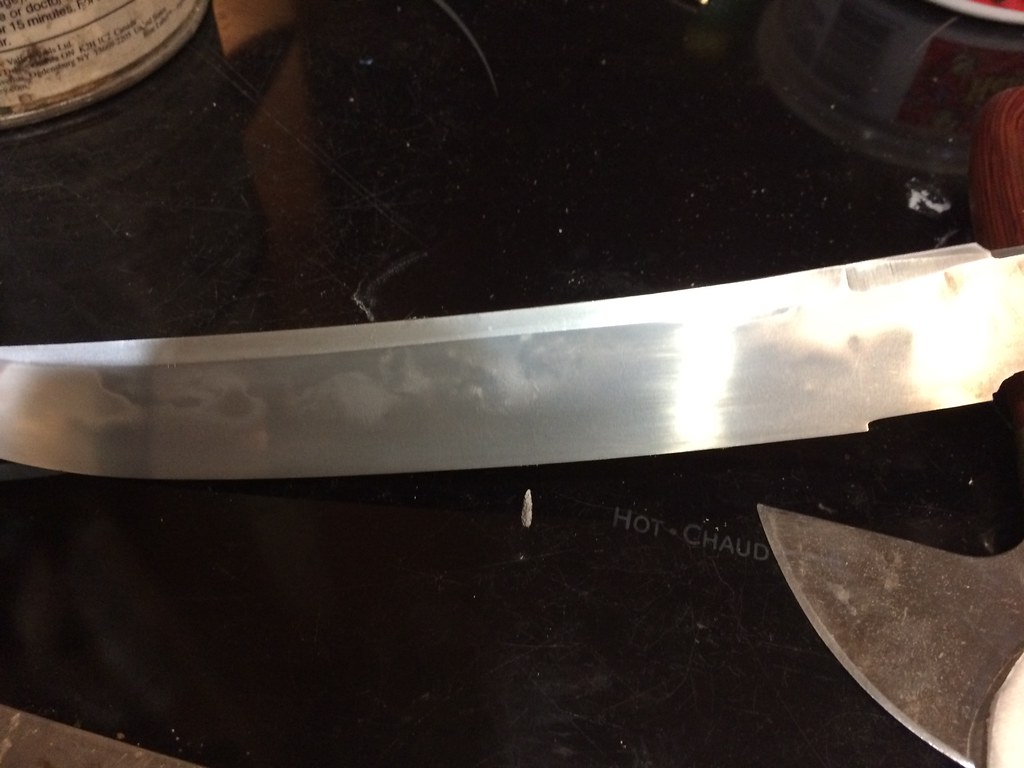
I am making my first Bowie and I am being ambitious and want to try for a hamon.
It is 1084 steel so I know it won't pop like on w2 or 1095. I will be grateful for a subtle line.
My question is: How should I apply the clay? I am using rutland fireplace mortar and I’ve heard its better thick. But is there a pattern/shape that I should use? I have seen some with small strips going toward the edge and some with small slits put leaving gaps toward the spine.
I would just like a wavy line. Will the line appear the same shape as the line of clay? Or will it do its own thing even if I make the clay straight?
Thanks all
 IMG_0765
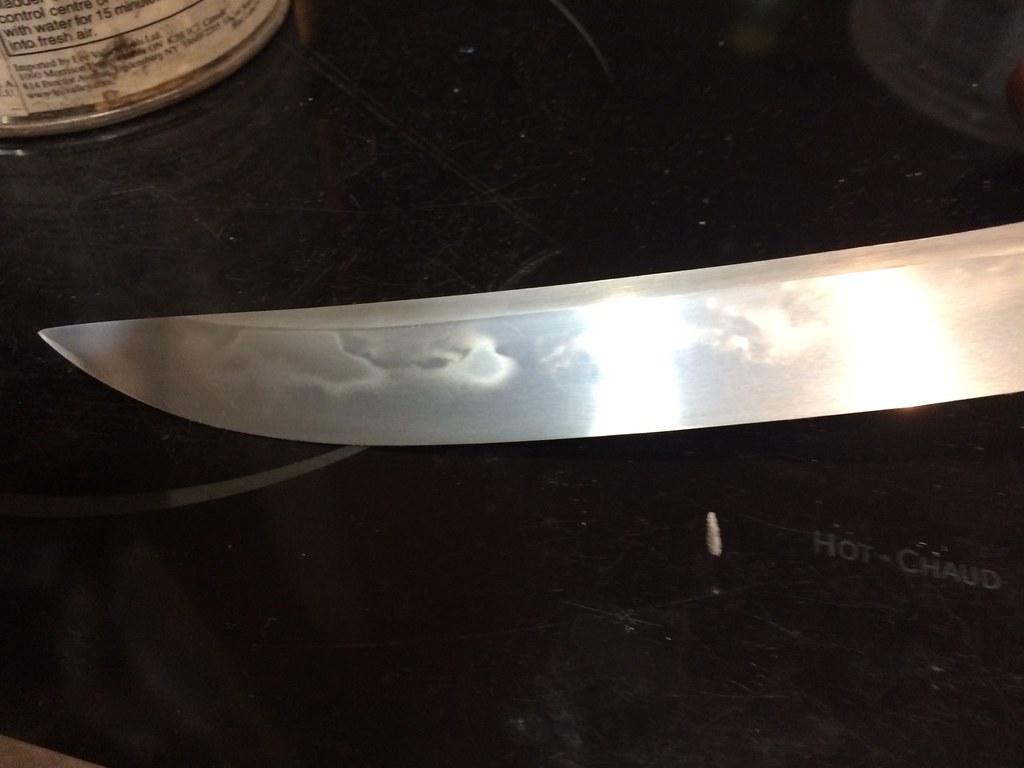 IMG_0767
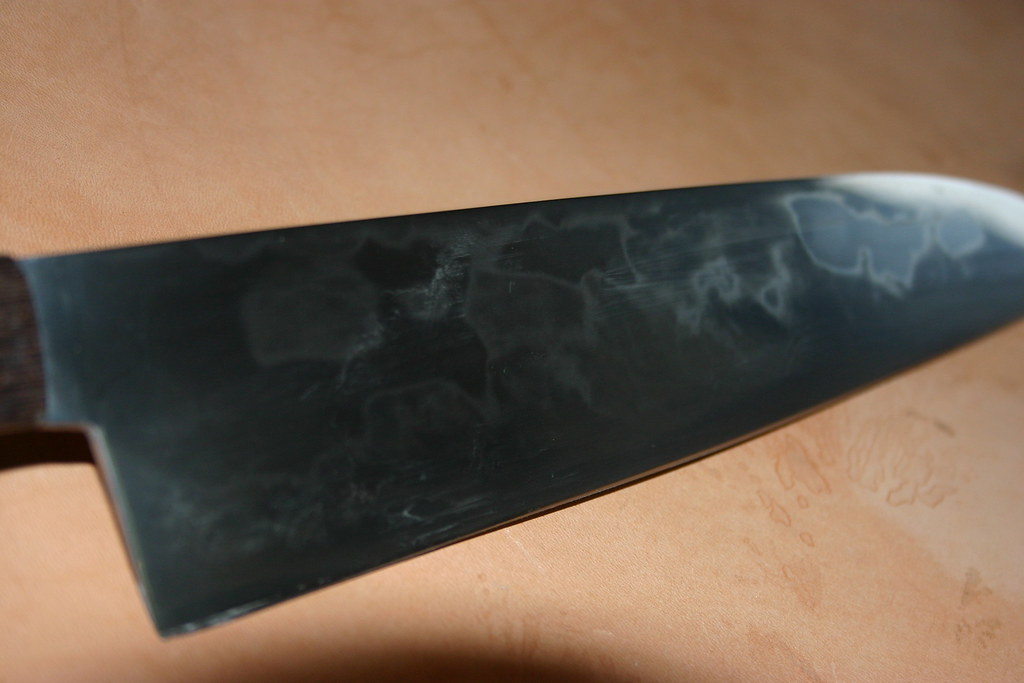 IMG_5926
