Drop Forged Knives

I would really like to see an SRK version next, just a great design and a perfect candidate for the whole drop-forged-tough thing. And then the Recon Scout, that’s another. Too similar to the Survivalist probably but so what, I’m in dream mode this morning.
 
What have you guys/gals wrapped your drop forged handles with? I have the Survivalist and unless I'm wearing a glove, it transfers a lot of the impact back into the hand when chopping.
G2
 
What have you guys/gals wrapped your drop forged handles with? I have the Survivalist and unless I'm wearing a glove, it transfers a lot of the impact back into the hand when chopping.
G2


I’m very tempted to buy one of these to learn how to do Tsuka Ito wrapping. If you do wrap yours please post up pics.
 
Thinking of doing that very thing, will update once I figure out what I'll try. I had one and sold it, but thought more on it and bought it again and I like the size and heft of this, just need to sort out the handle !
G2
 
Ok, so not the best at this, obviously, curved handle and all, so here was the plan;

I had a friend at work help out drilling out a 3/8" hole into the end of the handle, he used a new carbide bit and said wow, this is hard!!!

Fill in the sunken area with some self adhesive cork material and line around the perimeter with the same cork to provide some help with shock absorption, I left the painted on material beneath it to help with any corrosion issue down the road, but as I got finished up, taking the excess cork off the end area also removed some of the paint, so I just scraped it off to make it about the same. I used some superglue on the cords when done, wow, made them rock hard and smoky, wouldn't recommend that next time.

My end knot tying was, is, very poorly executed so those that wish to throw stones, do so at your own pleasure, don't care all done now ;) but yes, I know it's not the best, I seem to recall I started out saying that too :)

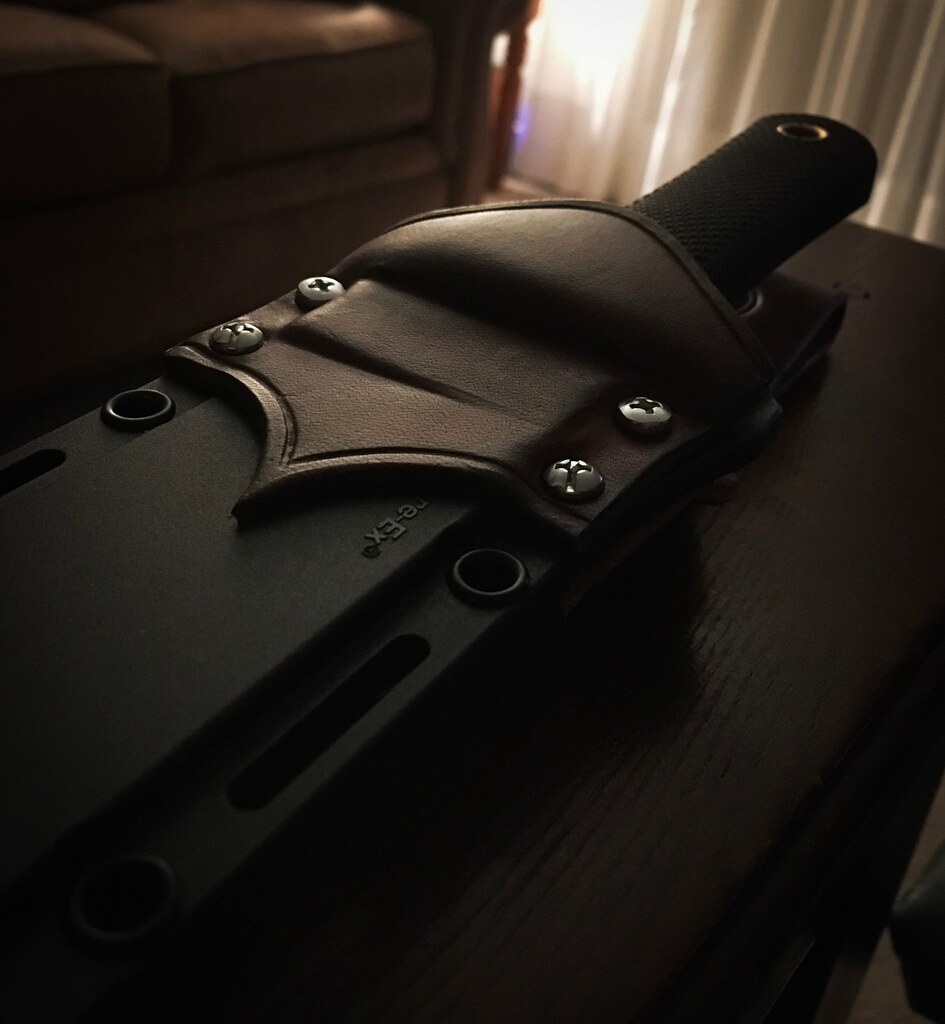
Here are some shots during the process, also I trimmed down the big part of the top of the sheath as it is not a necessary area to have to keep retention, and I needed that gone to allow clearance of the wrap, worked out great.

Cord wrap by GaryWGraley, on Flickr


Cord wrap by GaryWGraley, on Flickr


Cord wrap by GaryWGraley, on Flickr

Untitled by GaryWGraley, on Flickr

Untitled by GaryWGraley, on Flickr


Untitled by GaryWGraley, on Flickr

A much handier handle now, maybe a little thick, but it surely won't slip...and don't call me Shirley !

G2
 
Last edited:
Haha, indeed a corker !

I finished up the mods to the sheath, cutting down the top area to allow the cord wrap to come up to the sheath and also created a nice swivel belt loop as well, works great!

Untitled by GaryWGraley, on Flickr

Untitled by GaryWGraley, on Flickr

Untitled by GaryWGraley, on Flickr

that cord wrap really adds a LOT of texture and allows the knife to be gripped solidly,

Untitled by GaryWGraley, on Flickr

G2
 
Tenbeers, I can make another one for this particular sheath since I have one, but would need to know which side you would carry it on and which way the edge would face as the sheath is not quite symmetrical, it would also require your hard ware to install it to the sheath as I don't have those fittings to send out, you can PM me for more details if you need one or something else.

And the balance is just about perfect, since there was a large slug of steel drilled out at the end of the knife, the balance is right about the center of the guard area. Very quick feeling knife, if I were to do it again, I would forgo the layers of cork around the outside and top and just put a piece in the well area as the handle is thick but still feels pretty good !
G2
 
I like what you did with your knife and sheath. You got me thinking about possibilities regarding the sheath. Since I really like sash style carry for fixed blades, maybe a small strip of leather with a peg or post in the center. Then just slip it under the belt inside the waist or out. Pivots on the peg when you sit or stand, easy to remove or reposition when needed.
 
Yes, you could make a cover piece and put one of the frog things in there too, here is a Trailmaster sheath I just did for a friend, I added a front section to dress it up an on the back is the swivel belt loop.

Untitled by GaryWGraley, on Flickr

Untitled by GaryWGraley, on Flickr

Being held down by 4 anchors should provide a stable platform for that frog to stay put, some folks will also put a hole in the center of their belt that will then go over that frog, adding even more security for that style of carry, as otherwise it could slip past and cause embarrasment or possible damage to your knife and self !

G2
 
The factory sheaths on the Trail Master and Recon Scout for example, are thick enough at the top where the guard is, that they are held firmly in place by belt preasure alone, sash style, with the factory belt loop removed. Thinner sheaths like the drop forged Survivalist and Bowie, I wrap a zip tie to work as a frog of sorts, to keep them from sliding below the belt. But a piece of leather anchored to sheath with frog attatchment in the center would be an upgrade from the zip tie.
 
My friend out west sent me two knives to do a similar treatment on, I wasn't able to get a hole drilled in these, but found I could JUST barely get the two pieces through the existing hole and lock it in place, here is the dagger one finished

Stingray by GaryWGraley, on Flickr

ground down the sheath a bit to allow the new handle to fit

Stingray by GaryWGraley, on Flickr

pretty wicked blade, with this grip, you have a lot more confidence in wielding it I think,

Stingray by GaryWGraley, on Flickr

The other knife I'm just starting on, getting the stingray skin cut to shape is trickier with the curve of the handle and well, stingray skin is just plain tuff !
I used some self adhesive cork to fill up the well of the handle, last one I did I also did around the edges of the handle but felt that made it a tad too thick overall and you did not benefit from the slight give of the cork, so these two will be a closer made setup, but I still needed the gap inside filled up.

Stingray by GaryWGraley, on Flickr

cutting the stingray skin to shape

Stingray by GaryWGraley, on Flickr

G2
 
Back
Top