nick681
Gold Member
- Joined
- Nov 22, 1999
- Messages
- 1,929
This is my first attempt at a tutorial so please be patient. I am not a photographer so the pics are not pro quality. The materials, methods, and equipment in this tutorial are only how I do things and are not the only way to go about sheath making.
99.999999% of what I know about sheath making comes from the kind help of many of the fine folks that frequent this and other sheath making forums. Without the help, advice, and encouragement of guys like Paul Long, Sandy Morrisey, Duane Puckett, Mike Bartol, Dave Cole, and Dave Abramson I would not able to do the kind of work I am able to do now. These guys taught me most of all that none of this stuff is a secret and that there is room for anyone who wants to make and sell knife sheaths.
When I decided to make a knife sheath I saw a tutorial and thought "Wow, I can do that!" Well..no I couldn't but I sure did try. So, after that I kept looking for tutorials but did not find too many. So now that I know a little bit about sheath making I figured I would post this and see if I could help provide a little information to folks who are looking to get started.
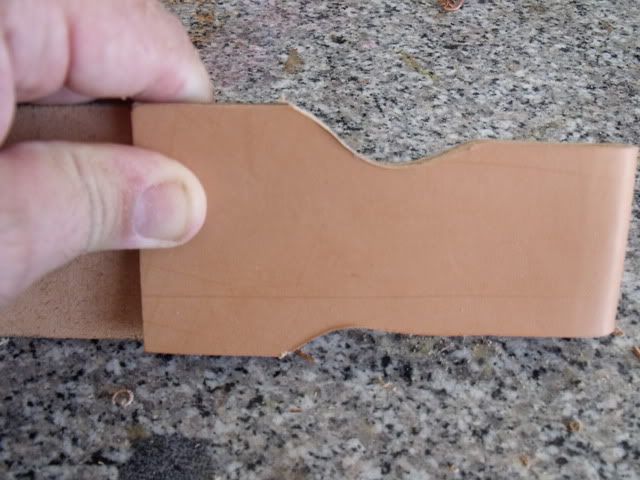
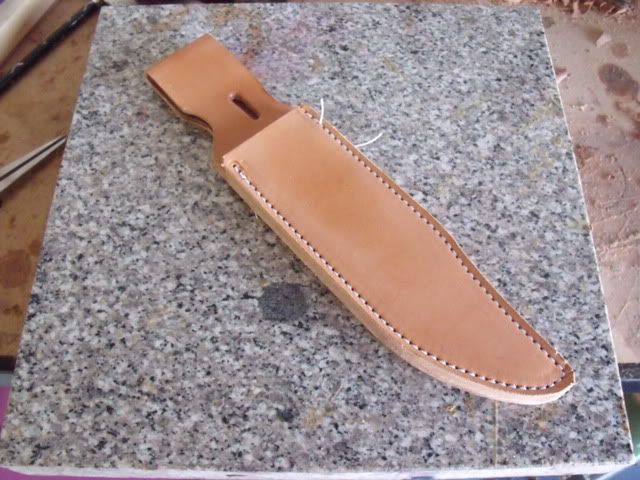
In this tutorial I will outline how I build a Randall style sheath. I will make two of them. One will be hand sewn and the other I will do on my machine.
First off there are certain things that you need to make a knife sheath a knife, materials, and tools.
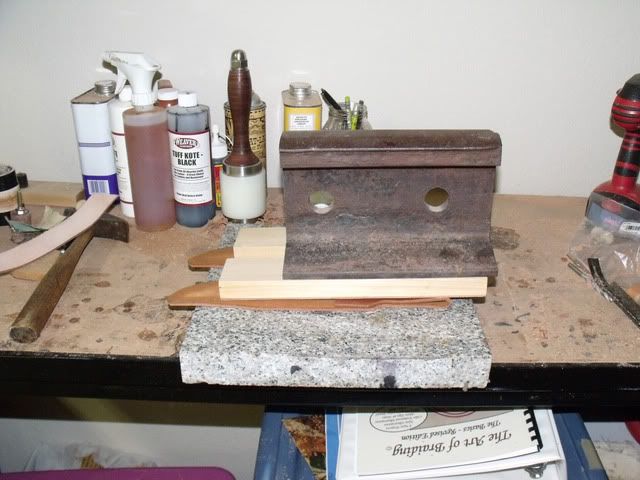
And yes my shop is a mess! It is not completely set up, we just moved in a couple of month ago, so I have not yet gotten completely organized. But it works for now and it make me happy.
Materials:
Leather: There are many types of leather but the one most used for sheath making is vegetable tanned leather. There are other kinds that are tanned and finished using different processes but "veg tan" is considered the leather of choice. There are many places to get leather and many levels of quality. You can buy leather from any number of places such as Tandy/Leather Factory, Siegels of California, Wickett and Craig, Weavers, etc. If you do a search you will find that each leather worker has their preference. I get my leather from Seigels of California, I prefer their double tanned saddle skirting. I also get leather from a local holster manufacturer who buys Herman Oak Leather by the pallet and lets me pick what I need and sells to me at cost.
If you are just starting out I would recommend going to Tandy/Leather Factory. Tandy/Leather Factory stores are all over the country and they generally have people on staff who can help you pick out what you need. 8 oz. veg tan leather is a good all around choice for the type of sheath in this tutorial.
Tools:
Here are the tools I use most.
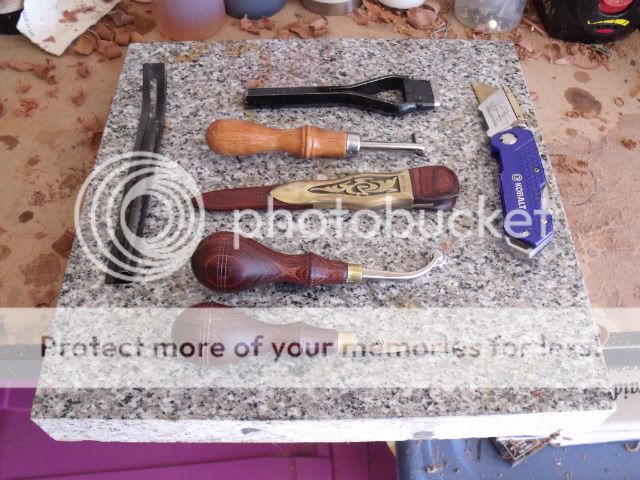
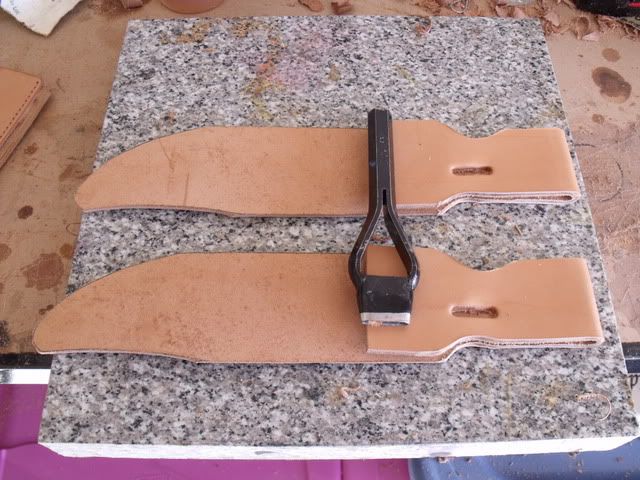
The tool on the left is a safety skiver, it is used for thinning down or Skiving leather.
On the right is a regular utility knife with replaceable blades. There are many options for cutting leather, but I like these utility knives because they are cheap and the blades are replaceable.
From top to bottom in the middle are:
Bag Punch- These are used to cut slots in leather. They come in various sizes depending on the size of the slot you need.
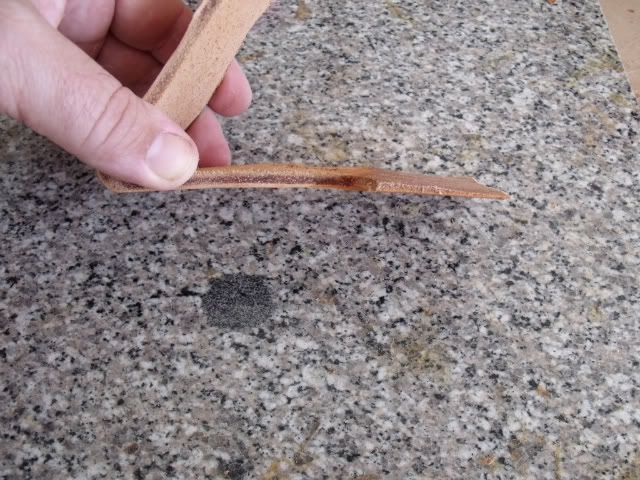
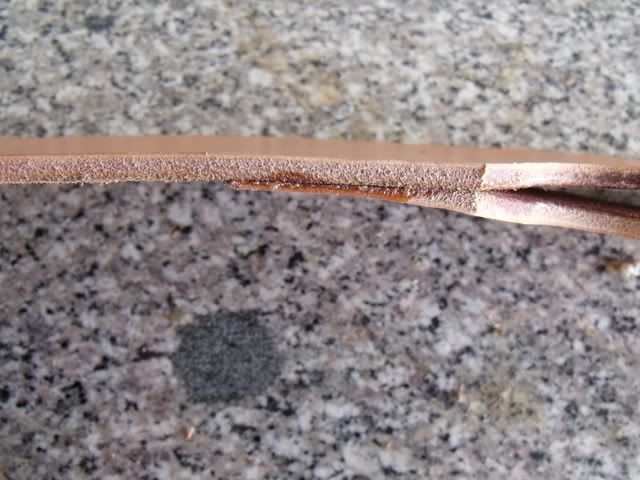
Stitch Groover- These are used to cut a groove in leather fro laying out the stitch line. By cutting a groove you are able to lay out you line for stitching and the stitching sits in the grove below the surface of the leather, which reduced wear on the thread.
Slicker/Bone Folder- These are used for forming, molding and burnishing leather. Bone folders can be made of many materials; bone, plastic, or in this case hardwood.
Overstitch Wheel- These are used for marking stitch placement and cleaning up lines of stitching.
Edger- These are used to round off the edges of leather.
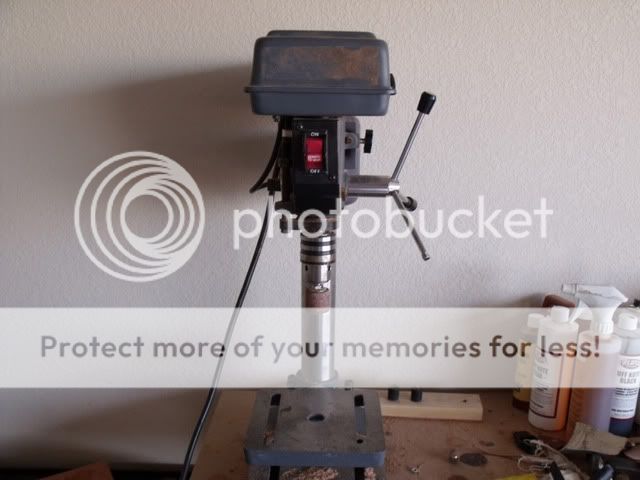
Drill Press- A drill press is one of the handiest things to have for leather working. A drill press can be used for making holes, sanding, and as a press to install rivets and snaps. I use mine constantly.
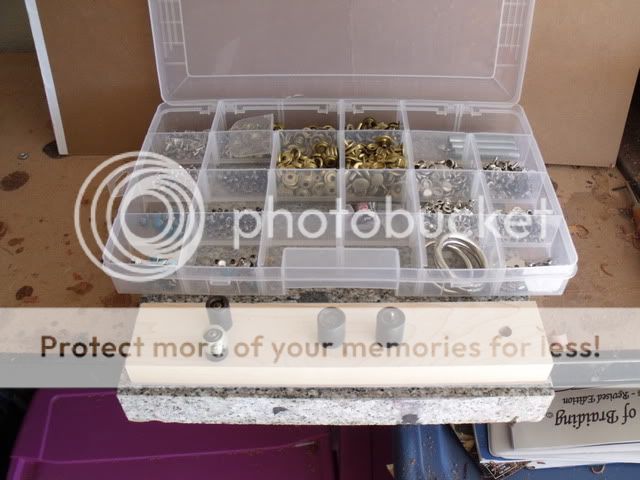
Snaps and dies- Snaps are of course used for a variety of purposes on sheaths. The dies are used to install the snaps and rivets, instead of a press I use my drill press.

Belt Sander- Belt sander is handy for evening up edges, especially on thicker sheaths and holsters.
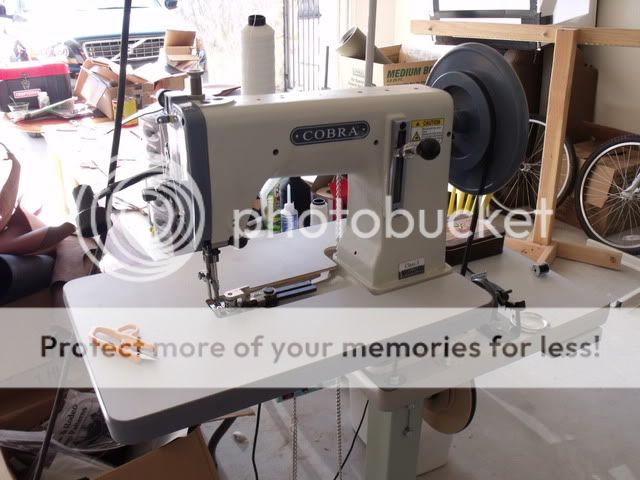
Sewing Machine- In order to sew sheaths you need a heavy duty sewing machine. My machine is a Class III harness machine capable of sewing over 3/4" of leather. Having a sewing machine like this saves a lot of time and effort.
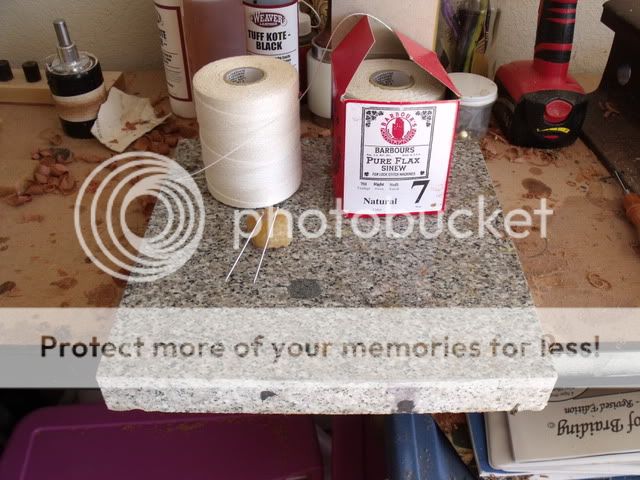
Needles and Thread- Hand-sewing is the best method for stitching leather but is more time and labor intensive. For hand-stitching you need 2 harness needles, wax, and thread. Regular needles will not do the job, harness needles are designed for sewing heavy leather. For thread I use Barbour's linen thread and wax it my self with bees wax.
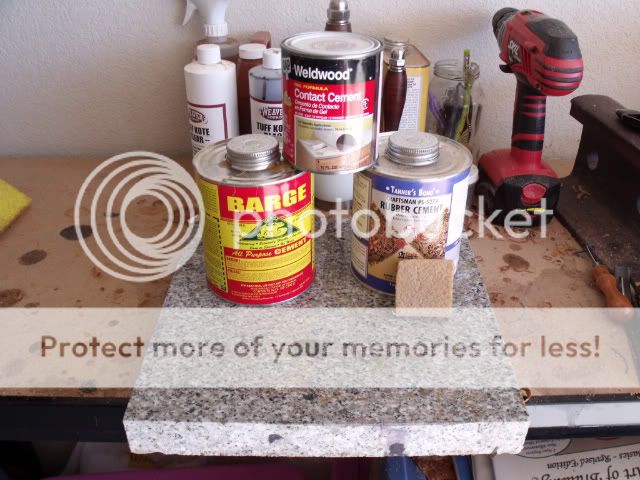
Adhesives- For permanently bonding leather Barge Cement is the glue of choice. DAP Weldwood contact cement also works very well and is widely available in home improvement stores. Rubber cement is used for temporarily gluing things together or where a less secure bond is acceptable.
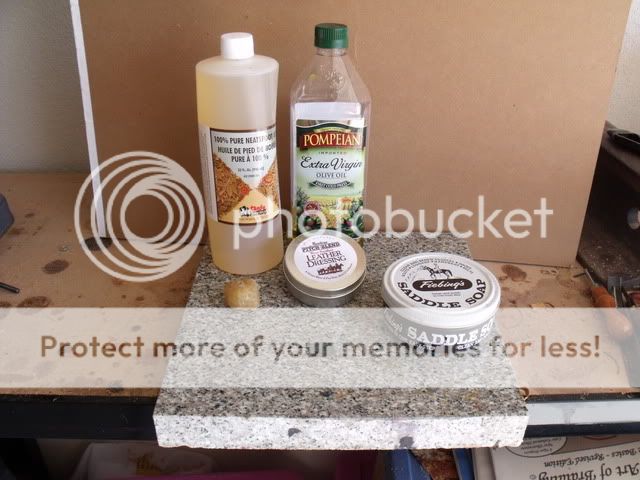
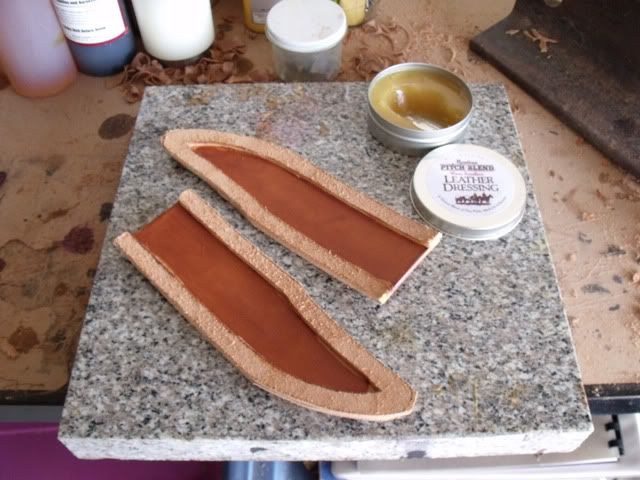
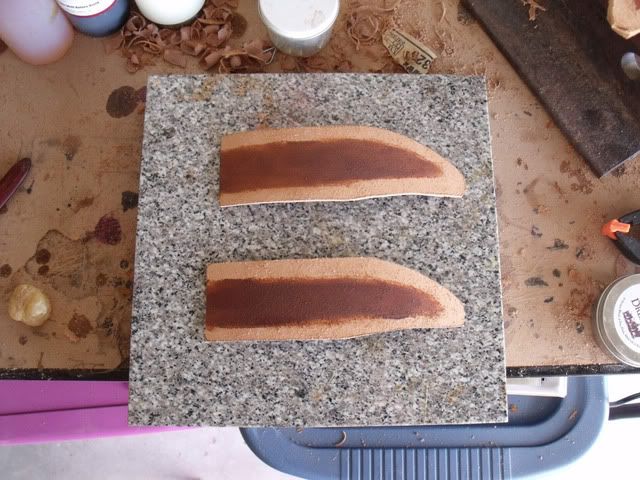
Finishes- There are many different kinds of finishes available for leather. I prefer natural finishes. Neatsfoot oil and or vegetable oils, such as olive, canola, etc, are used both to replace oils in leather and to darken leather. You can darken natural leather by oiling it and placing it in the sun. Leather will turn darker just like your skin.
For top finishes I prefer bees wax based finishes such as Montana Pitch Blend or Obenauf's LP. These finishes are god for the leather, natural, and they smell good. These type of finishes provide good water repellency while still allowing the leather to breathe.
Saddle soap is used in the edge burnishing process.
99.999999% of what I know about sheath making comes from the kind help of many of the fine folks that frequent this and other sheath making forums. Without the help, advice, and encouragement of guys like Paul Long, Sandy Morrisey, Duane Puckett, Mike Bartol, Dave Cole, and Dave Abramson I would not able to do the kind of work I am able to do now. These guys taught me most of all that none of this stuff is a secret and that there is room for anyone who wants to make and sell knife sheaths.
When I decided to make a knife sheath I saw a tutorial and thought "Wow, I can do that!" Well..no I couldn't but I sure did try. So, after that I kept looking for tutorials but did not find too many. So now that I know a little bit about sheath making I figured I would post this and see if I could help provide a little information to folks who are looking to get started.
In this tutorial I will outline how I build a Randall style sheath. I will make two of them. One will be hand sewn and the other I will do on my machine.
First off there are certain things that you need to make a knife sheath a knife, materials, and tools.
And yes my shop is a mess! It is not completely set up, we just moved in a couple of month ago, so I have not yet gotten completely organized. But it works for now and it make me happy.
Materials:
Leather: There are many types of leather but the one most used for sheath making is vegetable tanned leather. There are other kinds that are tanned and finished using different processes but "veg tan" is considered the leather of choice. There are many places to get leather and many levels of quality. You can buy leather from any number of places such as Tandy/Leather Factory, Siegels of California, Wickett and Craig, Weavers, etc. If you do a search you will find that each leather worker has their preference. I get my leather from Seigels of California, I prefer their double tanned saddle skirting. I also get leather from a local holster manufacturer who buys Herman Oak Leather by the pallet and lets me pick what I need and sells to me at cost.
If you are just starting out I would recommend going to Tandy/Leather Factory. Tandy/Leather Factory stores are all over the country and they generally have people on staff who can help you pick out what you need. 8 oz. veg tan leather is a good all around choice for the type of sheath in this tutorial.
Tools:
Here are the tools I use most.
The tool on the left is a safety skiver, it is used for thinning down or Skiving leather.
On the right is a regular utility knife with replaceable blades. There are many options for cutting leather, but I like these utility knives because they are cheap and the blades are replaceable.
From top to bottom in the middle are:
Bag Punch- These are used to cut slots in leather. They come in various sizes depending on the size of the slot you need.
Stitch Groover- These are used to cut a groove in leather fro laying out the stitch line. By cutting a groove you are able to lay out you line for stitching and the stitching sits in the grove below the surface of the leather, which reduced wear on the thread.
Slicker/Bone Folder- These are used for forming, molding and burnishing leather. Bone folders can be made of many materials; bone, plastic, or in this case hardwood.
Overstitch Wheel- These are used for marking stitch placement and cleaning up lines of stitching.
Edger- These are used to round off the edges of leather.
Drill Press- A drill press is one of the handiest things to have for leather working. A drill press can be used for making holes, sanding, and as a press to install rivets and snaps. I use mine constantly.
Snaps and dies- Snaps are of course used for a variety of purposes on sheaths. The dies are used to install the snaps and rivets, instead of a press I use my drill press.
Belt Sander- Belt sander is handy for evening up edges, especially on thicker sheaths and holsters.
Sewing Machine- In order to sew sheaths you need a heavy duty sewing machine. My machine is a Class III harness machine capable of sewing over 3/4" of leather. Having a sewing machine like this saves a lot of time and effort.
Needles and Thread- Hand-sewing is the best method for stitching leather but is more time and labor intensive. For hand-stitching you need 2 harness needles, wax, and thread. Regular needles will not do the job, harness needles are designed for sewing heavy leather. For thread I use Barbour's linen thread and wax it my self with bees wax.
Adhesives- For permanently bonding leather Barge Cement is the glue of choice. DAP Weldwood contact cement also works very well and is widely available in home improvement stores. Rubber cement is used for temporarily gluing things together or where a less secure bond is acceptable.
Finishes- There are many different kinds of finishes available for leather. I prefer natural finishes. Neatsfoot oil and or vegetable oils, such as olive, canola, etc, are used both to replace oils in leather and to darken leather. You can darken natural leather by oiling it and placing it in the sun. Leather will turn darker just like your skin.
For top finishes I prefer bees wax based finishes such as Montana Pitch Blend or Obenauf's LP. These finishes are god for the leather, natural, and they smell good. These type of finishes provide good water repellency while still allowing the leather to breathe.
Saddle soap is used in the edge burnishing process.
Last edited:


")

")