- Joined
- Oct 30, 2011
- Messages
- 1,648
Just thought I'd share my weekend project. I was all set to buy a Wicked Edge for myself until I had the opportunity to briefly play with one when I visited a local knife shop. I was very unimpressed with all the play in the standard arms. So after a bit of research and a few design iterations I think had a design that would not only have minimal play, but would also be much cheaper to make.
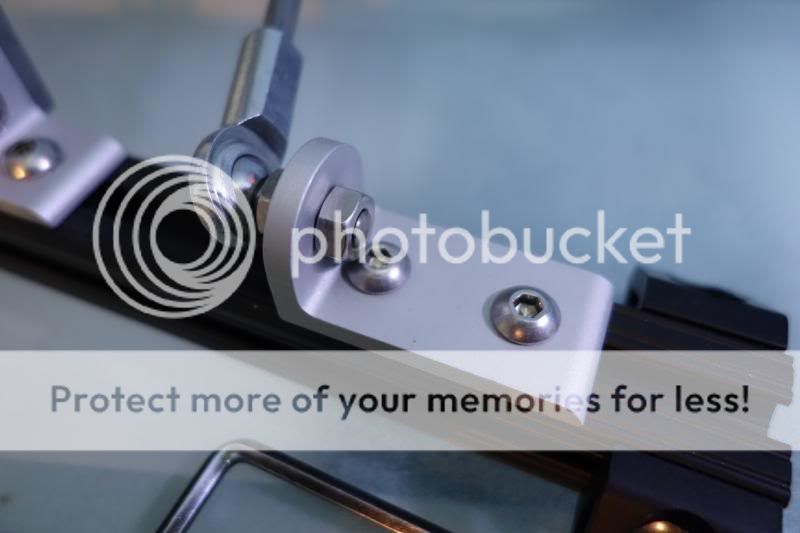
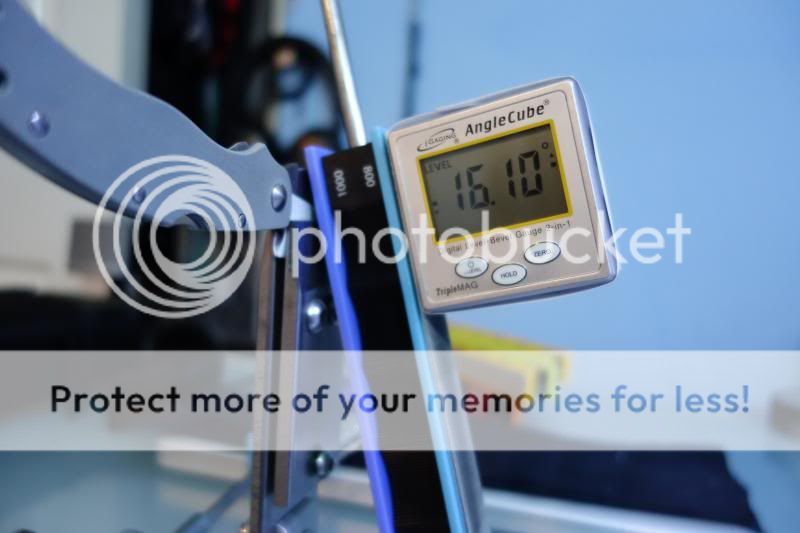
It's pretty self explanatory. The main structure is built using parts made by a company called 80/20. It's basically an industrial erector set. The rail and brackets are made from really nice anodized aluminum. It works perfectly and allows the arms to slide and accommodate any angle you want. The rods are 1/4in in diameter which thread into some precision rod-ends. The clamp was the only thing I had to make from scratch. Its made from some 1/4in x 1.5in steel plate I picked up from the hardware store. Cutting and shaping it was pretty easy with my Dremel and bench grinder. The clamp is 6 inches tall and it's extremely strong. I ground some bevels in the clamp to allow for some nice thin angles. The whole setup is much stiffer than I expected and I'm pretty happy with it. There is literally zero play anywhere. I only have the 1000 grit stones so I cant get those mirror polished edges yet but I have never been able to re-profile an edge so quickly. These diamond stones just chew through steel so fast.
All in all, including the angle cube and not including the stones, I made everything for about $100 bucks. I got everything except the steel plate and some hardware on eBay. I still want to buy a nice heavy cutting board to bolt it down as well as the finer WE stones. If you're even moderately inclined with basic tools and taps I encourage you to try and make something similar for yourself using the 80/20 framework. The hardest part was just figuring out the dimensions and what hardware I needed to make everything fit together nicely and allow clearance for the stones and allen key. Let me know what you think and any suggestions you might have.


-Tony
It's pretty self explanatory. The main structure is built using parts made by a company called 80/20. It's basically an industrial erector set. The rail and brackets are made from really nice anodized aluminum. It works perfectly and allows the arms to slide and accommodate any angle you want. The rods are 1/4in in diameter which thread into some precision rod-ends. The clamp was the only thing I had to make from scratch. Its made from some 1/4in x 1.5in steel plate I picked up from the hardware store. Cutting and shaping it was pretty easy with my Dremel and bench grinder. The clamp is 6 inches tall and it's extremely strong. I ground some bevels in the clamp to allow for some nice thin angles. The whole setup is much stiffer than I expected and I'm pretty happy with it. There is literally zero play anywhere. I only have the 1000 grit stones so I cant get those mirror polished edges yet but I have never been able to re-profile an edge so quickly. These diamond stones just chew through steel so fast.
All in all, including the angle cube and not including the stones, I made everything for about $100 bucks. I got everything except the steel plate and some hardware on eBay. I still want to buy a nice heavy cutting board to bolt it down as well as the finer WE stones. If you're even moderately inclined with basic tools and taps I encourage you to try and make something similar for yourself using the 80/20 framework. The hardest part was just figuring out the dimensions and what hardware I needed to make everything fit together nicely and allow clearance for the stones and allen key. Let me know what you think and any suggestions you might have.


-Tony
Last edited:
