- Joined
- Nov 15, 2005
- Messages
- 1,201
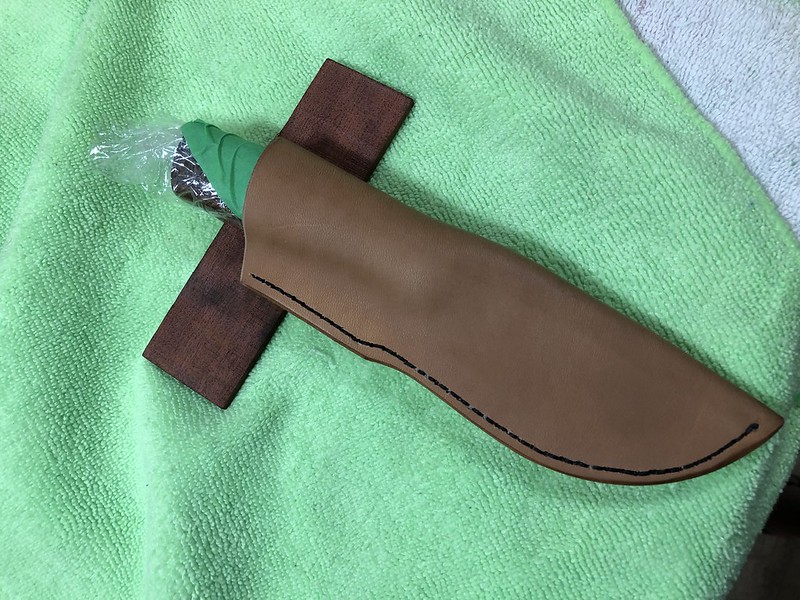
Round Two!
I was slightly parinoid this time around... so I just laid out a towel

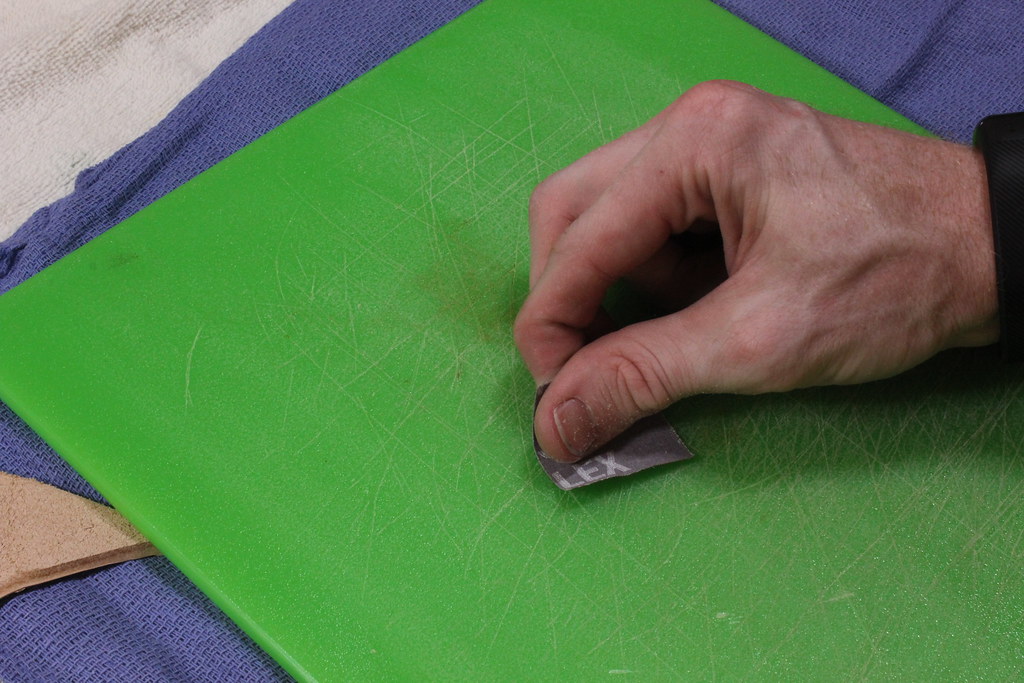
I also took some sandpaper to the cutting board to make it uber smooth
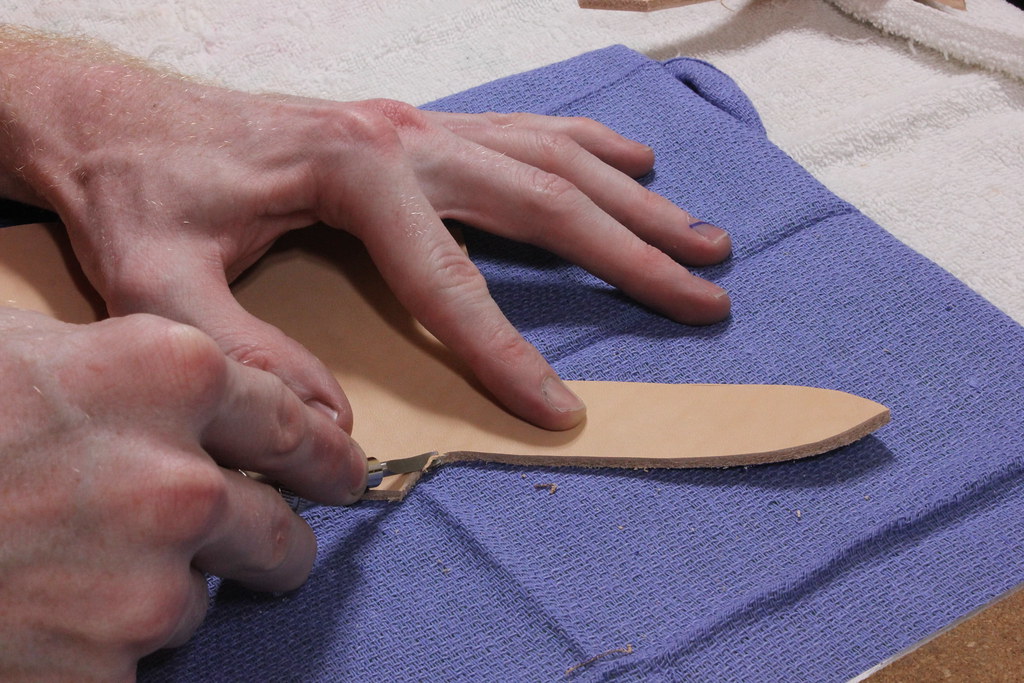
I found it way easier to cut the leather from the back. I also took more care this time around for making square cuts.

Marked out the welt with a sharpie

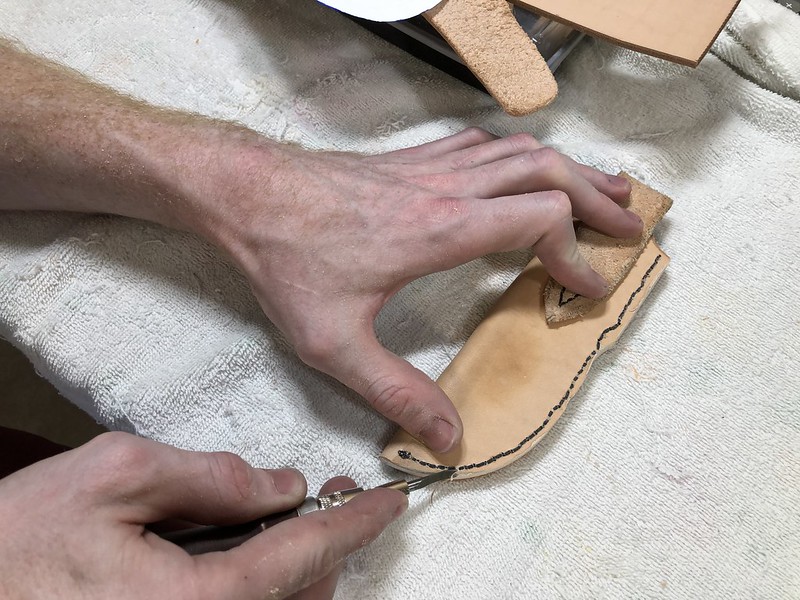
I did do a little center line gouge. I'll try without this next time!
Used the Edge Beveler for the top lip of the sheath and belt loop (both sides)
Dampened the loop and edges for folding and burnishing


Scratched out where I'll be gluing

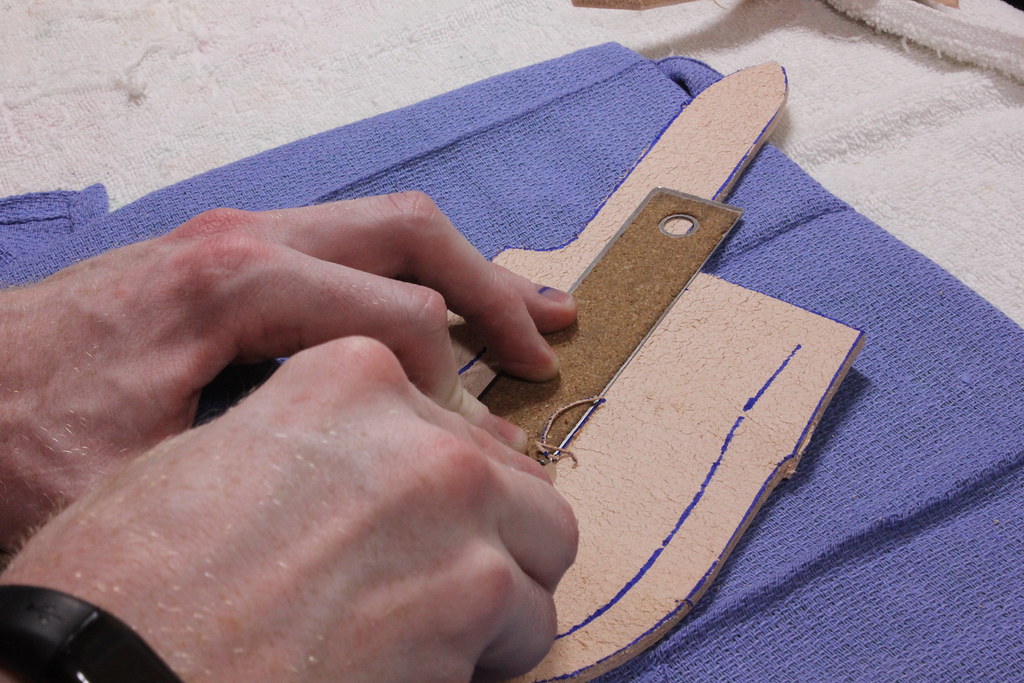
Glued the loop and clamped it

Glued the welt, hammered it, and clamped it


Observations:
Thanks for all the help in this thread!
JK
Edit:
I was slightly parinoid this time around... so I just laid out a towel
I also took some sandpaper to the cutting board to make it uber smooth
I found it way easier to cut the leather from the back. I also took more care this time around for making square cuts.
Marked out the welt with a sharpie
I did do a little center line gouge. I'll try without this next time!
Used the Edge Beveler for the top lip of the sheath and belt loop (both sides)
Dampened the loop and edges for folding and burnishing
Scratched out where I'll be gluing
Glued the loop and clamped it
Glued the welt, hammered it, and clamped it
Observations:
- It was tough to get the edges smooth while burninshing... I now see why yall set up "power burnishers!" I'll have to get some Wyo QuikSlik and see if that helps.... Still have some fuzzes in there.
- A round knife would probably be pretty helpful! I was precarious cutting some of these rounded curves.
Thanks for all the help in this thread!
JK
Edit:
- Yall normally let the contact cement dry for 24 HRS?
- Should I Neatsfoot oil the inside of the sheath before folding?