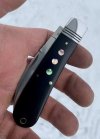
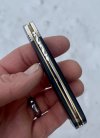
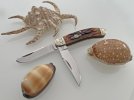
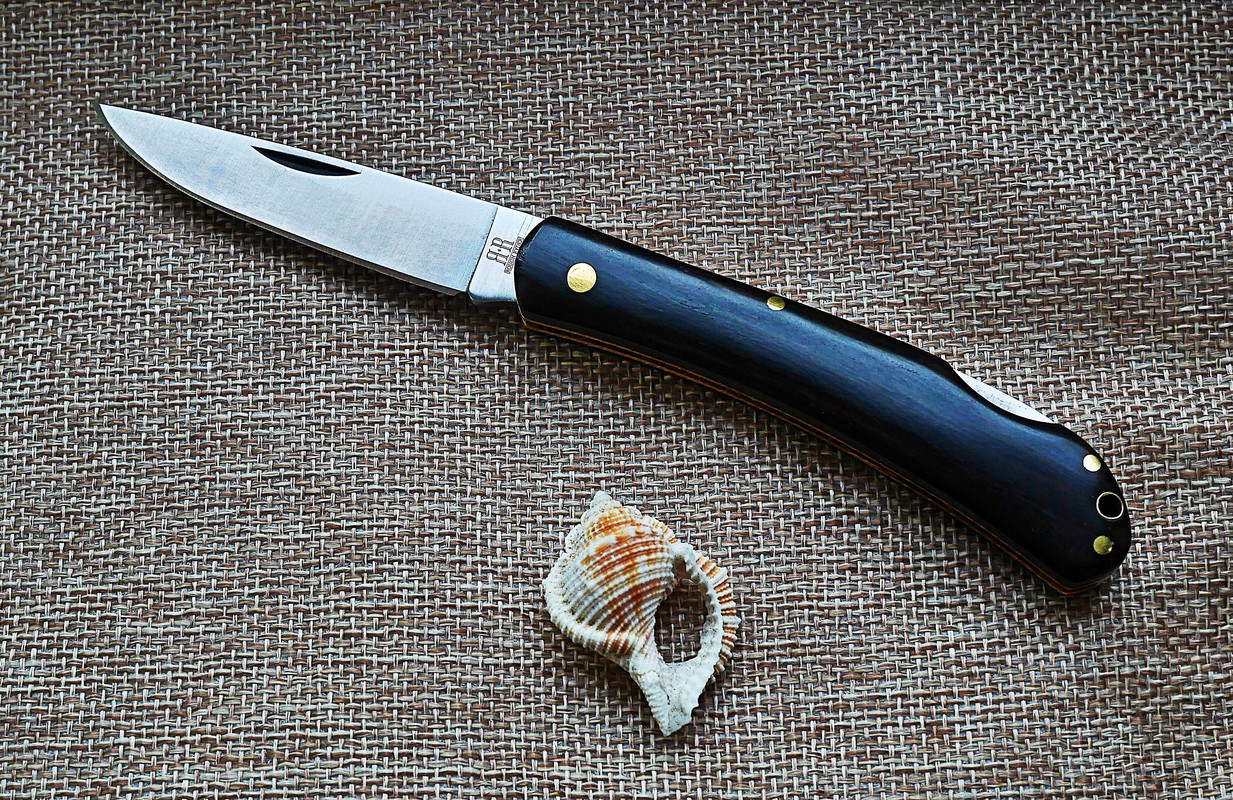
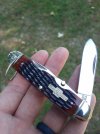
I have this Canoe,They only made 300 and the build is faultless.I ordered some knives recently, including some Rough Riders. I don't have photos of them yet, except for this Rough Rider 3-blade canoe with black lip pearl covers. It's enormous, excessive, entertaining, and enchanting!With its large size (4 5/8" closed and .65 lbs) and 3 blades (spear, spey, sheep), it can be called a gunboat canoe, I think. It's also the most expensive RR I've ever bought (except for some discontinued stag models that I desired very highly
).
View attachment 1142282
View attachment 1142283
View attachment 1142281
- GT
-
The BladeForums.com 2024 Traditional Knife is available! Price is $250 ea (shipped within CONUS).
Order here: https://www.bladeforums.com/help/2024-traditional/
You are using an out of date browser. It may not display this or other websites correctly.
You should upgrade or use an alternative browser.
You should upgrade or use an alternative browser.
Rough Rider & Related Slipjoints
- Thread starter dalee100
- Start date
- Joined
- Feb 6, 2014
- Messages
- 10,774
- Joined
- May 14, 2012
- Messages
- 12,380
- Joined
- Feb 6, 2014
- Messages
- 10,774
draggat
Gold Member
- Joined
- Jul 26, 2010
- Messages
- 3,068
I posted in the wrong thread yesterday, but it really belongs here.
I picked up a few of the Cinnamon Bone Stag series recently. One of the knives had a really gritty opening so I used some dish soap, hot water and a toothbrush to scrub it.
Wouldn't you know, the black stuff on the 'stag' rubbed off pretty easily. It also left the knife looking fairly unattractive. Further experimentation revealed that the black stuff is soluable in rubbing alcohol. So, I went through a couple of them with the toothbrush and alcohol.
Ultimately, that black stuff appears to be a paste of sorts rather than an actual dye. It didn't penetrate the bone at all. The rest of the colors are actually flame burned, so there is no real dye on these.
Here's the Barlow post alcohol scrub. Sorry for the crummy photos.... I had bad lightning and wanted to get it into it's new suit ASAP.
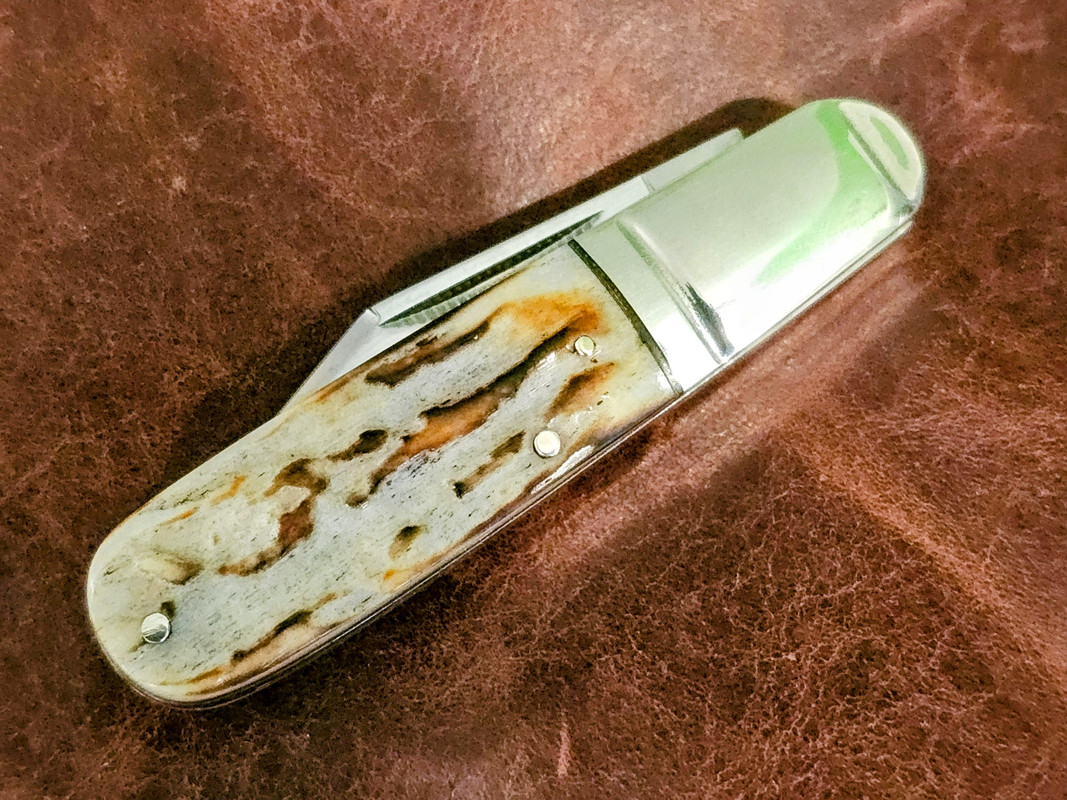
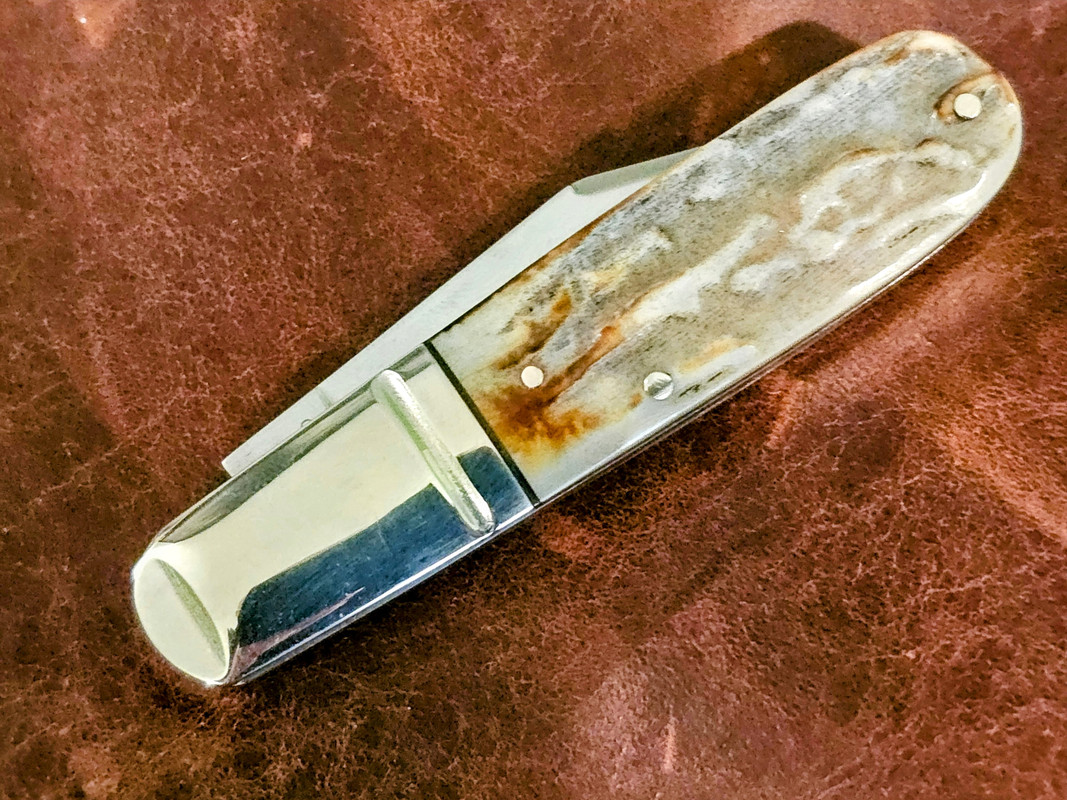
I forgot to take photos of every knife in every stage, but here's the Cinnamon Bone Stag Bow Trapper post alcohol scrub, soaking in yellow dye..... on to a few different brown tones after this..... Usually the knife has to soak for at least 24 hours to get good saturation. The leather dye is alcohol based so I seal it up in a ziplock bag. This is so the dye won't evaporate, dry out, or absorb any moisture from the air.
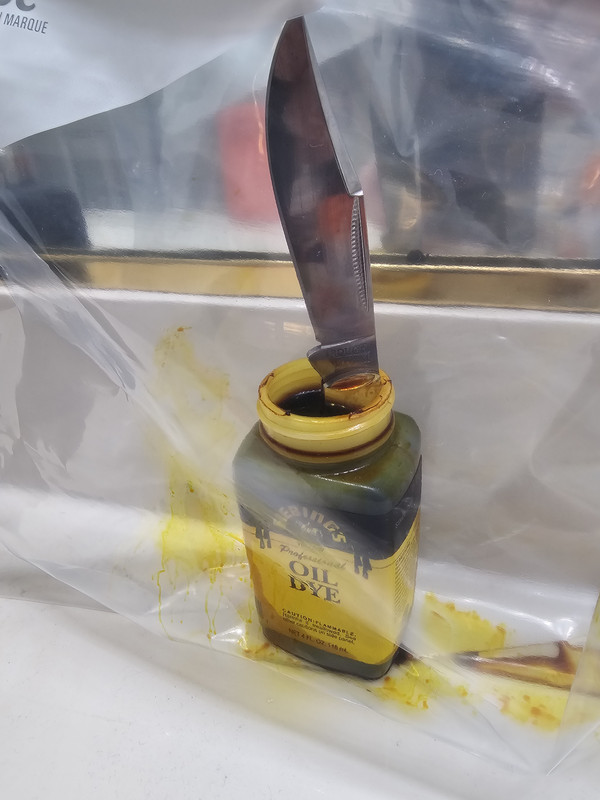
For some reason, California has decided I can't buy Fiebings leather dye here any more so I used this one from Angelus, which seems to give similar results. Smells about the same as Fiebings..... go figure.
This color is called Brick.
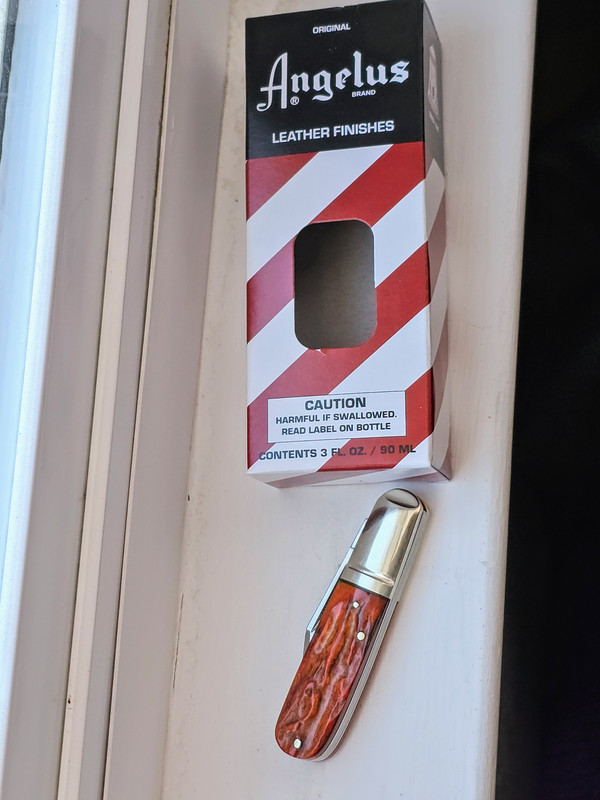
Once I'm satisfied with the color saturation, the knife goes into a clean ziplock bag and multiple rubbing alcohol rinses until it runs clear. Then it's polished with a bit of flitz and a polishing pad on the dremel.
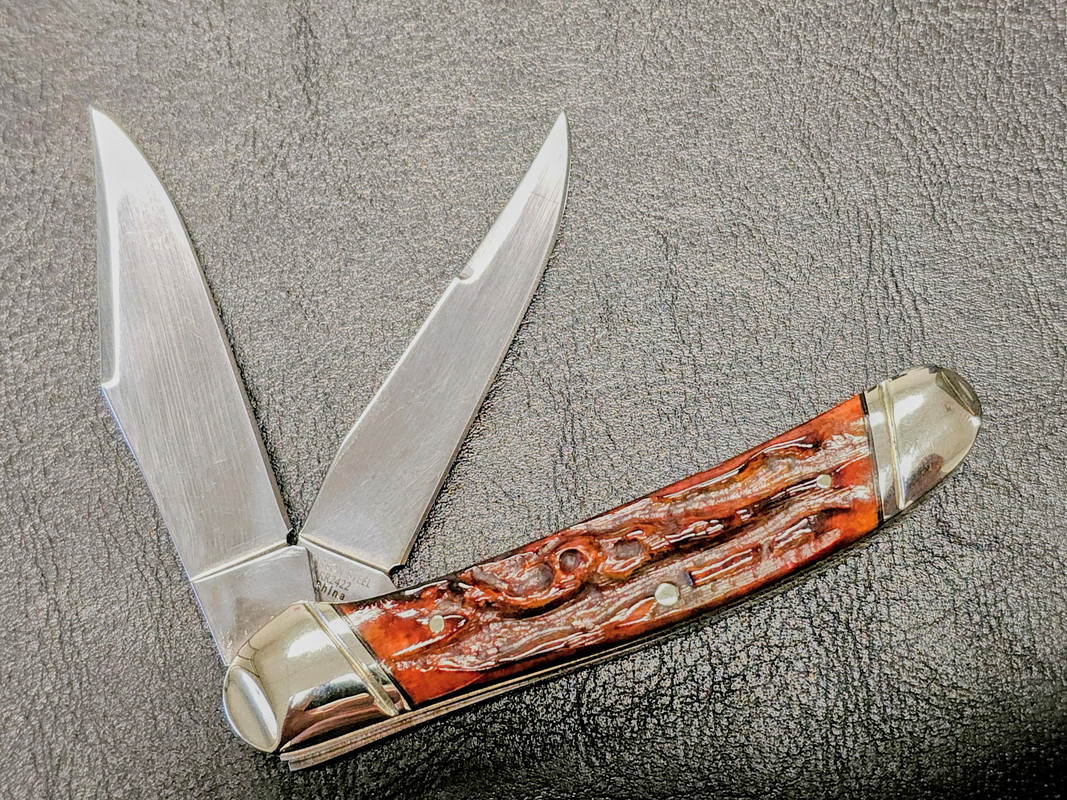
An observant eye will notice that these handle covers are obviously cut with a computer controlled mill. Not only can you see the straight lined grooves in the recesses, but it's also the same exact 'stag' pattern on each side. This is true of all the Cinnmon Bone Stag knives. The grooves were more noticeable after the dyeing process, so I rolled up some 320 grit sandpaper and did the best I could without obliterating the shape too much. In hand with my crummy eyesight, the grooves aren't too noticeable.
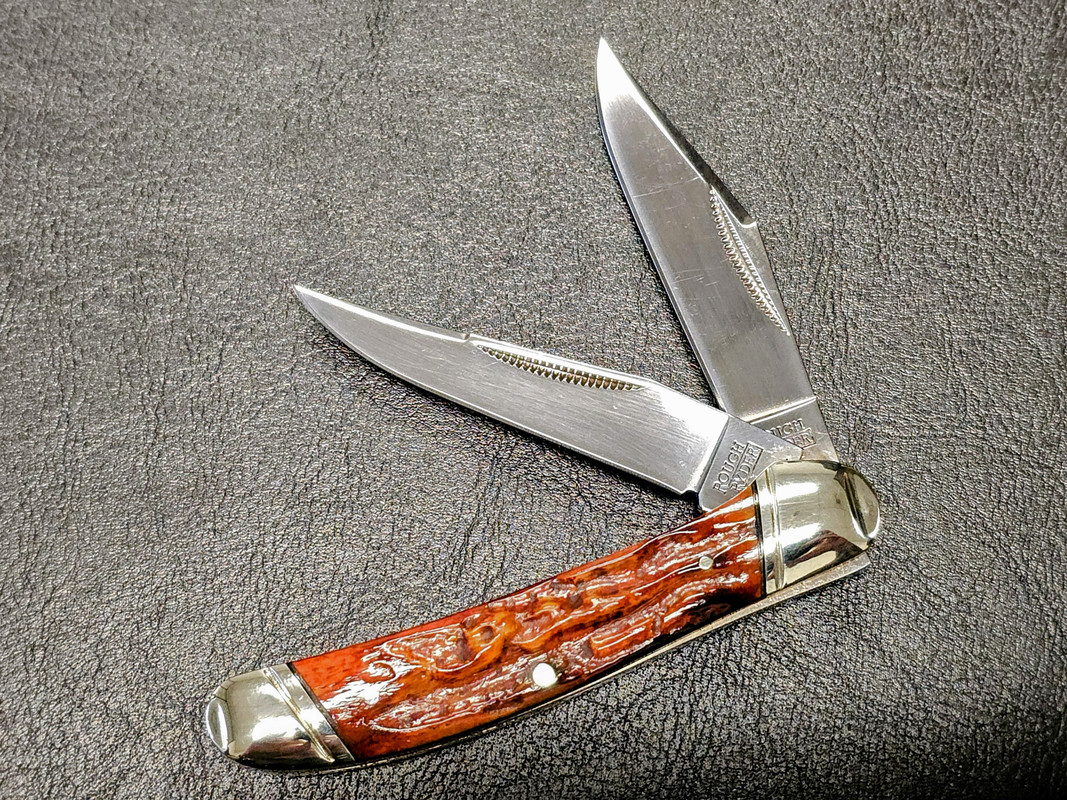
Final result....
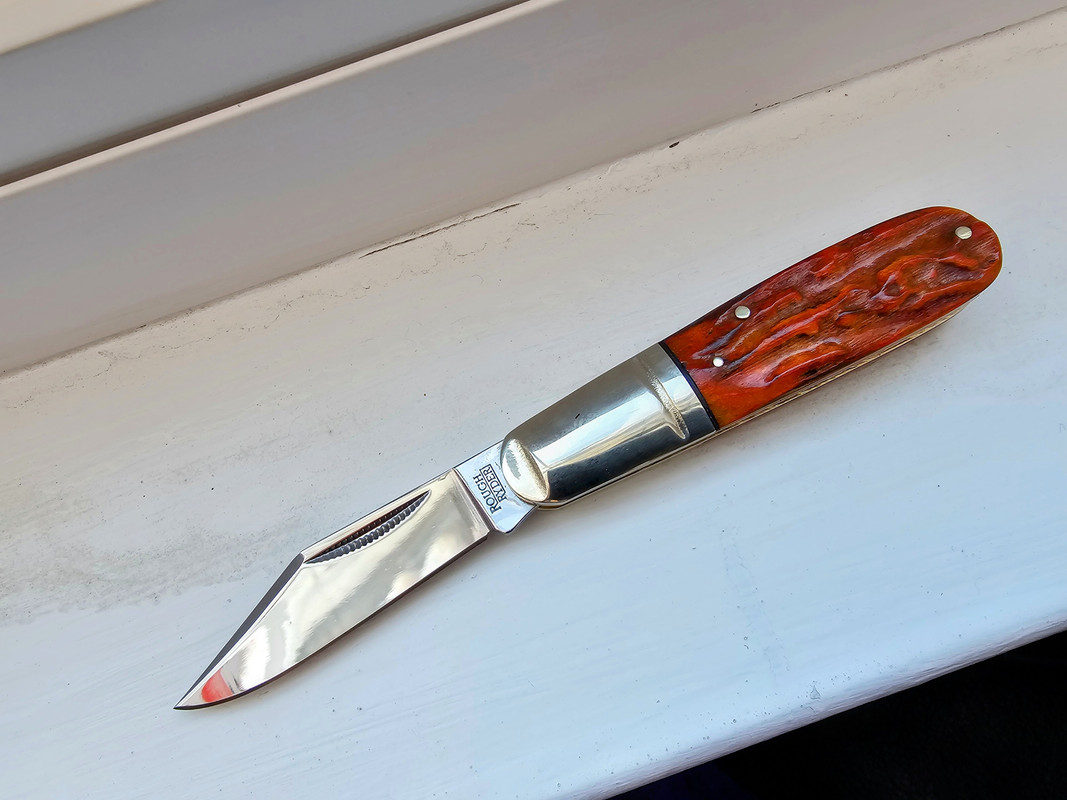
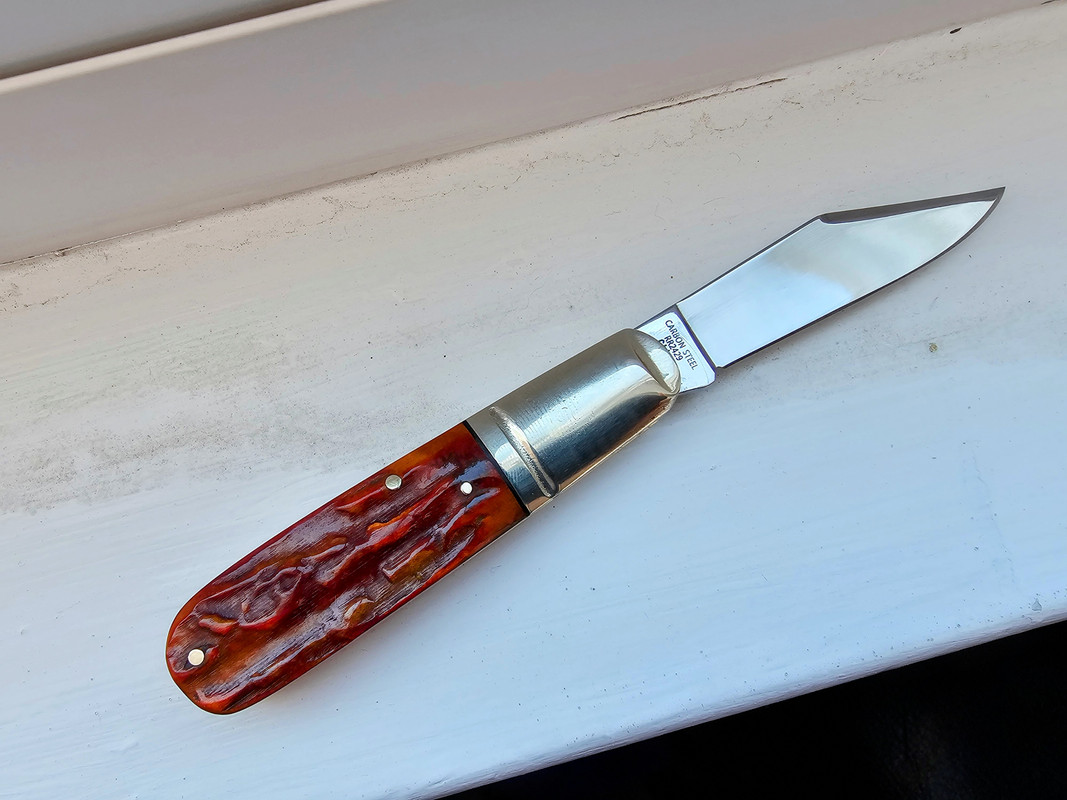
I'll post the Bow Trapper at some point after it's finished.
Hope that wasn't too long winded.... the whole process is actually rather simple and yields much better results than using RIT..... no boiling water and no salt or corrosion to worry about!
I picked up a few of the Cinnamon Bone Stag series recently. One of the knives had a really gritty opening so I used some dish soap, hot water and a toothbrush to scrub it.
Wouldn't you know, the black stuff on the 'stag' rubbed off pretty easily. It also left the knife looking fairly unattractive. Further experimentation revealed that the black stuff is soluable in rubbing alcohol. So, I went through a couple of them with the toothbrush and alcohol.
Ultimately, that black stuff appears to be a paste of sorts rather than an actual dye. It didn't penetrate the bone at all. The rest of the colors are actually flame burned, so there is no real dye on these.
Here's the Barlow post alcohol scrub. Sorry for the crummy photos.... I had bad lightning and wanted to get it into it's new suit ASAP.


I forgot to take photos of every knife in every stage, but here's the Cinnamon Bone Stag Bow Trapper post alcohol scrub, soaking in yellow dye..... on to a few different brown tones after this..... Usually the knife has to soak for at least 24 hours to get good saturation. The leather dye is alcohol based so I seal it up in a ziplock bag. This is so the dye won't evaporate, dry out, or absorb any moisture from the air.

For some reason, California has decided I can't buy Fiebings leather dye here any more so I used this one from Angelus, which seems to give similar results. Smells about the same as Fiebings..... go figure.
This color is called Brick.

Once I'm satisfied with the color saturation, the knife goes into a clean ziplock bag and multiple rubbing alcohol rinses until it runs clear. Then it's polished with a bit of flitz and a polishing pad on the dremel.
An observant eye will notice that these handle covers are obviously cut with a computer controlled mill. Not only can you see the straight lined grooves in the recesses, but it's also the same exact 'stag' pattern on each side. This is true of all the Cinnmon Bone Stag knives. The grooves were more noticeable after the dyeing process, so I rolled up some 320 grit sandpaper and did the best I could without obliterating the shape too much. In hand with my crummy eyesight, the grooves aren't too noticeable.
Final result....


I'll post the Bow Trapper at some point after it's finished.
Hope that wasn't too long winded.... the whole process is actually rather simple and yields much better results than using RIT..... no boiling water and no salt or corrosion to worry about!
CVamberbonehead
Gold Member
- Joined
- Nov 6, 2017
- Messages
- 2,244
bladesmith3
Gold Member
- Joined
- Mar 8, 2015
- Messages
- 927
looks nice. 

bladesmith3
Gold Member
- Joined
- Mar 8, 2015
- Messages
- 927
i have to stop looking at this thread. i want most of what i see. lol
black mamba
Gold Member
- Joined
- Oct 21, 2009
- Messages
- 23,595
That's a stunner, Ed, congrats!
afishhunter
Basic Member
- Joined
- Oct 21, 2014
- Messages
- 14,787
RR are a wabbit hole of their own.i have to stop looking at this thread. i want most of what i see. lol
Welcome!
At least this wabbit hole (usually) won't bankrupt the bank.
draggat
Gold Member
- Joined
- Jul 26, 2010
- Messages
- 3,068
You aren't kidding! Despite my Bone Stag woes, these are actually pretty fantastic knives. I'm actually not disappointed by the bone stag.... I look at it as an opportunity to make them unique and I'm very pleased with the results so far. Nothing quite like doing a little modification to make a knife special.RR are a wabbit hole of their own.
Welcome!
At least this wabbit hole (usually) won't bankrupt the bank.
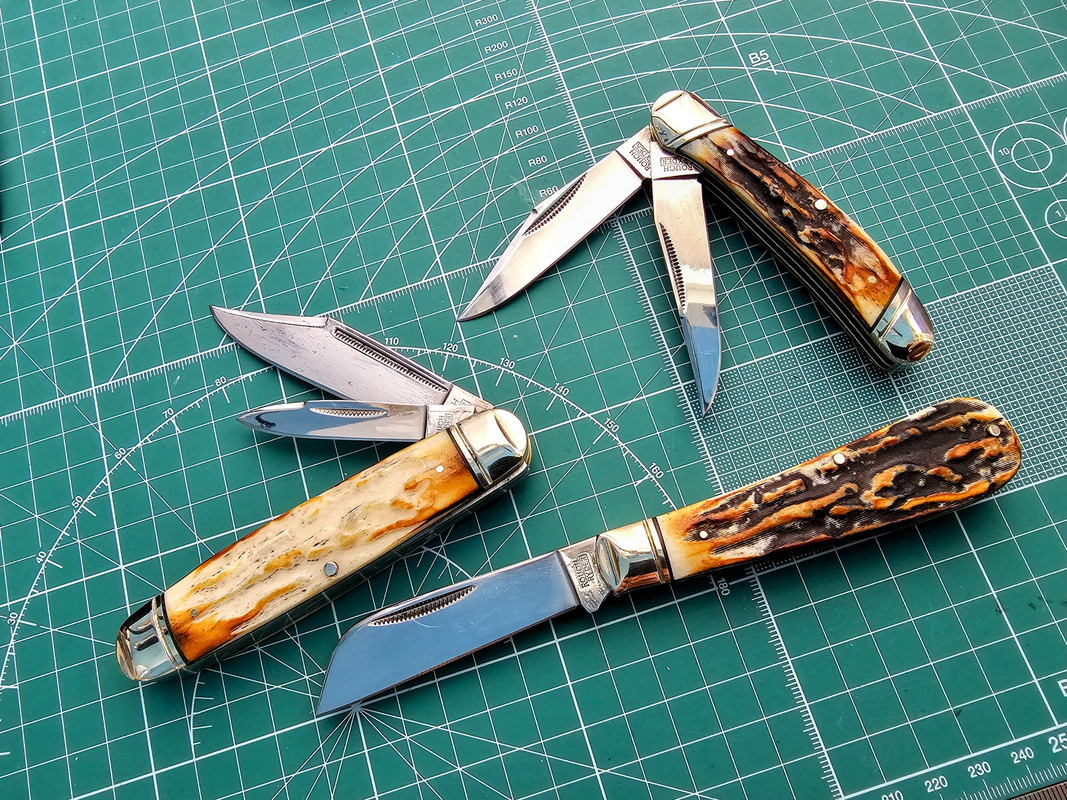
These look a little rough, but they will be wearing new suits in no time! BTW, aside from the black paste coming off, these are all excellent examples..... love em!
RickHuf
Gold Member
- Joined
- Jan 19, 2023
- Messages
- 2,156
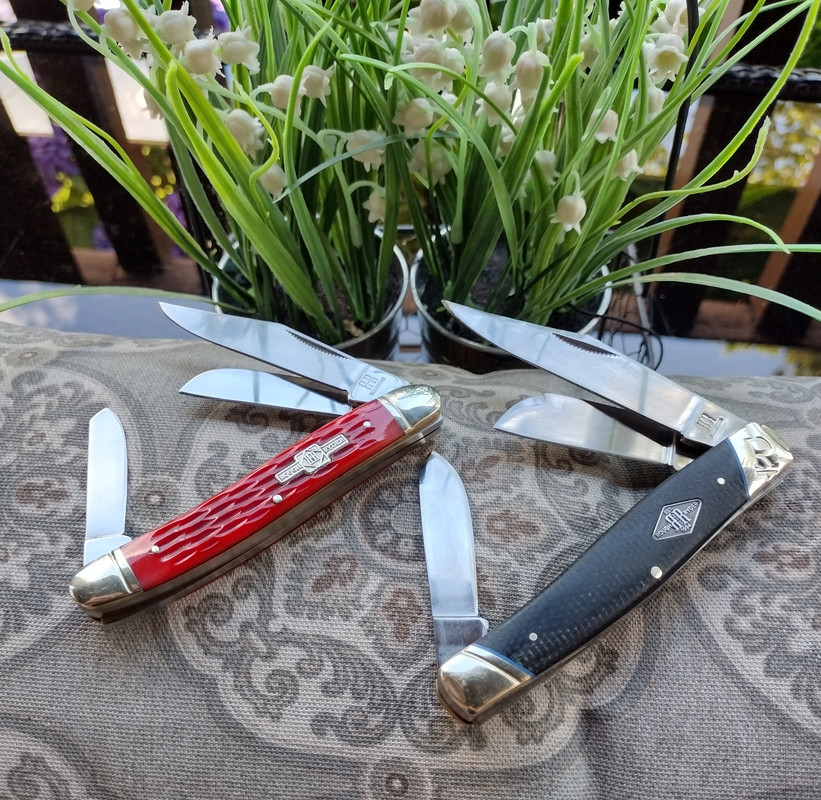
These two are excellent. The large one is basically a 1 for 1 copy of the case large stockman where it even fits into the same wet formed leather sheath.
The red one is about the same as a #47 except it has two springs.
After rounding all of the sharp edges and spending a little time on these, they are very nice knives. If that large one didn't have the stupid R in the bolster I'd probably carry it all the time. I don't know why that bothers me so much but it does lol!
- Joined
- Mar 26, 2003
- Messages
- 6,793
I just received this interesting RR745 Two Blade Melon Tester knife. It is just over 5 inches long closed, the blade is a bit over 4 from tip to handle, close to 9.125 inches long open.
The secondary blade is serrated for light pruning it seems.
I like its long slender profile, I think it will come in handy in a number of applications. It's fit and finish are nice.


The secondary blade is serrated for light pruning it seems.
I like its long slender profile, I think it will come in handy in a number of applications. It's fit and finish are nice.


Are those even actual bone? I see some strange striations in the troughs that look like 3D printing to me. Also, the best I can tell between several instances of the same knife, the "bone" scales all seem to be exactly the same. Haven't checked more than the 3 stockmans (stockmen?) I have.You aren't kidding! Despite my Bone Stag woes, these are actually pretty fantastic knives. I'm actually not disappointed by the bone stag.... I look at it as an opportunity to make them unique and I'm very pleased with the results so far. Nothing quite like doing a little modification to make a knife special.
These look a little rough, but they will be wearing new suits in no time! BTW, aside from the black paste coming off, these are all excellent examples..... love em!

draggat
Gold Member
- Joined
- Jul 26, 2010
- Messages
- 3,068
Are those even actual bone? I see some strange striations in the troughs that look like 3D printing to me. Also, the best I can tell between several instances of the same knife, the "bone" scales all seem to be exactly the same. Haven't checked more than the 3 stockmans (stockmen?) I have.
Yes, they are real bone, amazingly enough. However, they appear to be milled with a computerized program and are identical on each side. I'm going through each one and stripping the black off, grinding out the straight lines with a dremel and re-dying them. I'll post some more pics when I get a chance to take some good ones. Can't expect too much for the price.

