deerrockknives
Only thing I’m sure about, I know nothing for sure
Knifemaker / Craftsman / Service Provider
- Joined
- Mar 2, 2020
- Messages
- 520
The BladeForums.com 2024 Traditional Knife is ready to order! See this thread for details:
https://www.bladeforums.com/threads/bladeforums-2024-traditional-knife.2003187/
Price is $300 ea (shipped within CONUS). If you live outside the US, I will contact you after your order for extra shipping charges.
Order here: https://www.bladeforums.com/help/2024-traditional/ - Order as many as you like, we have plenty.
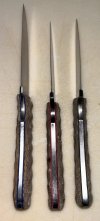
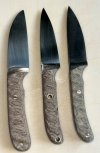
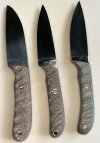
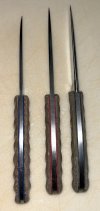


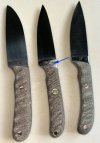
![IMG_0633[1].JPG IMG_0633[1].JPG](https://www.bladeforums.com/data/attachments/2289/2289763-e9f244cdf0e2440180d679fcc9a68f30.jpg?hash=6fJEzfDiRA)
Only thing left to do with these three are making a Kydex sheath and putting the edge on. The two drop points are CPM-154 and the Wharncliff is AEB-L. All have canvas micarta w/ fiber liners pinned and epoxied. CPM-154 HT by Peters to Rc~59
AEB-L HT by Bos to ~61
As always critiques/comments are always appreciated.
View attachment 2597484View attachment 2597485View attachment 2597486View attachment 2597487
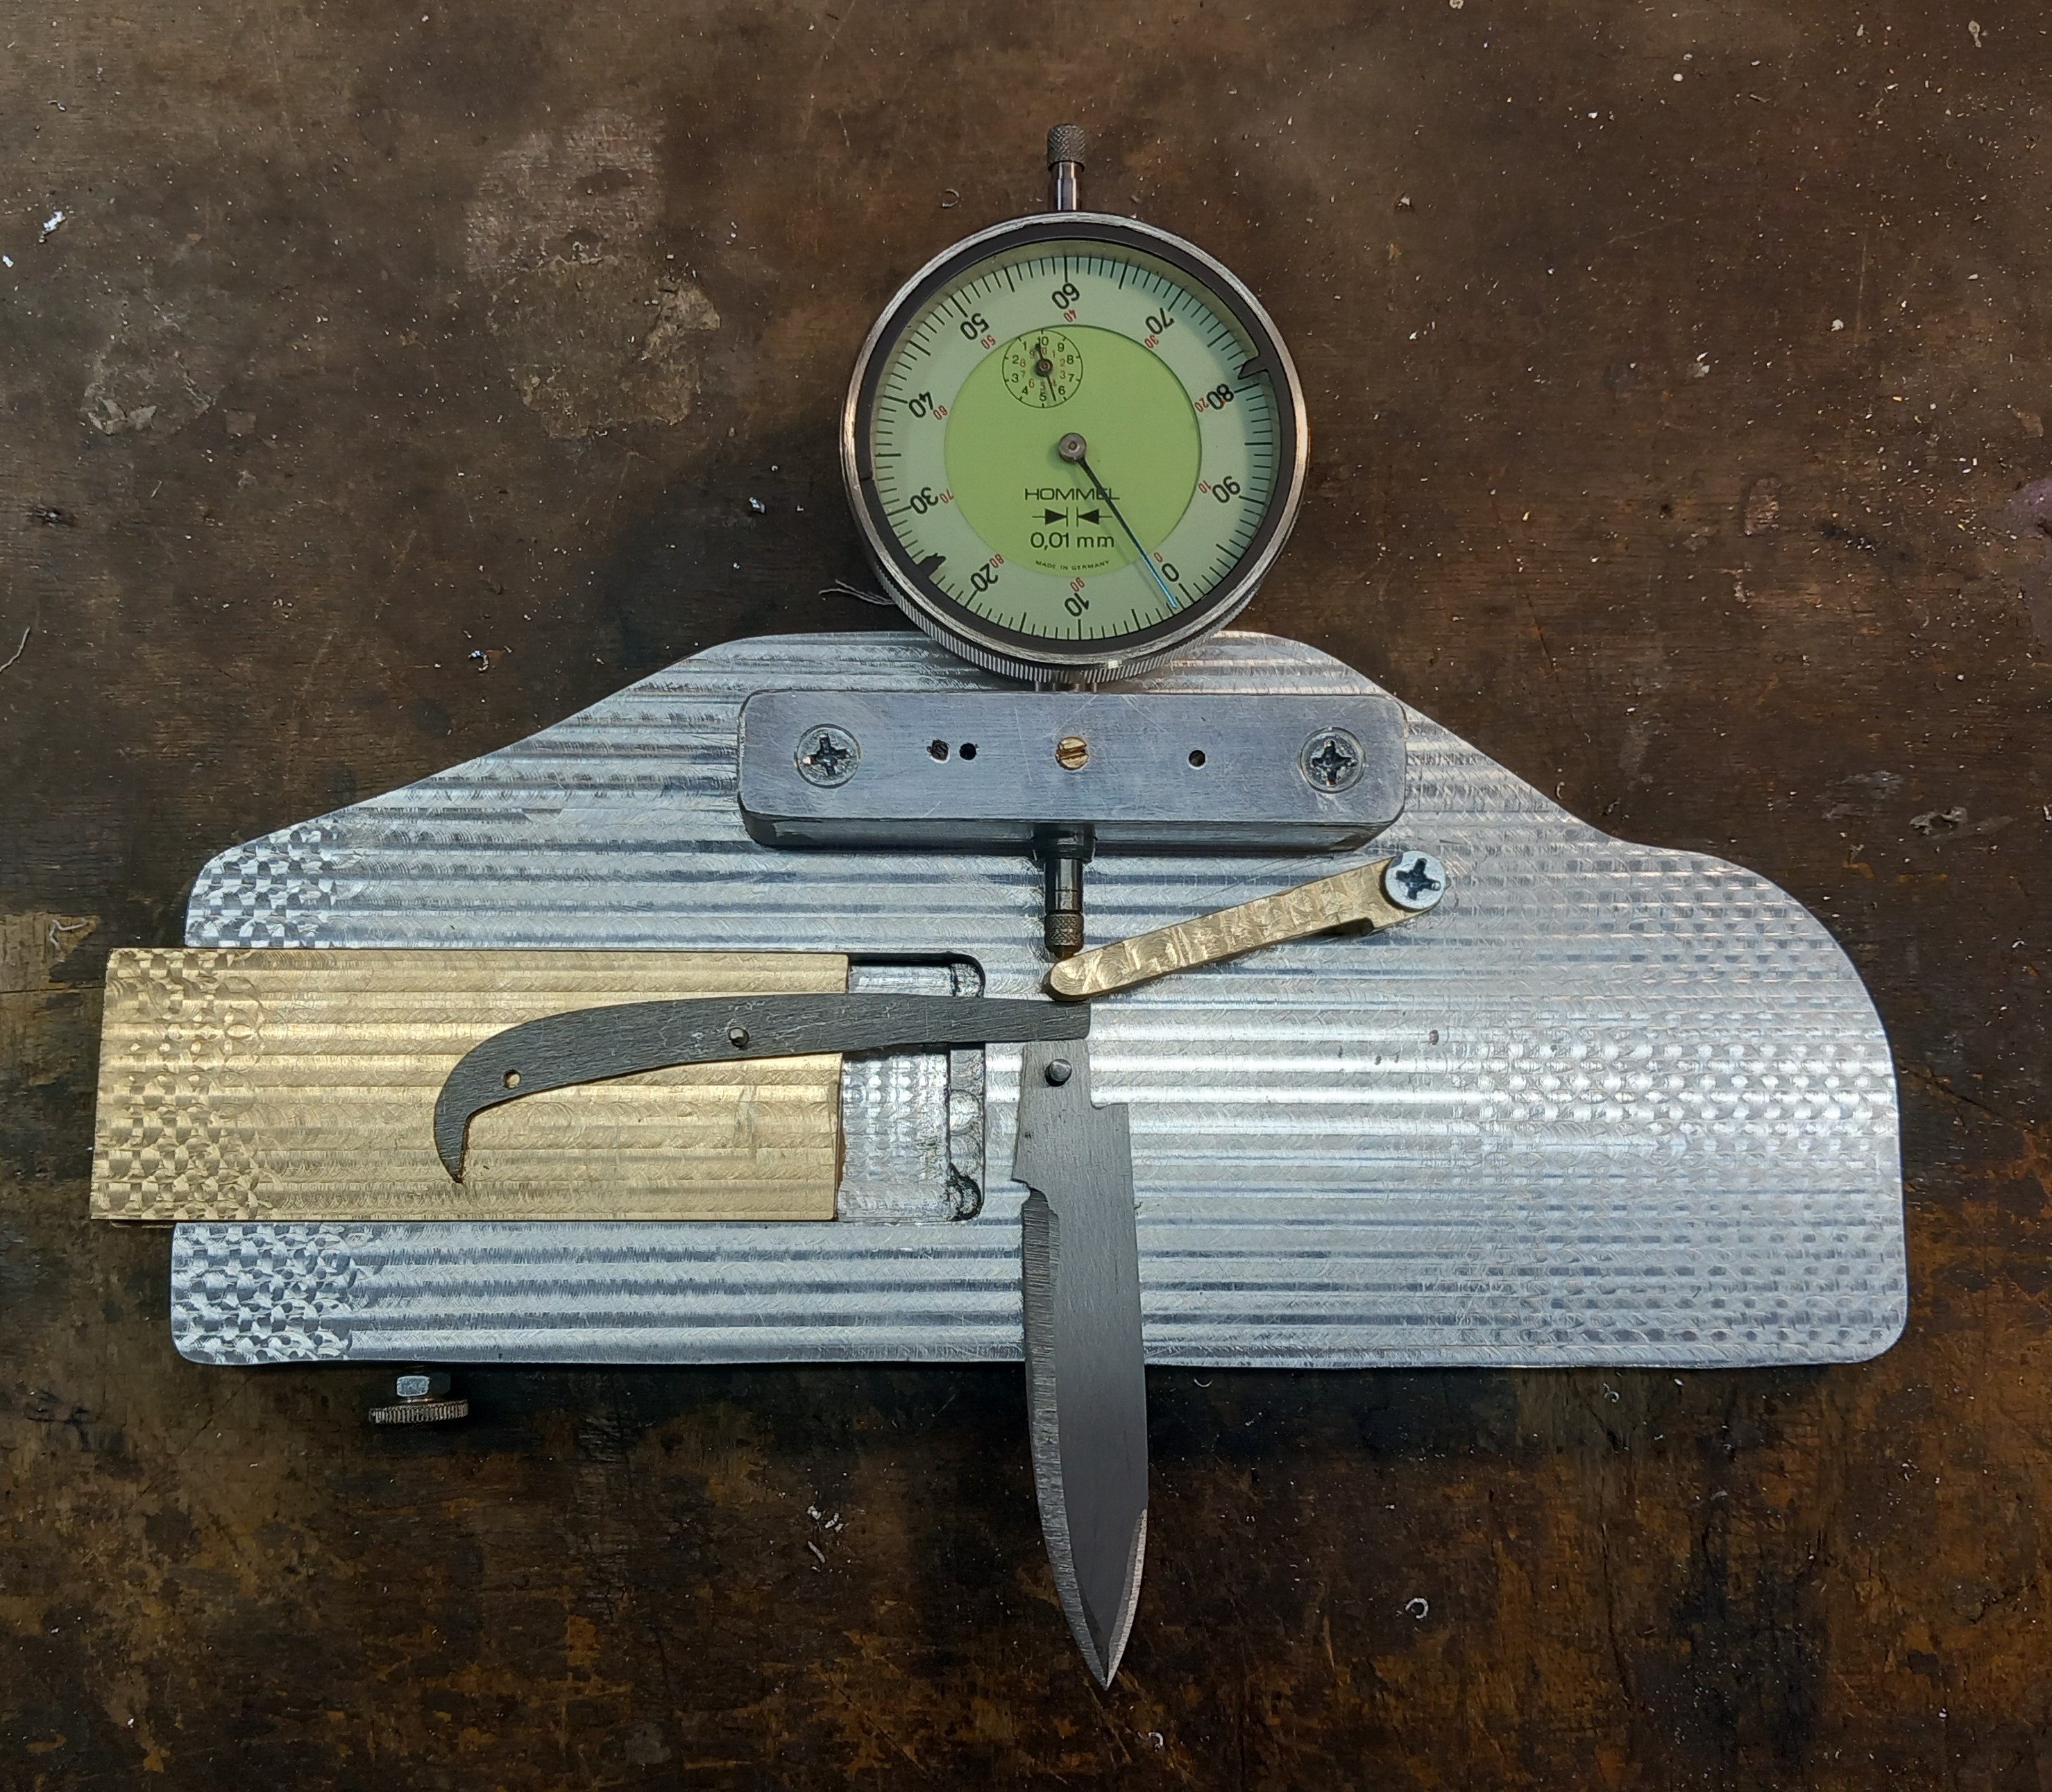
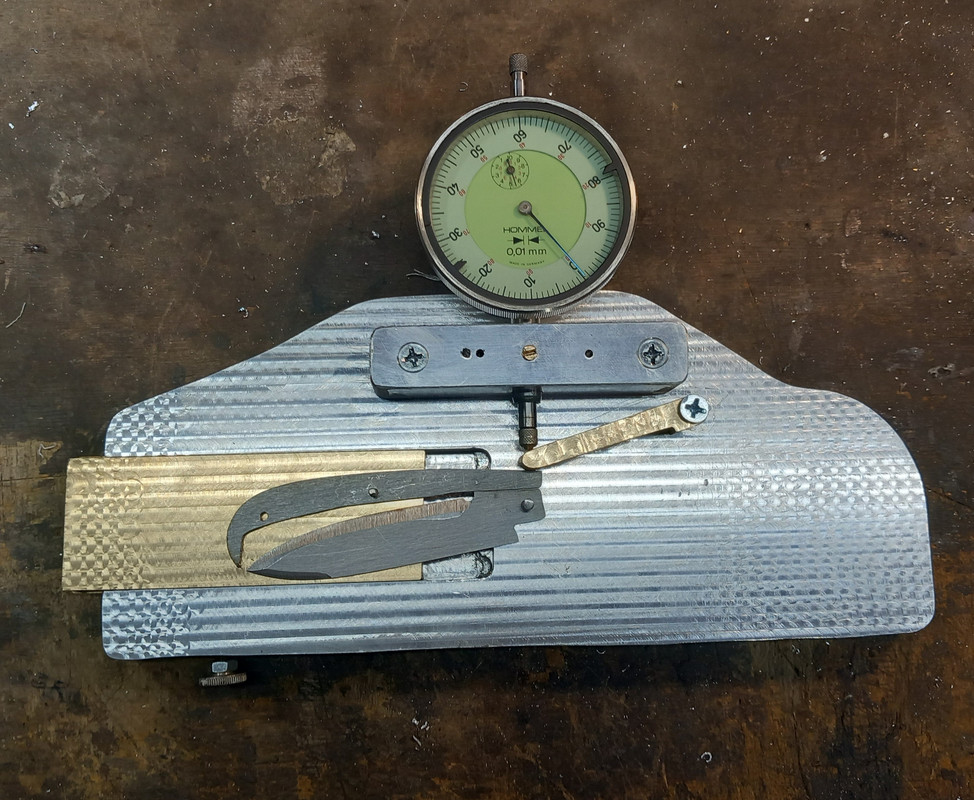
I have not but thanks for the tip. I’ll definitely give it a try. That is one area that has always been tricky for me to get cleaned up and not lose my stamp. Lately I’ve been trying to clean up that area, to at least 400 grit, prior to stamping/ HT.The flats at the choil look like they have scratches. Have you ever tried flattening the sides before putting the handles on. I use a magnet on one side so I can press the other side against the flat platten. One can go as high grit wise as
needed. Afterwards you just have to try not to touch that area again so it helps to finish that end of the handle material
View attachment 2598264
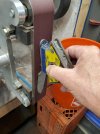

Works great for epoxied scales but if you try that with removable scales you will have air gaps between them and the tang. Just an fwiw for anyone reading"I started doing rough grinding on the blade, then cleaning up the tang area parallel to the belt on the glass platen to A30 belts (Trizact Gators usually) and then do the final grinds on the blade."
Exactly.
If you do the final grinds on the bevel first, when you flatten the sides it can change the flat/bevel transition. Then you have to keep messing with it to make the bevels on both sides of the knife the same.
Like I said, I use a good sized magnet to hold the blank. Also sanding point down seems to work best. It flattens the sides and keeps from washing out or rounding off the grind line.
One could probably do this after the makers stamp. It will sand down the high spots pushed up by the stamp.
View attachment 2598456
Ok this one might hurt some of your brains, LOL. Was making a set of knives for a client and messed up on scales and instead of starting over I just rolled with it.
There were two knives I was making and this is the second one that I finished yesterday. Hopefully I learned my lesson but only time will tell. It has been hundreds of knives since I last screwed up on scales.You've done this before?
Haha, not the messing up....but, the mixed scales?
