I'd love to find someone teach me how to "spot anneal" a file so it could be drilled and tapped.
Allan,it's very easy.
(apologies to all you guys for interrupting a great woodworking conversation,just a quick word on metal).
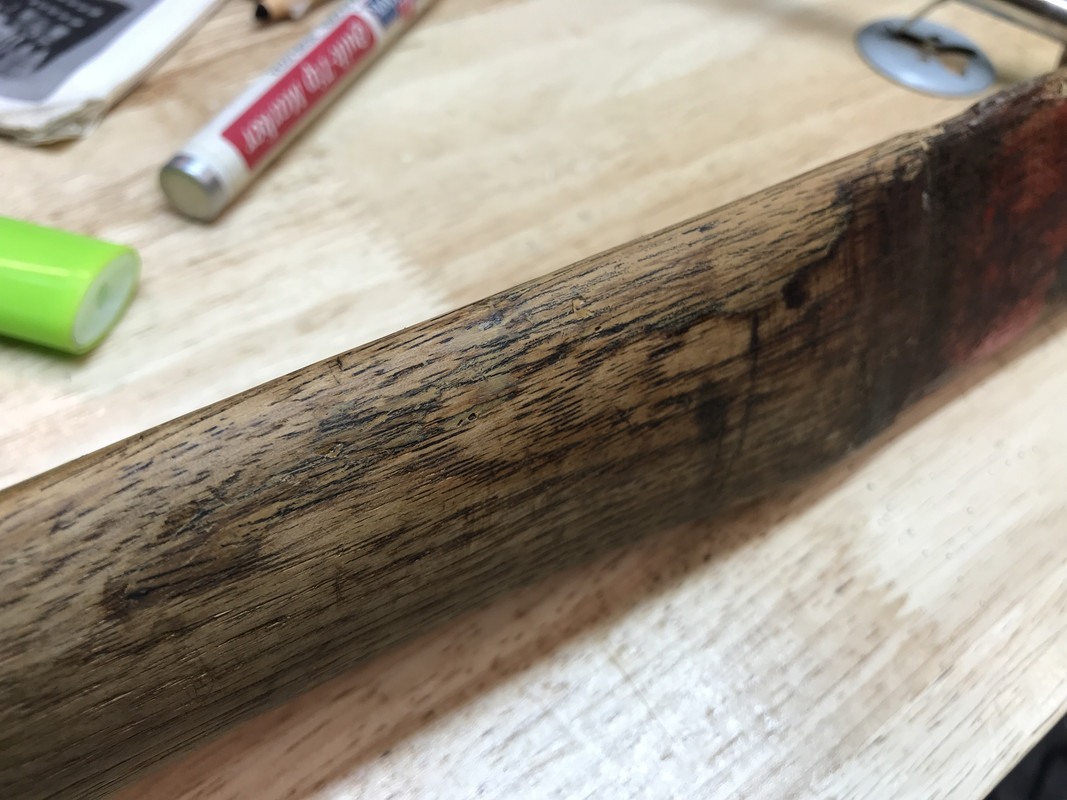
I'd presume that the handle-part of a knife made of file would be ground bright.(if not,a quick grind of even the surface of file-tips would suffice).
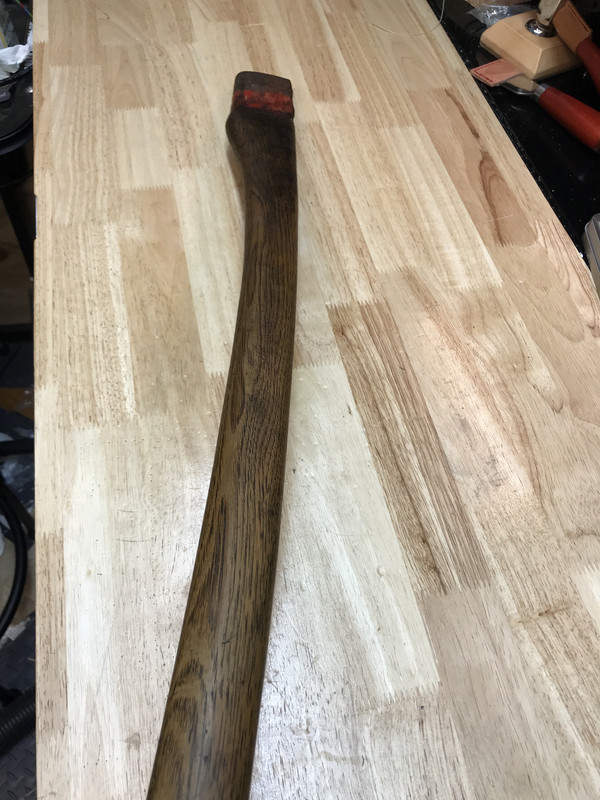
You can place it in a vice,gripping it in the ricasso area.(knives generally are fully annealed from ricasso down).
Starting at pommel end you start playing the flame of a propane torch along a couple inch length of material.
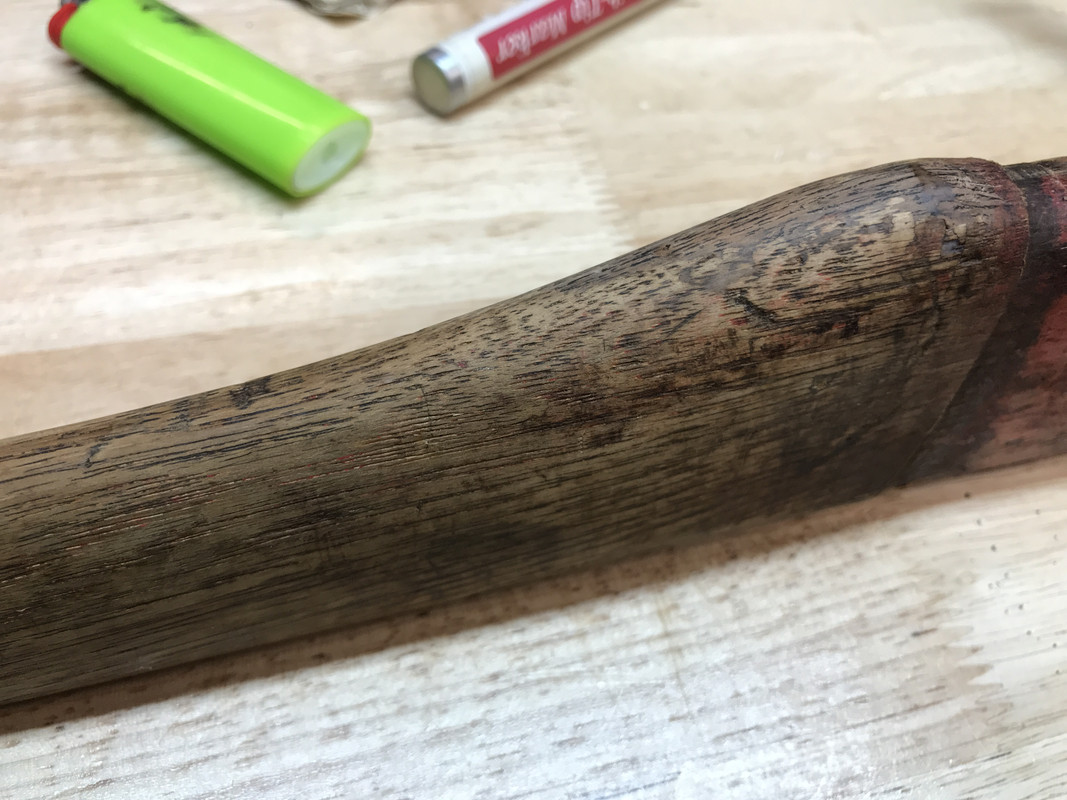
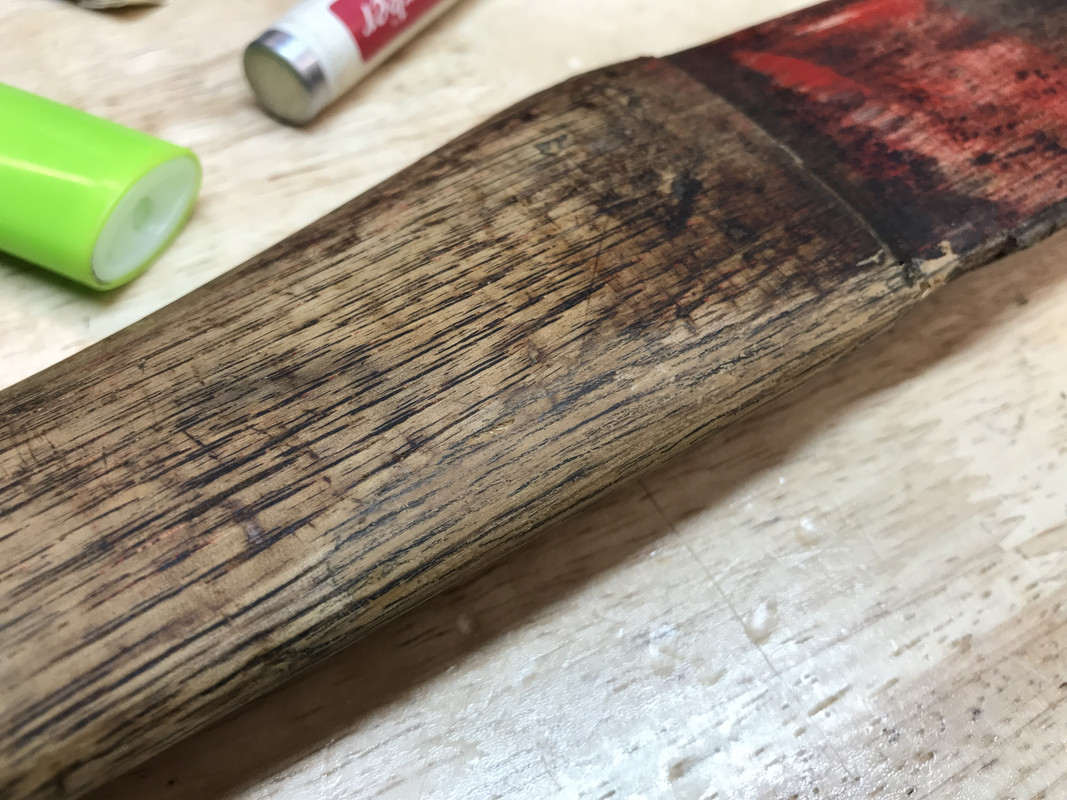
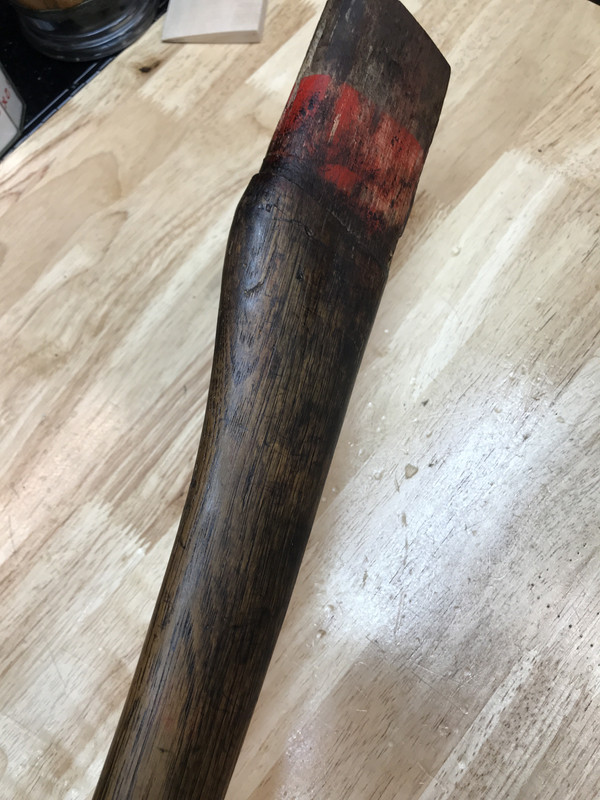
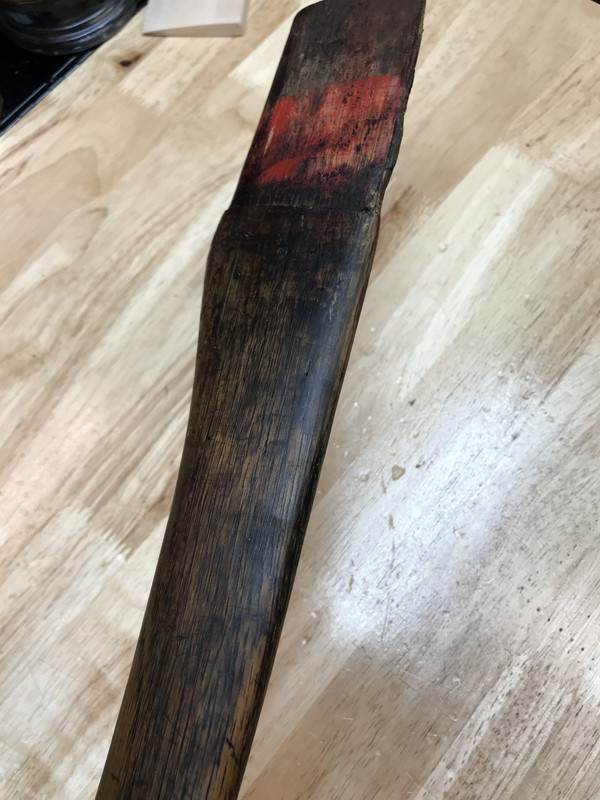
As seen on the bright,(shiny) surface,you'll see Oxidation Colors appear.The more gradual the heat ing,the wider the bands of individual colors will be.
It'll start with faint yellow-golden and will progress through browns and purples to eventually lighter and lighter blues,finally fading to Gray.
Color Gray and beyond it will mean that any pre-existing heat-treatment is now gone.
Continue up the tang till you reach the vice jaws holding the object.Their mass should act as a mass enough to dissipate the residual heat and give you a reasonably gradual transition between hardened and non-hardened zones.
(if you look close you'll see that the tang of any file has undergone this exact process,you'll see that remaining color-band there at ricasso).
This will not qualify as a real,by-the-book Anneal,which involves heating And cooling at a very certain rate;the above is commonly known as Floor Annealing(heat it and throw it down in the corner of a shop to cool).
But it'll give you plenty of leeway for machining with common grade tools,in oh,96% of cases of file steel.
To test,pick at any portion of annealed area with a sharp outer corner of another file.Try to dig it in,maybe scratch it deeply.if it'll bite,you can now drill and tap easily.
If it still feels hard and the corner of a file doesn't bite in,repeat the above,but get it as hot as you can,and at the end stick the annealed tang into some insulating substance,such as ashes or vermiculite,and allow to cool more gradually.
"Spot annealing" is the same,but when you just use the tip of the flame to anneal a small circular area.However,unless needed for a specific purpose,the tang of any implement is commonly annealed throughout it's entire length.

")